Pages

Friday, December 28, 2012

DIY Gifts: Part 2

Last night, we celebrated Christmas with Gabe's family! More handmade gifts were given that I want to share with you!

My hubby made his dad a desk clock out of an old VW hub cap. He is writing a tutorial on this to share soon!
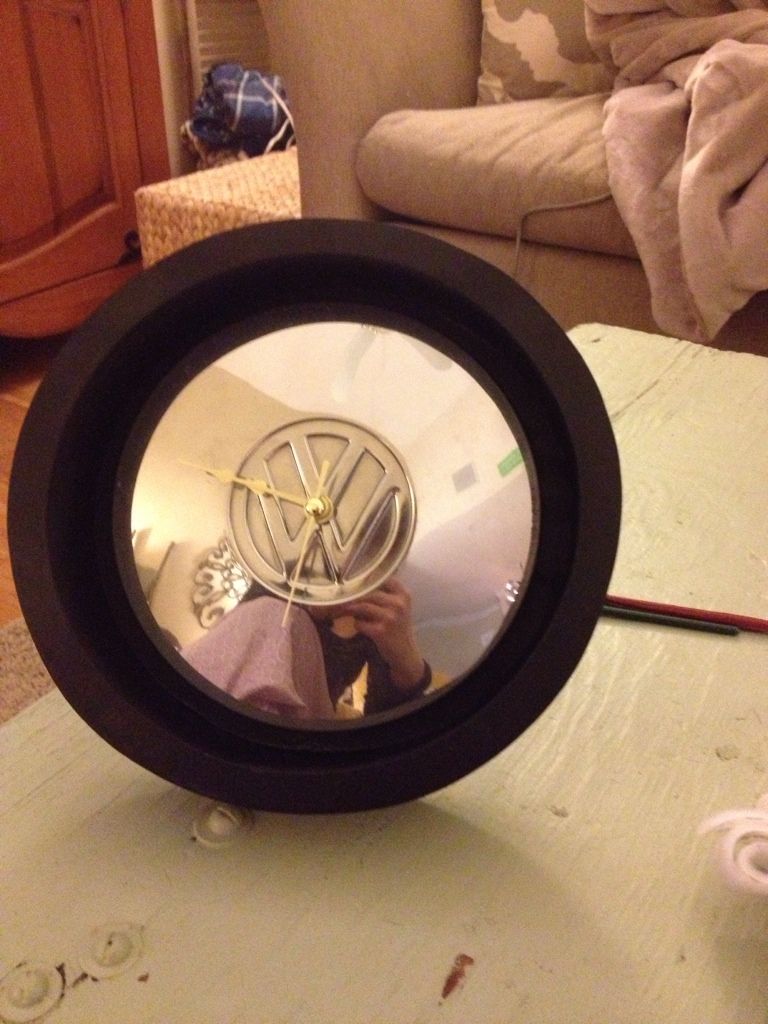
Uploaded from the Photobucket iPhone App
I made my mother in law a house number wreath...
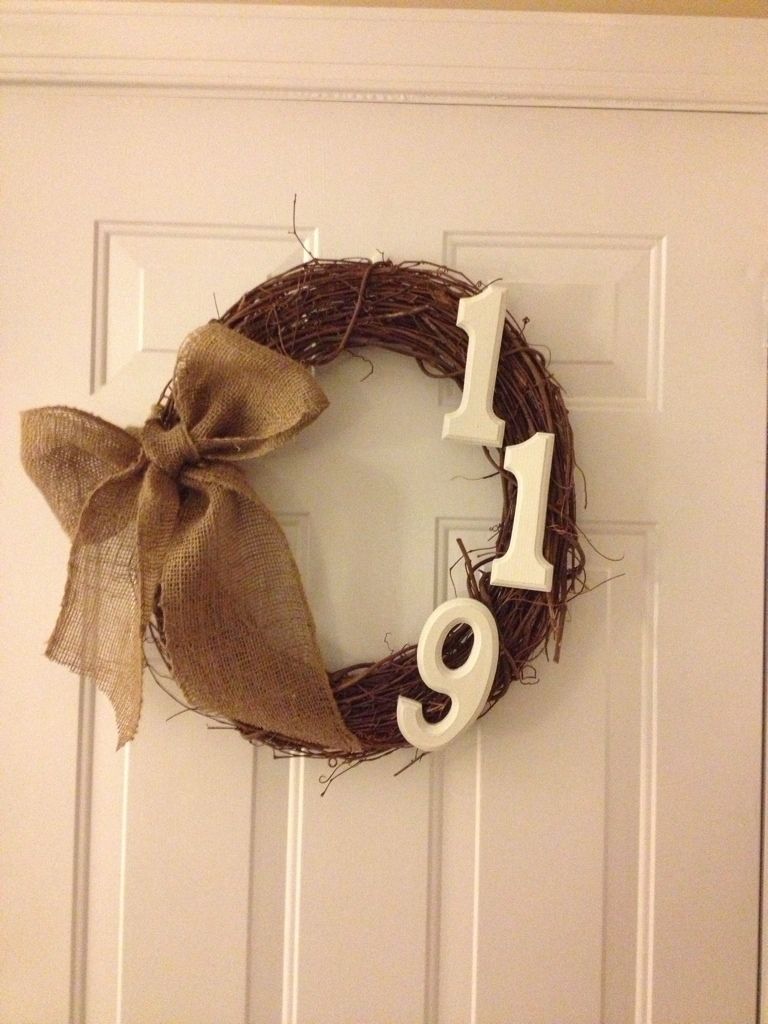
Uploaded from the Photobucket iPhone App
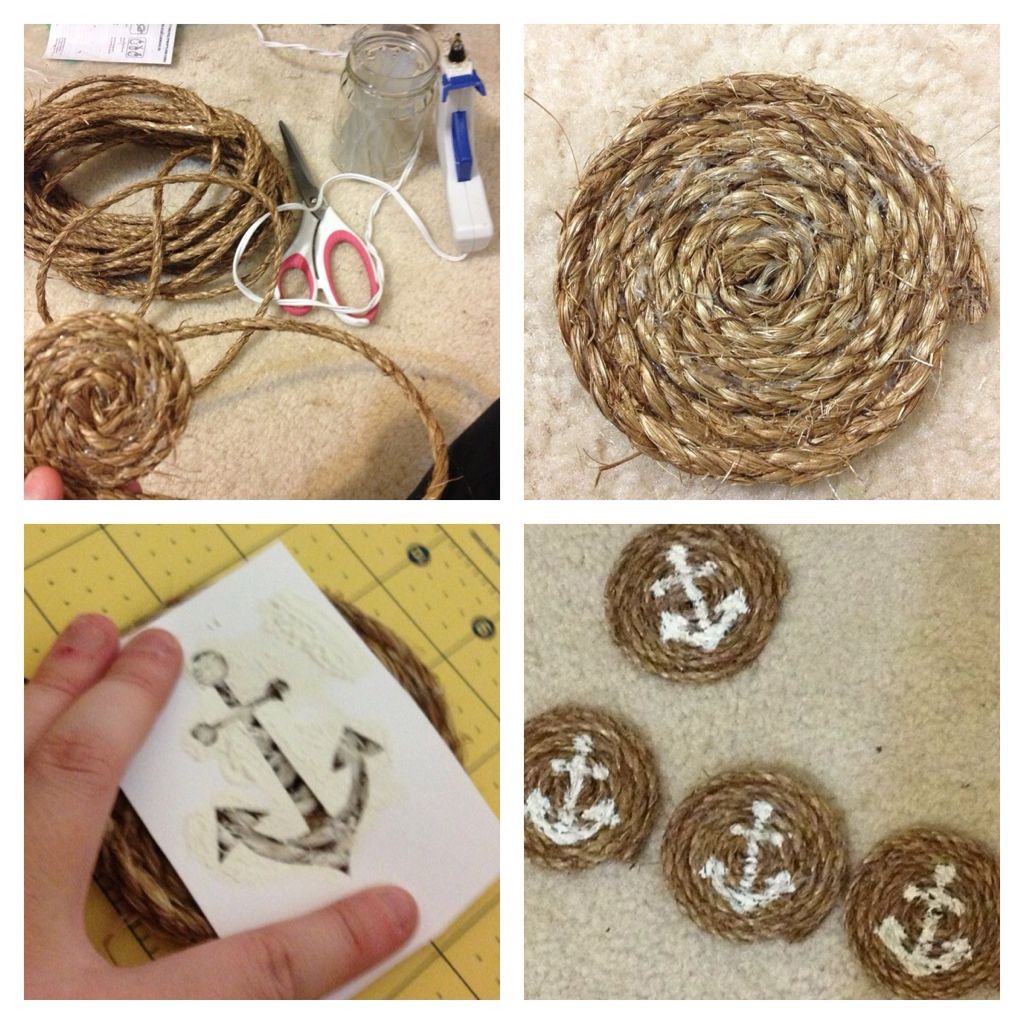
I also made her some nautical rope coasters for their new place at the beach. I was inspired by the coasters on Style Me Pretty. These were so easy to make. I just bought rope and rolled it into a circle, hot gluing as I went. I made four of them. Once the glue dried, I painted an anchor on each coaster using a stencil I cut out of cardstock using my Silhouette.
Uploaded from the Photobucket iPhone App
For my brother in law, I glass etched a set of beer mugs with a fire fighter emblem on them!

I also glass etched a pyrex dish for Gabe's grandmother so that her dish is always returned after family and church functions.

For my sister in law, I embroidered her name onto a tote bag and found a ball jar lamp that I updated with a blue ball jar that I bought at the local flea market.

I hope you all had a very Merry Christmas and have a Happy New Year!!! Thanks for reading! :)

Wednesday, December 26, 2012

DIY Gifts: Part 1

This year we decided to make all of our Christmas gifts for our friends and family. Since I am always looking for new DIY gift ideas, I wanted to share what I made with you today.

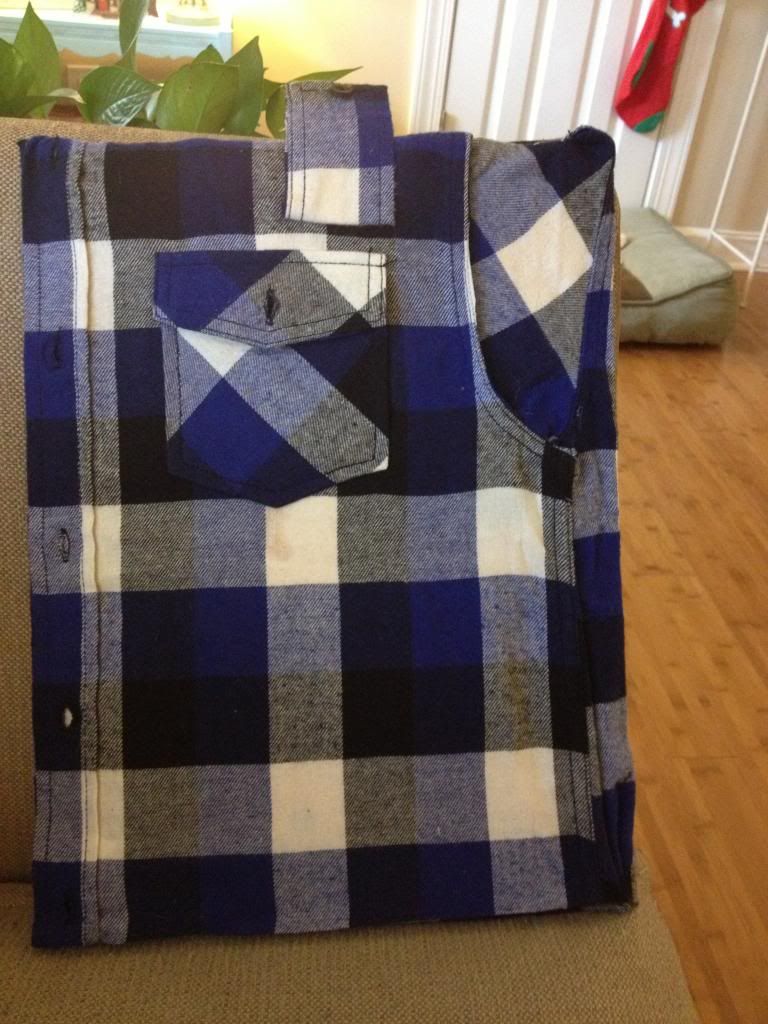
I made my dad a tablet case using Mr. Kate's tutorial.
Photobucket
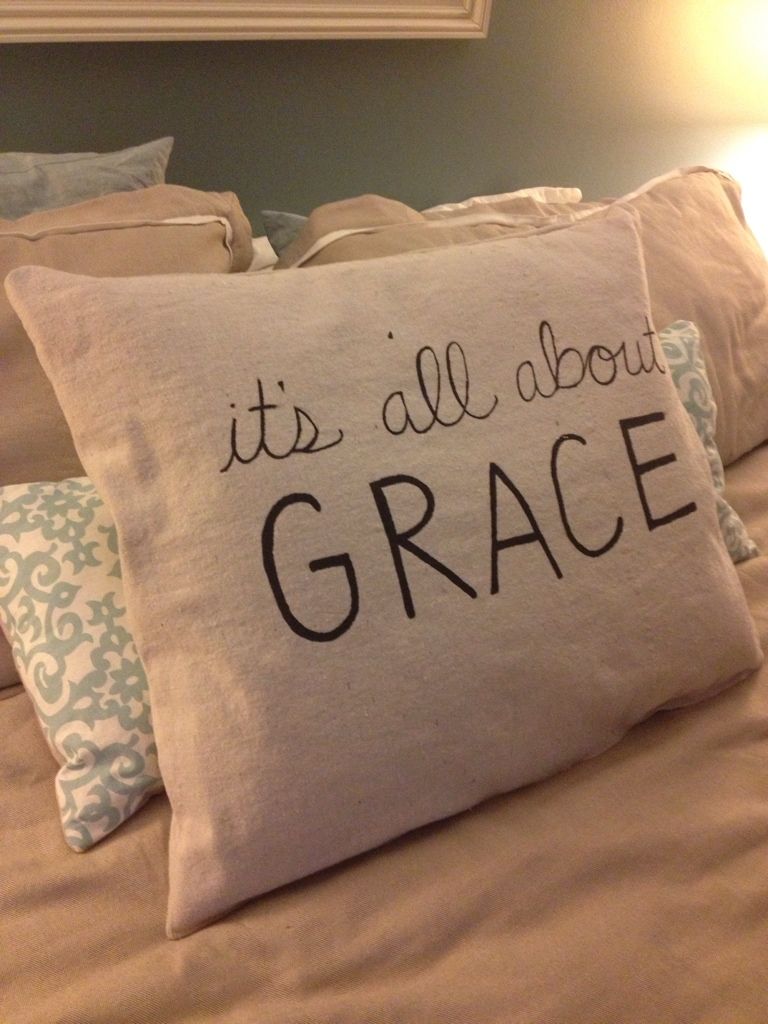
I made my mom this pillow out of dropcloth. I had my friend, Sarah, paint "It's all about Grace" on it using acryllic craft paint.
Uploaded from the Photobucket iPhone App
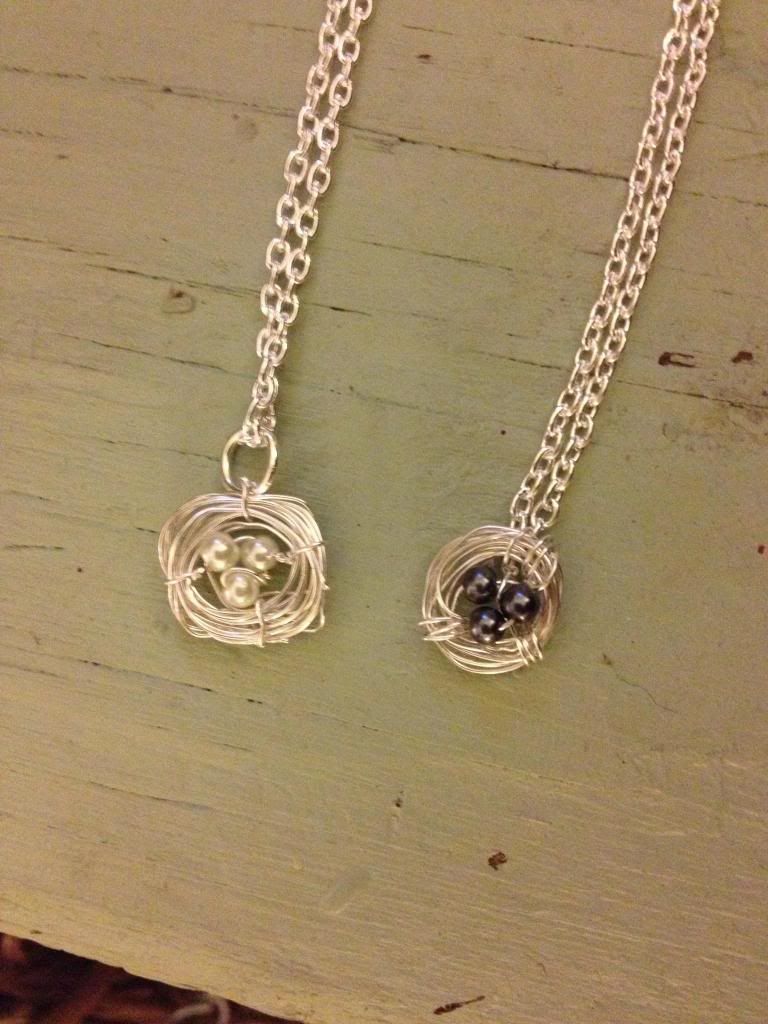
I also made my mom a bird's nest necklace using Sarah Ortega's tutorial. I haven't made much jewelry before, so this was a fun project!
Photobucket
For my brother, I glass etched a set of beer mugs and made some record bowls.

Part 2 of this post will be up after our second gift exchange tomorrow night!

Friday, December 14, 2012

Cookie Party!

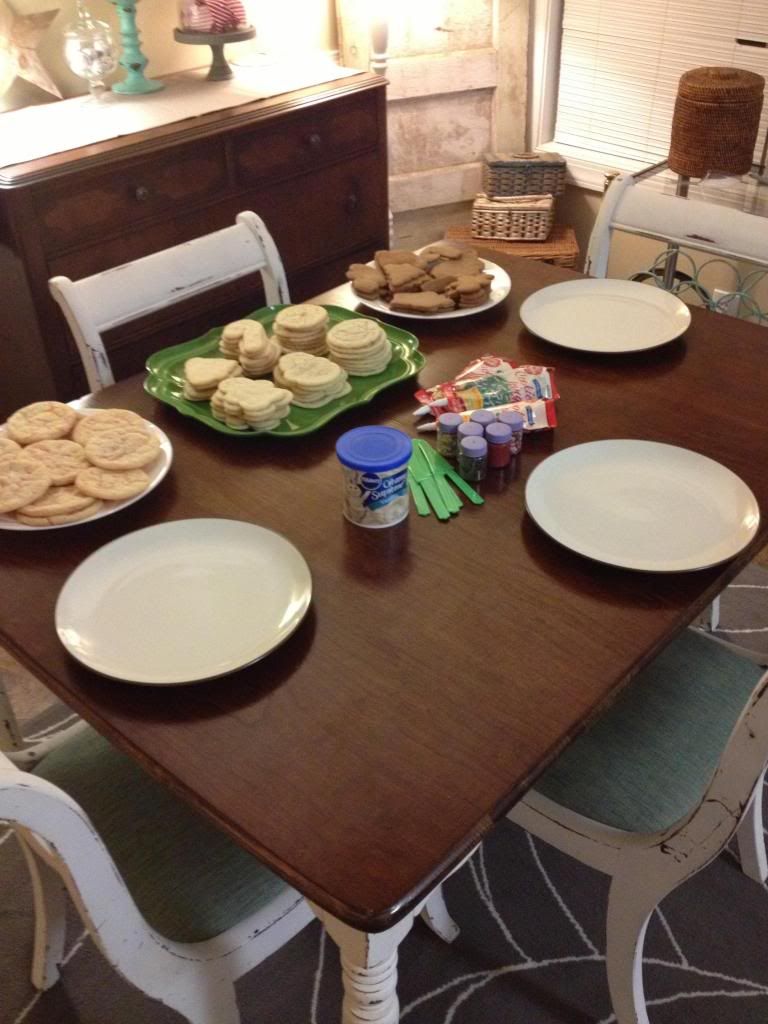
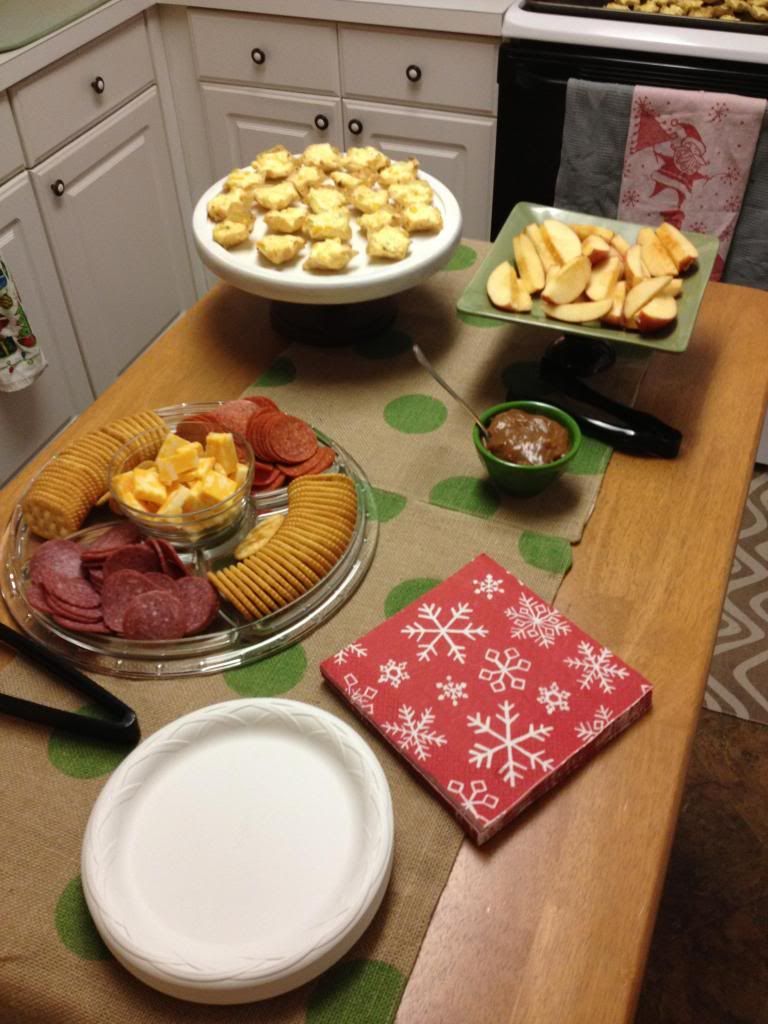
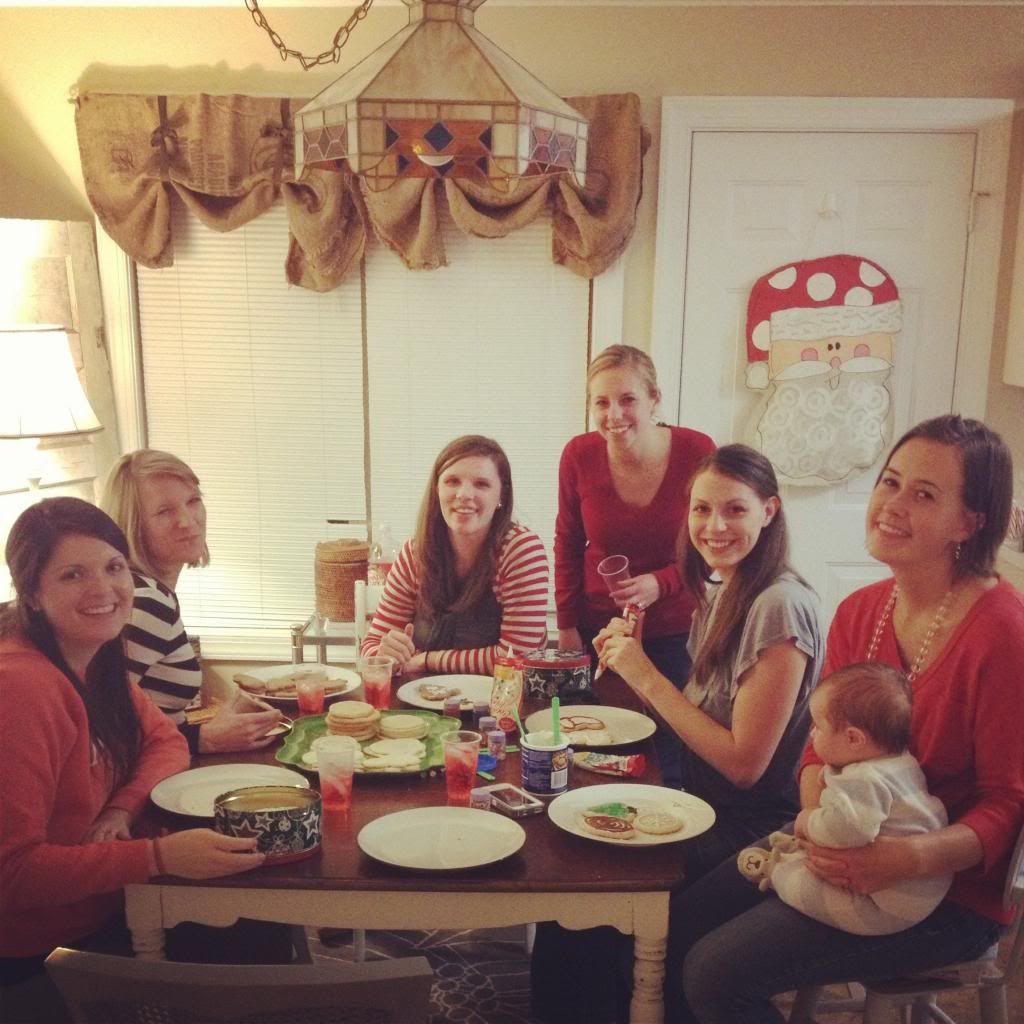
Last night, my bestie neighbor, Allie, and I cohosted a cookie party at my home! It was for our girlfriends and it was a blast! We had yummy snacks, warm drinks, and cookies to decorate!

This group never fails to be tons of fun and with three new babies joining us, it was a busy night!

Here are some shots of the party!
Photobucket
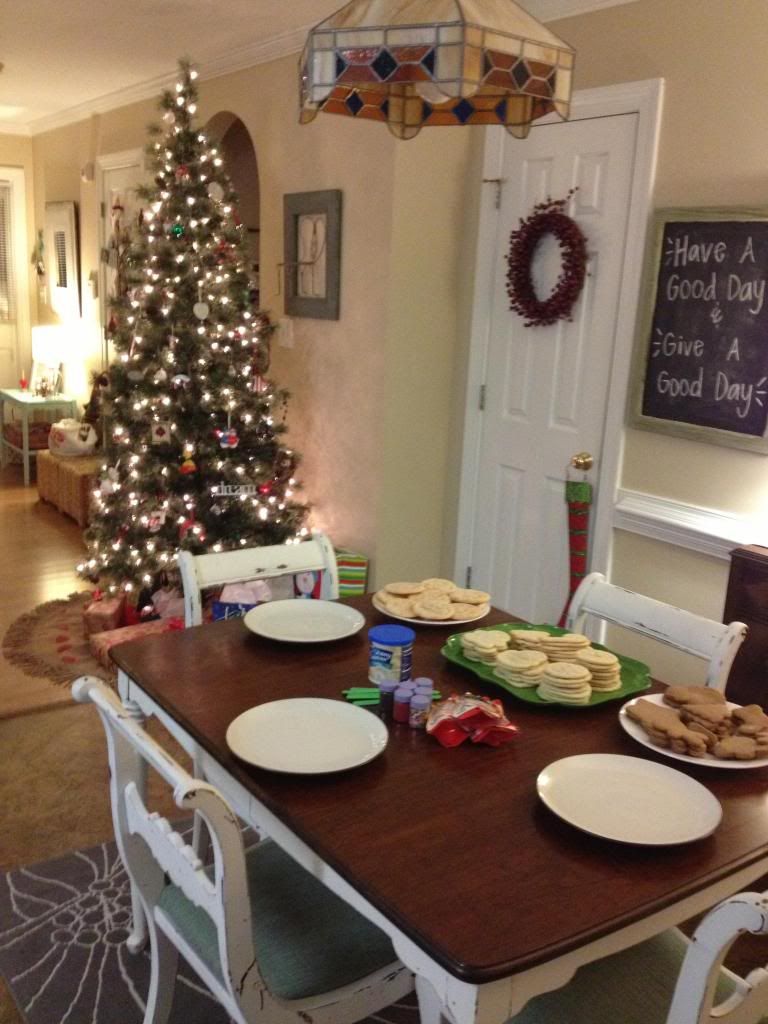
The cookies were decorated in the dining area. We had sugar, gingerbread, and peppermint cookies!
Photobucket

Photobucket

Photobucket
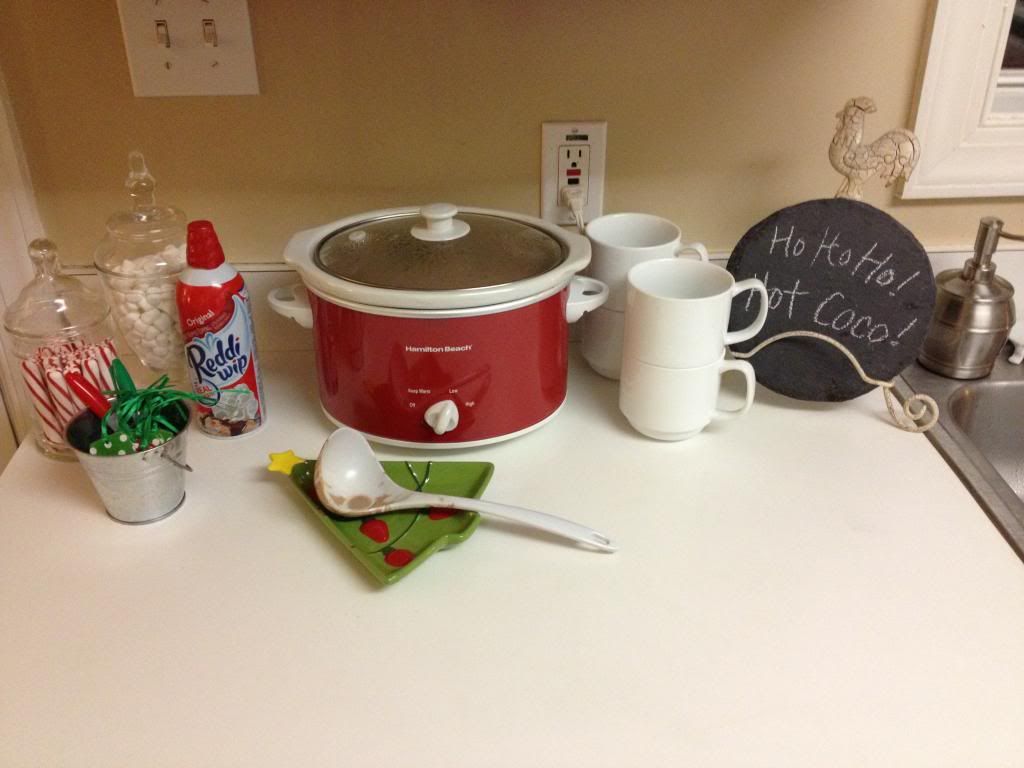
I made Crockpot Hot Chocolate! I used this recipe! It is AMAZING!  We used little gift tags to write our names and tie to our mugs!

Photobucket 
 There's the gang!

Merry Christmas!

Tuesday, December 11, 2012

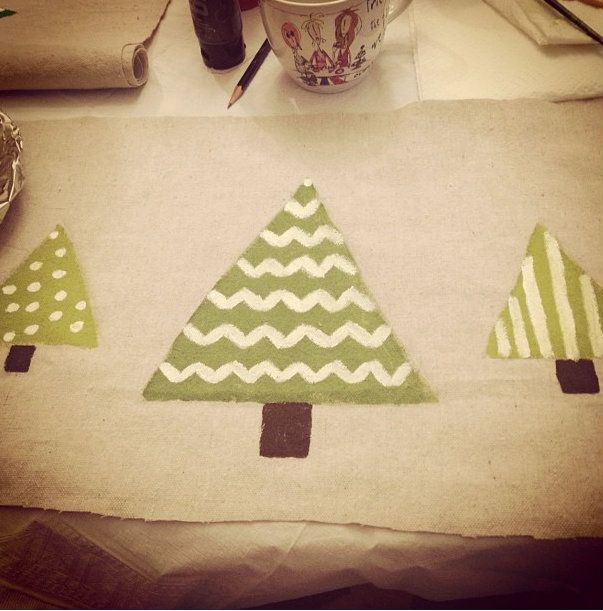
Hand Painted Christmas Tree Pillow

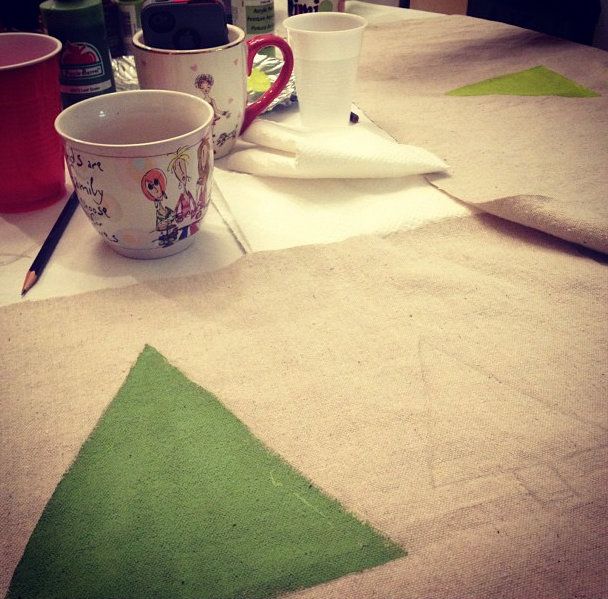
This handpainted pillow was really easy to make! I made it with my besties, Sarah and Allie! We each cut out fabric for our pillow using dropcloth.

We then handpainted our trees onto on piece of fabric.
photo3


photo4
Once the paint dried, we sewed our pillows and stuffed them!
Photobucket

photo2

Friday, December 7, 2012

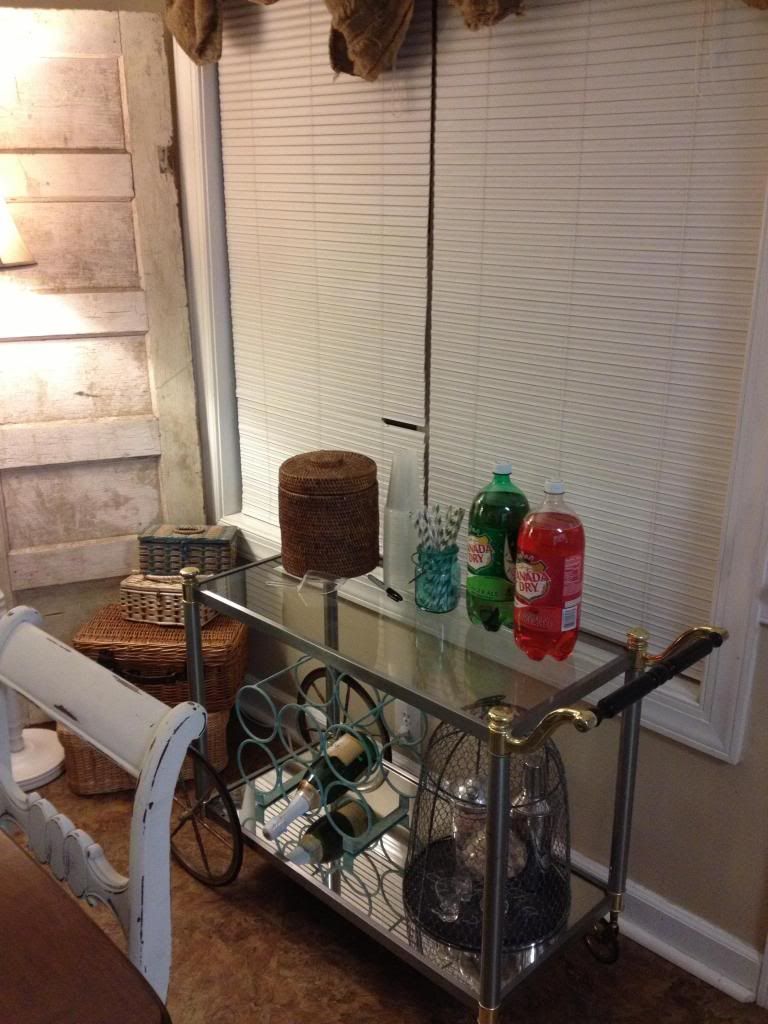
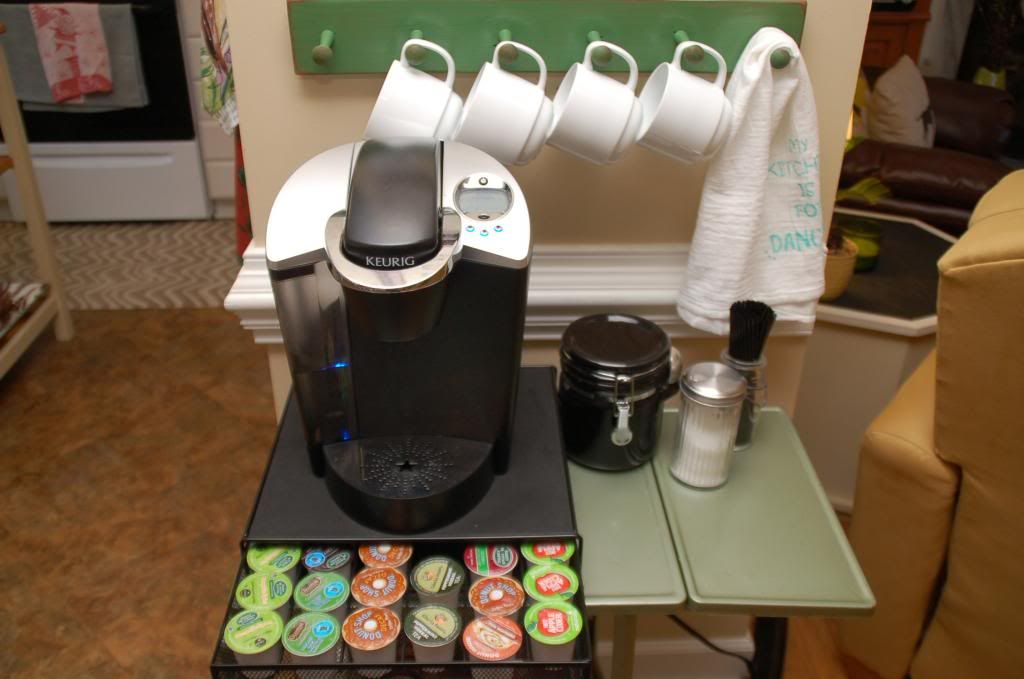
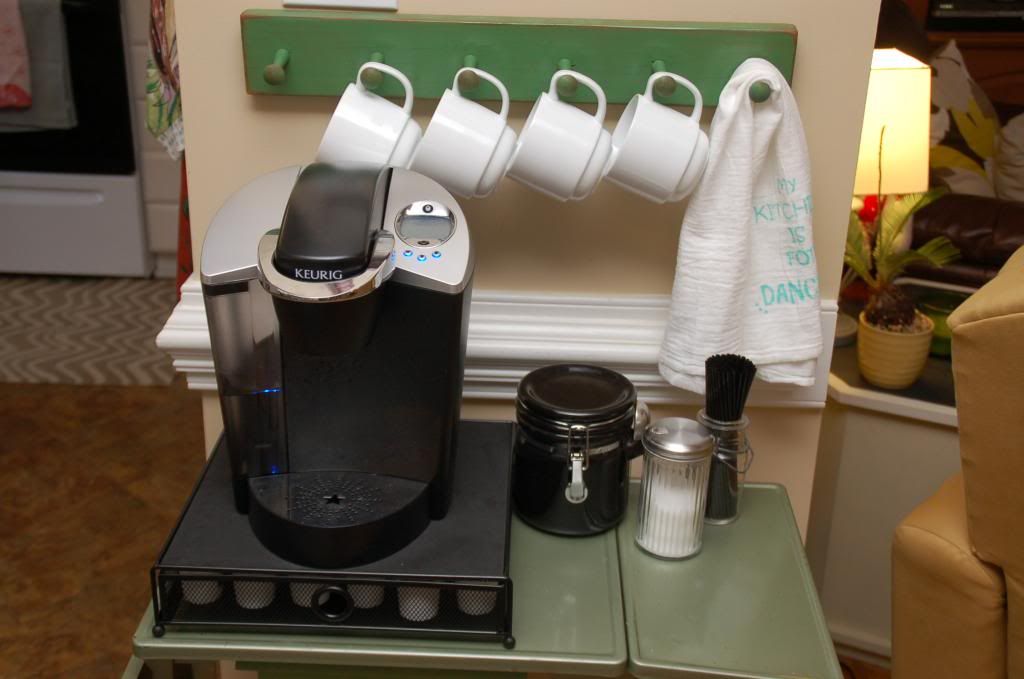
Coffee Cart Station

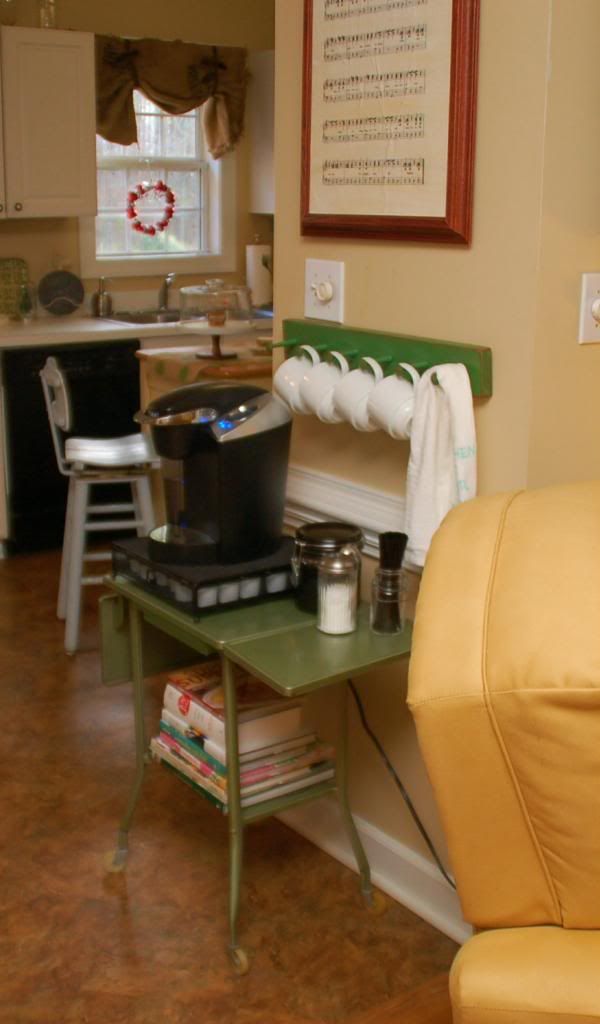
A month or so ago I found an adorable green cart at the local flea market. I was so excited to get it home and find the perfect spot for it!

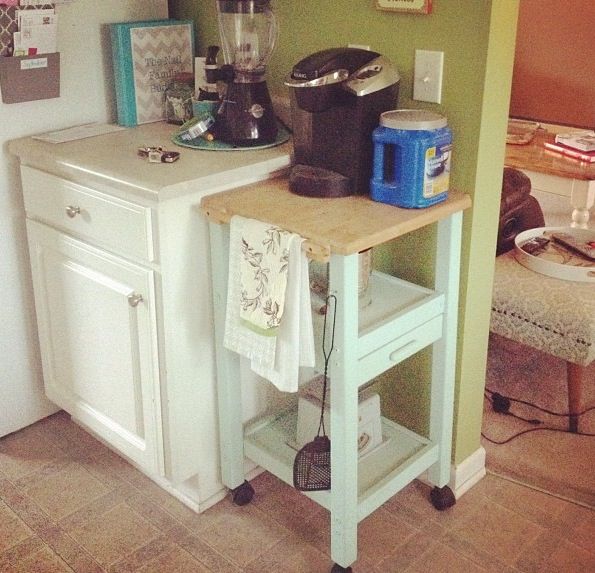
My sister in law, Blair, and my good friend, Mica, both have little carts in their dining area that hold their coffee makers.

Here is Mica's:
Photobucket
Here is Blair's:
Photobucket
I have always wanted one myself to free up some counter-top space and make it more accessible to company.

DSC_2486
DSC_2491
DSC_2487
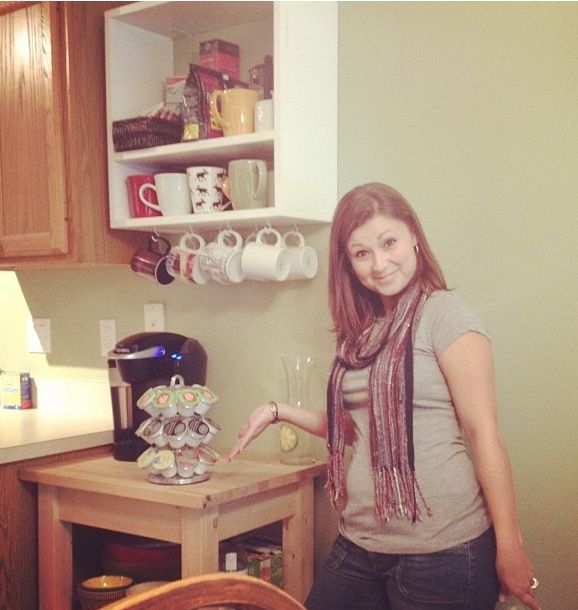
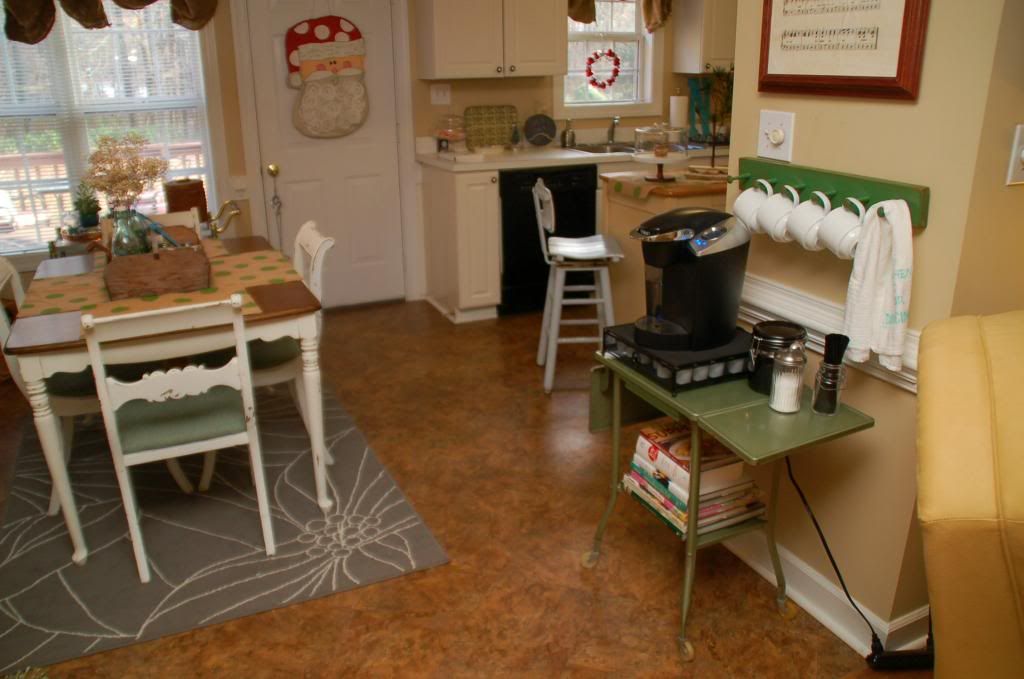
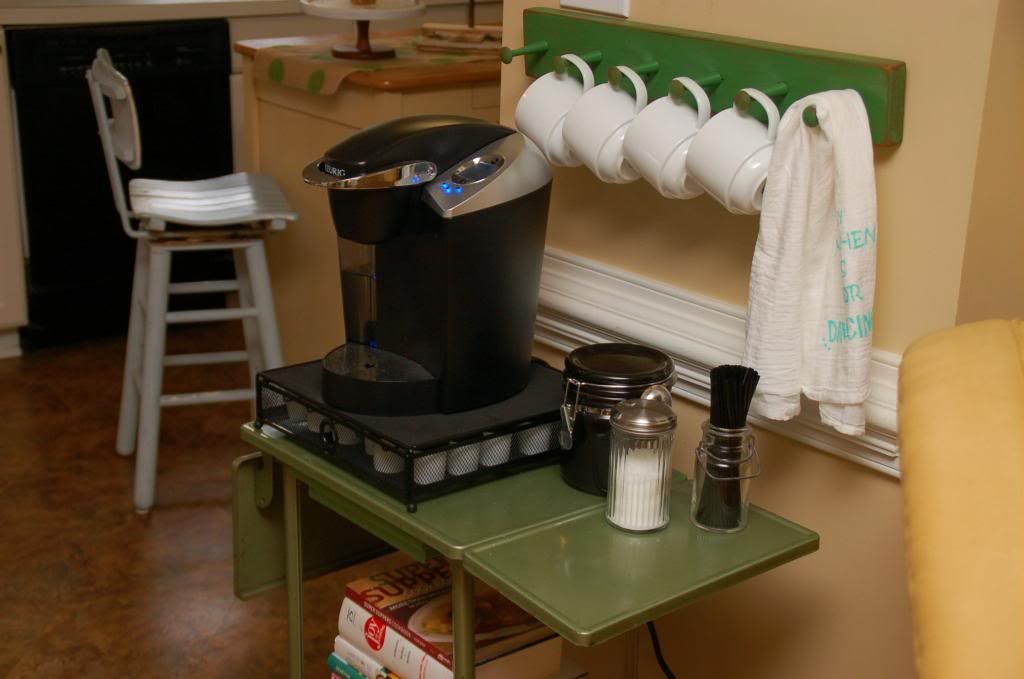
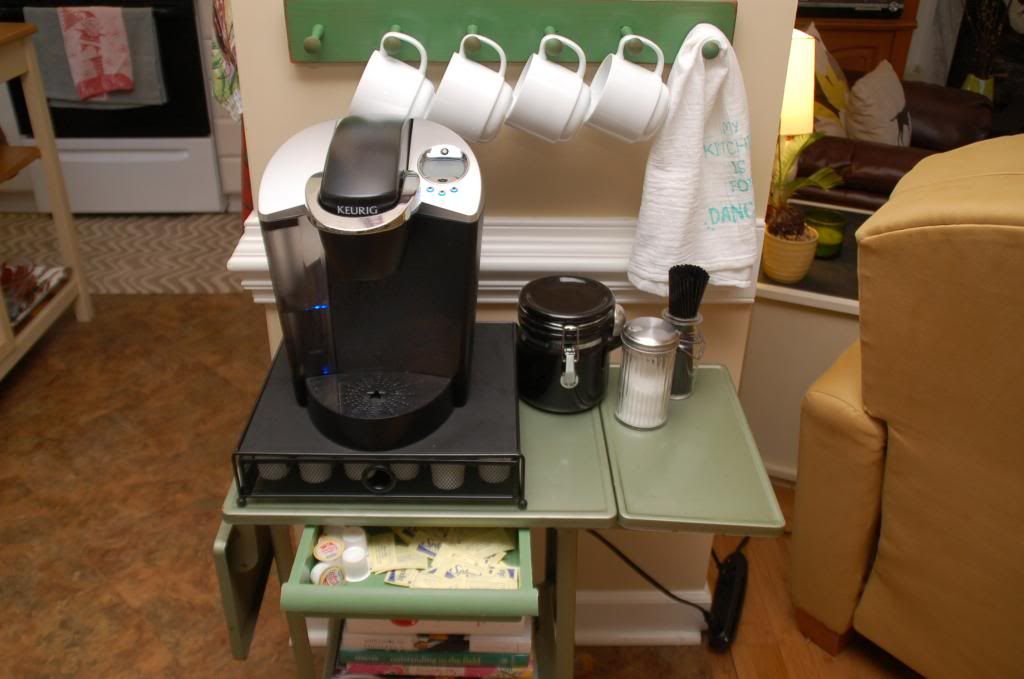
I decided to put my cart on the small wall that divides out kitchen/dining area from our living room. I put the coffee maker on it and put some coffee essentials in the cart's drawer.
Photobucket
I also bought a K-Cup drawer to hold the K-Cups.
Photobucket
The hubs found a cute little rack and he hung it above the cart to hang our mugs!
Photobucket 
 I also used the shelve below to store our cookbooks!
DSC_2473
I am really happy with it!!!

Thursday, December 6, 2012

Dining Room Update

Wow! I cannot believe I have not blogged in nearly 3 months! Things have been so crazy and busy!

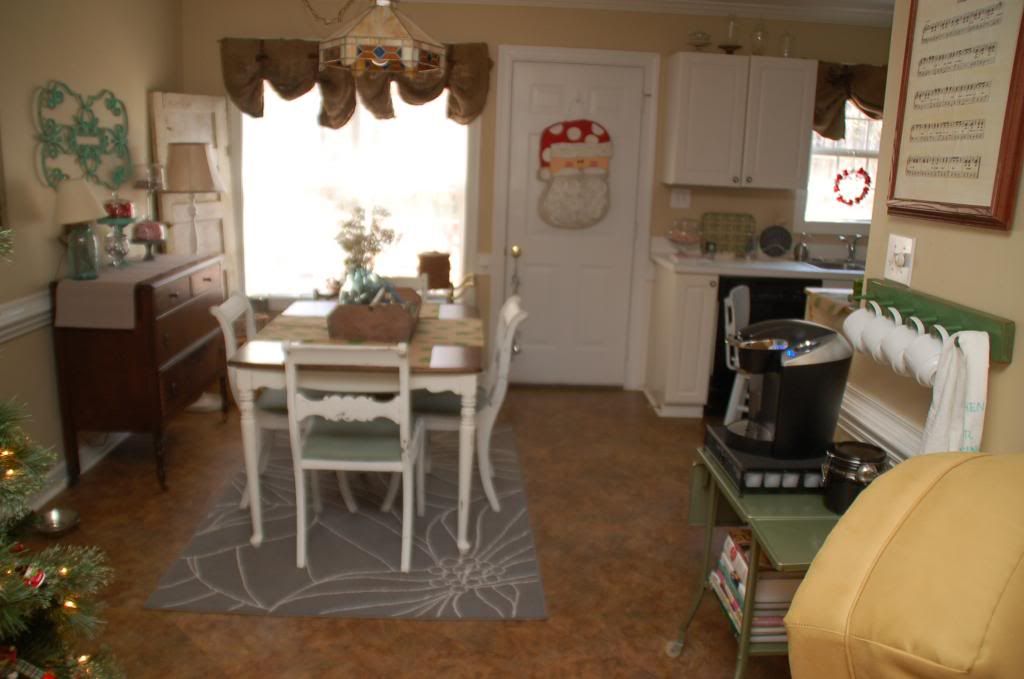
We have made a few updates to our dining area and I wanted to show those to you today!

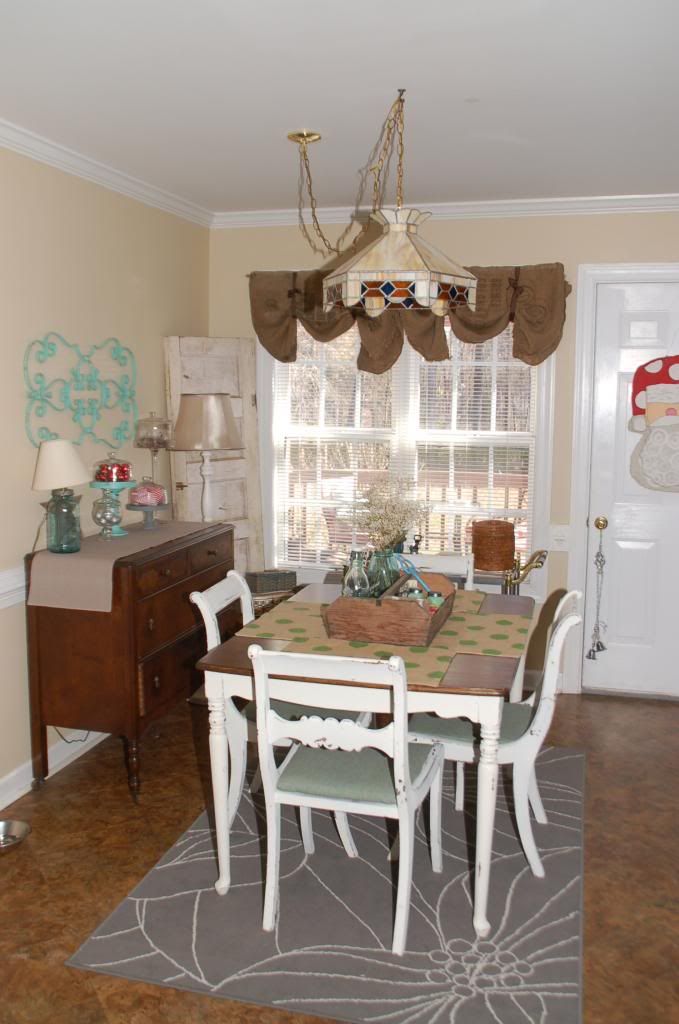
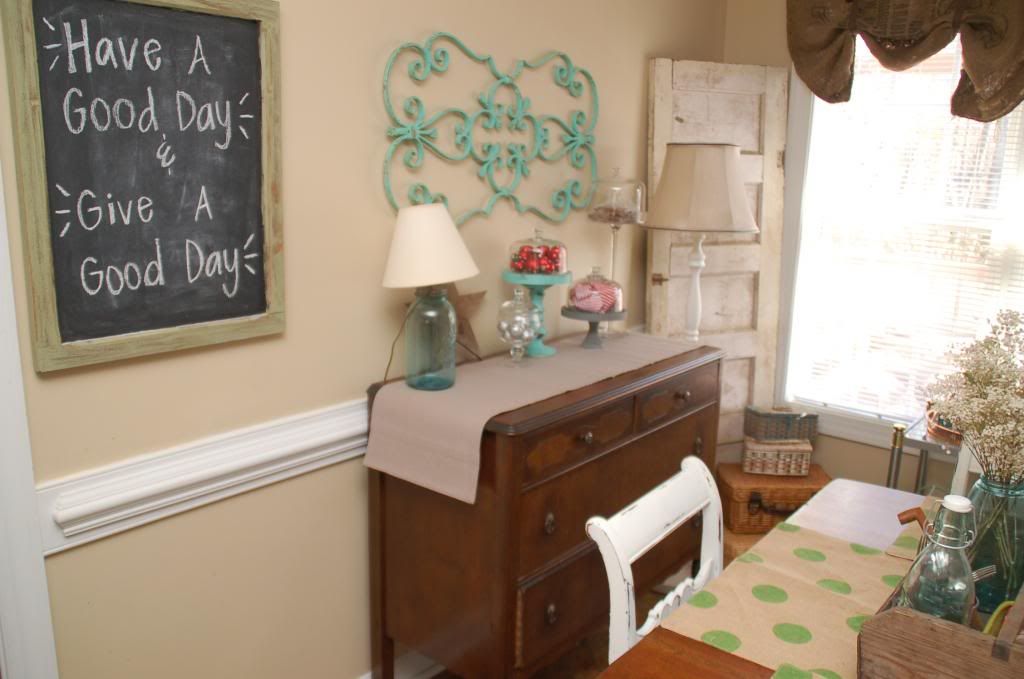
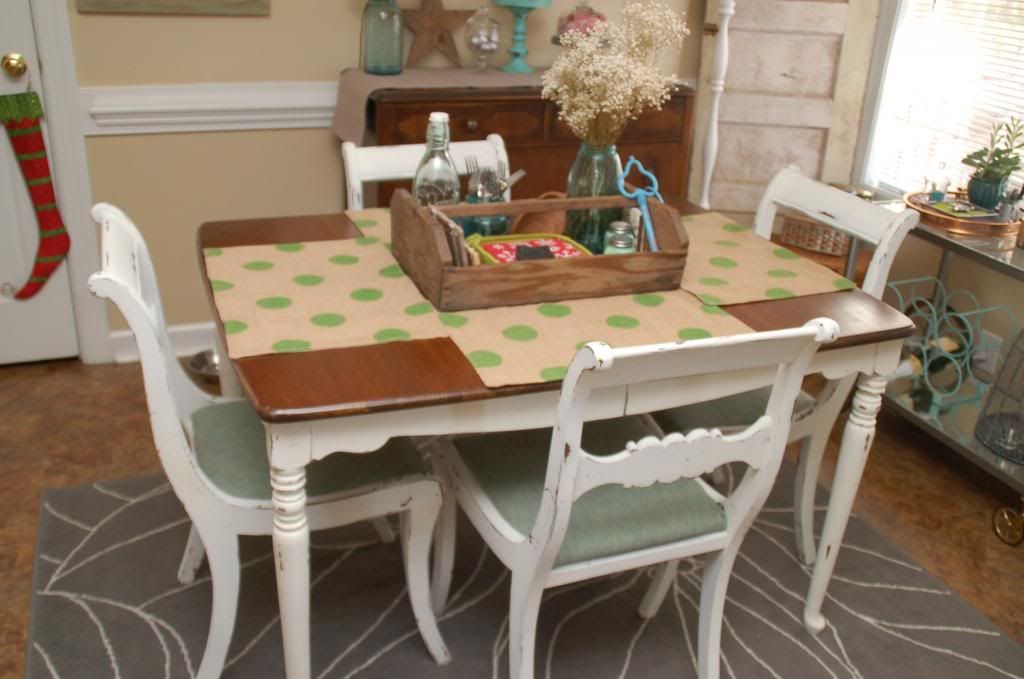
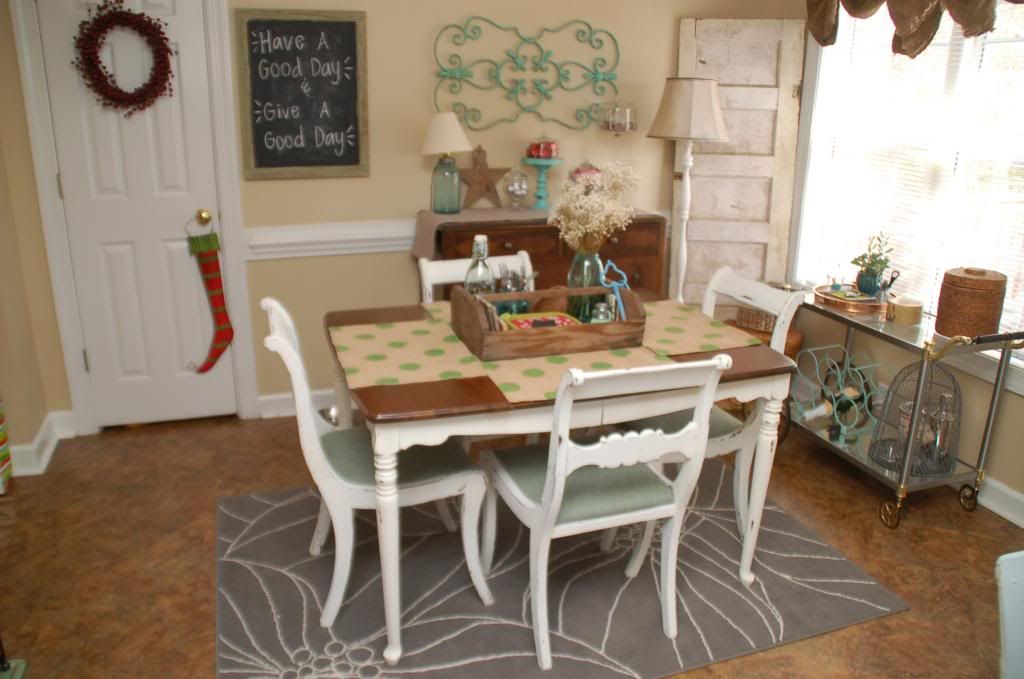
Check out our dining area (our Christmas decorations are also up!)....

Photobucket
Photobucket
Photobucket
Photobucket

Photobucket 

Just to give you a quick run down of what is new...

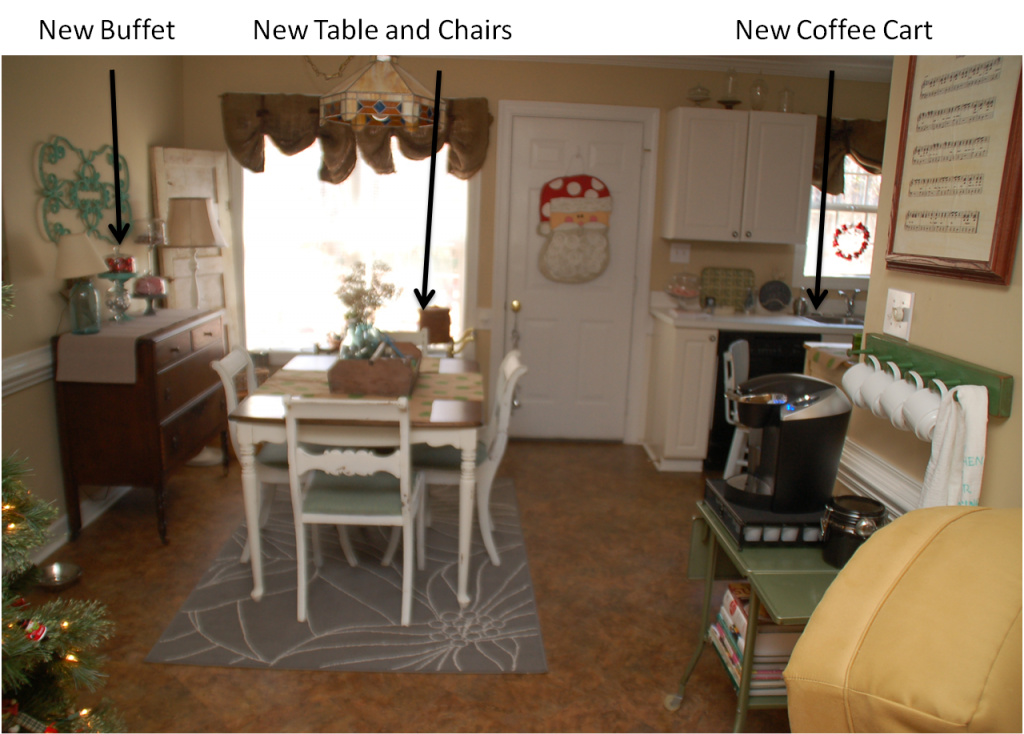
We got our new table and chairs from a vendor at our local flea market. I love the way she refinished this set! The buffet was actually a family piece that was handed down to us recently. It is over 100 years old! I love the character it adds to the area. I also added a new coffee station right on the edge of the kitchen (will be posting on it separately soon!).

Photobucket Here is a panaramic shot of the dining and living room.
Photobucket

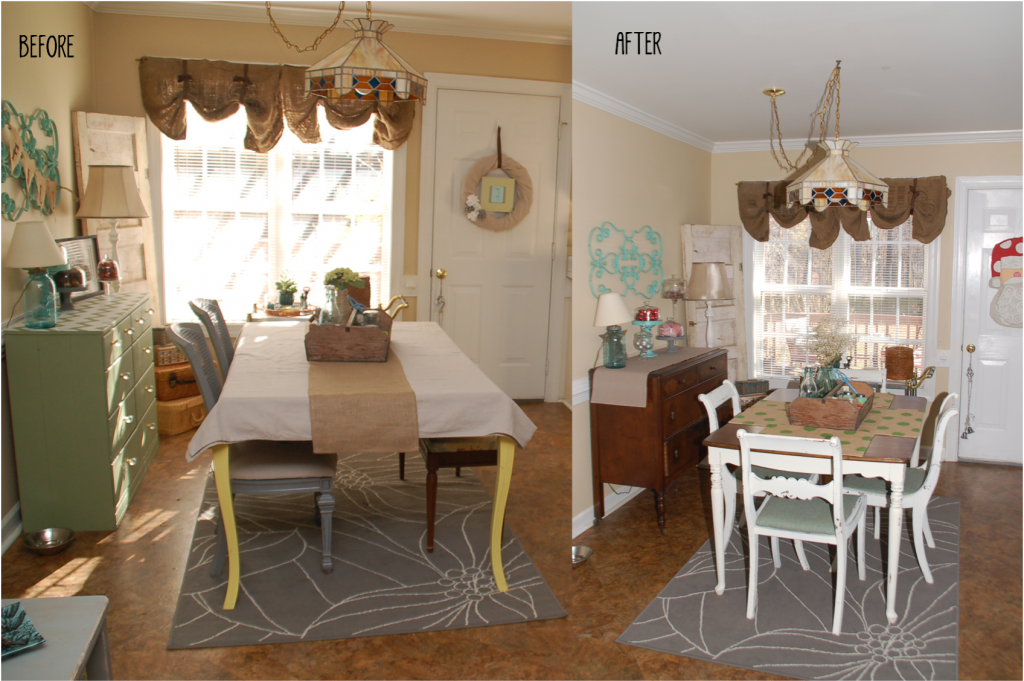
 We are really pleased with the changes! Here is a before and after pic....

Photobucket 

As you can see, I was already starting to cover up the yellow table to go more neutral...so it only made sense to move into something even more neutral. I would love to hear what you think!

I will be back soon with a post on our new coffee station! 

Sunday, September 23, 2012

Before and After: Cheese Dome/Cracker Tray

In August, while we were on our vacation, I found an old cheese dome (cloche) with a built in cracker tray. I was not a huge fan of the way it looked but I knew it wouldn't take much to transform it!

This is the before:


And here it is after:


I painted the wooden cracker tray gray and distressed it. I painted the center with chalkboard paint and I left the cloche "as is".

I can't wait to use it for crackers and cheese soon!

Thursday, September 20, 2012

DIY Fall Dish Towel

I have been working on some additional Fall decor this week and I decided to hand paint a dish towel to add some Fall color to the kithen! 

What you need:
  • Dish towel (mine is a flour sack cloth from Wal-Mart. They sell them in packs of 5 for around $5!)
  • Paints- I used Martha Stewart's multi-surface paints
  • Paint brushs
  • Stencil of a tree
Steps:

1) I used my Silhouette to cut a tree design onto cardstock. You could also purchase a stencil at a craft supply store.

2) I used that cut out as a stencil and painted the trunk and leaves different fall colors.


3) Once the towel dried....it was ready to be hung up in the kitchen! (it could really use an ironing...but I skipped that step!)

I actually made two (one for me and one as a gift!)....they are close to identical, just a different trunk color...


I really love it! It was so simple and adds just the right amount of "fall" in the kitchen!

Tuesday, September 18, 2012

Fall Buffet

Yesterday evening I started pulling out my Fall decorations. I focused most of my energy on our dining area buffet. I used a lot of the same things I used last Fall, which made for an easy set up.


I added a burlap pennant banner over the buffet this year.


I used the same process to make this banner that I used when I made my Celebrate banner. I used my Silhouette to cut out the letters onto paper and then used the paper as a stencil to paint the letters onto the burlap.

I am so excited about Fall and can't wait to decorate more soon!

Monday, September 10, 2012

DIY Diaper Cake

My dear friend Sarah is expecting her first child and we just threw her a baby shower. We had so much fun making and prepping stuff for her shower!

My friend, Allie, and I made a diaper cake for the shower together.

Supplies:
  • 50-60 diapers (we used size 1)
  • Rubber bands- one per diaper and large ones for each layer of diapers
  • Tray for the base of the cake
  • Decorative ribbon
  • Bottle for the center of the cake
  • Decorative elements for the top of the cake (we used little sheriff booties!)
 Steps:
1. Start by rolling each diaper up and wrapping a small rubber band around it

2. Once all diapers are rolled, start on the base layer by surrounding the bottle with diapers. Secure this layer with a large rubber band.

 3. Continue building the base by adding two additional layers, each secured by another rubber band. This process was simple because there were 2 of us. one holding the layers in place and the other adding the rubber band. I don't think it would've been as smooth all alone!

4. Once the base layer is complete, start the second tier by surrounding the top of the bottle with diapers and secure it with a rubber band.

5. Add one more layer around the first layer of the top tier.

6. Add ribbon around each tier to cover the rubber bands and to add color. We used hot glue to secure the start and end point of the ribbons.

7. Add any other additional decorative elements and you are finished!


This was so easy! I will definitely be making more in the future!