Pages

Thursday, November 3, 2016

Embroidery Myths

Today, I have the pleasure of sharing a guest post about embroidery myths! I have learned so much from this post and I hope you do too!

Embroidery Myths by Susan Doyle...

For some reason there are a TON of myths surrounding embroidery. It’s pretty surprising considering it is neither a magical creature or urban legend. In fact, just the opposite is true.

It’s popularity may lead to many individuals trying many different things and expressing their opinions instead of professionals stating facts.

Whatever the reason, it doesn’t matter. There are embroidery myths out there and it is this article’s purpose to inform you about whether they are true or not!

1. You Need to Know how to Sew to Use an Embroidery Machine
It’s important to note that the sewing talked about in this myth is sewing by hand. Although some sewing experience may help a little this is pretty much false. To be honest, there isn’t a lot of similarities between doing the two.

As you can imagine sewing by hand and using an embroidery machine are quite different. In fact, it’s easier to state the many differences than similarities.

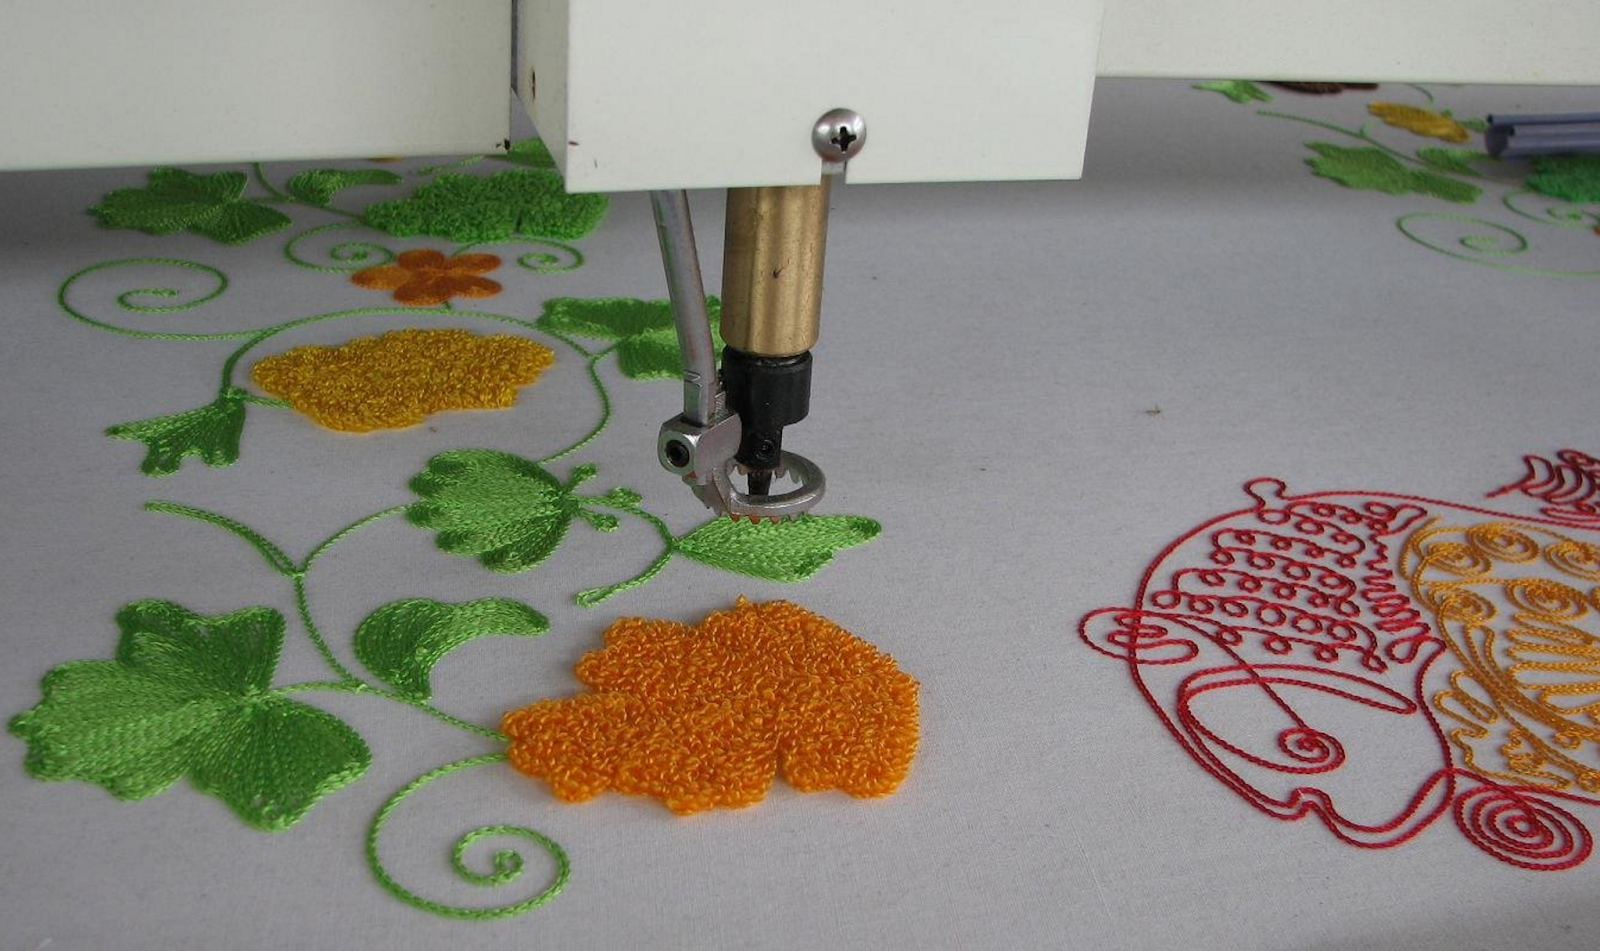
The whole point of an embroidery machine is to make it a lot easier to do embroidery. Embroidery machines help by save time because it does a lot of the precision work for you by guiding the needle/fabric and also cutting down mistakes.

This allows people with relatively little experience with crafts to easily do embroidery whereas sewing by hand takes a lot more skill and patience. If you want to get into embroidery, but aren’t good at sewing don’t worry! You’ll do just fine without it.

2. Stretch the Fabric As Tight As Possible When Hooping

I understand where this came from, but like the first myth this is false. The reason people like to stretch the fabric as tight as possible is because it makes it easier for the machine.

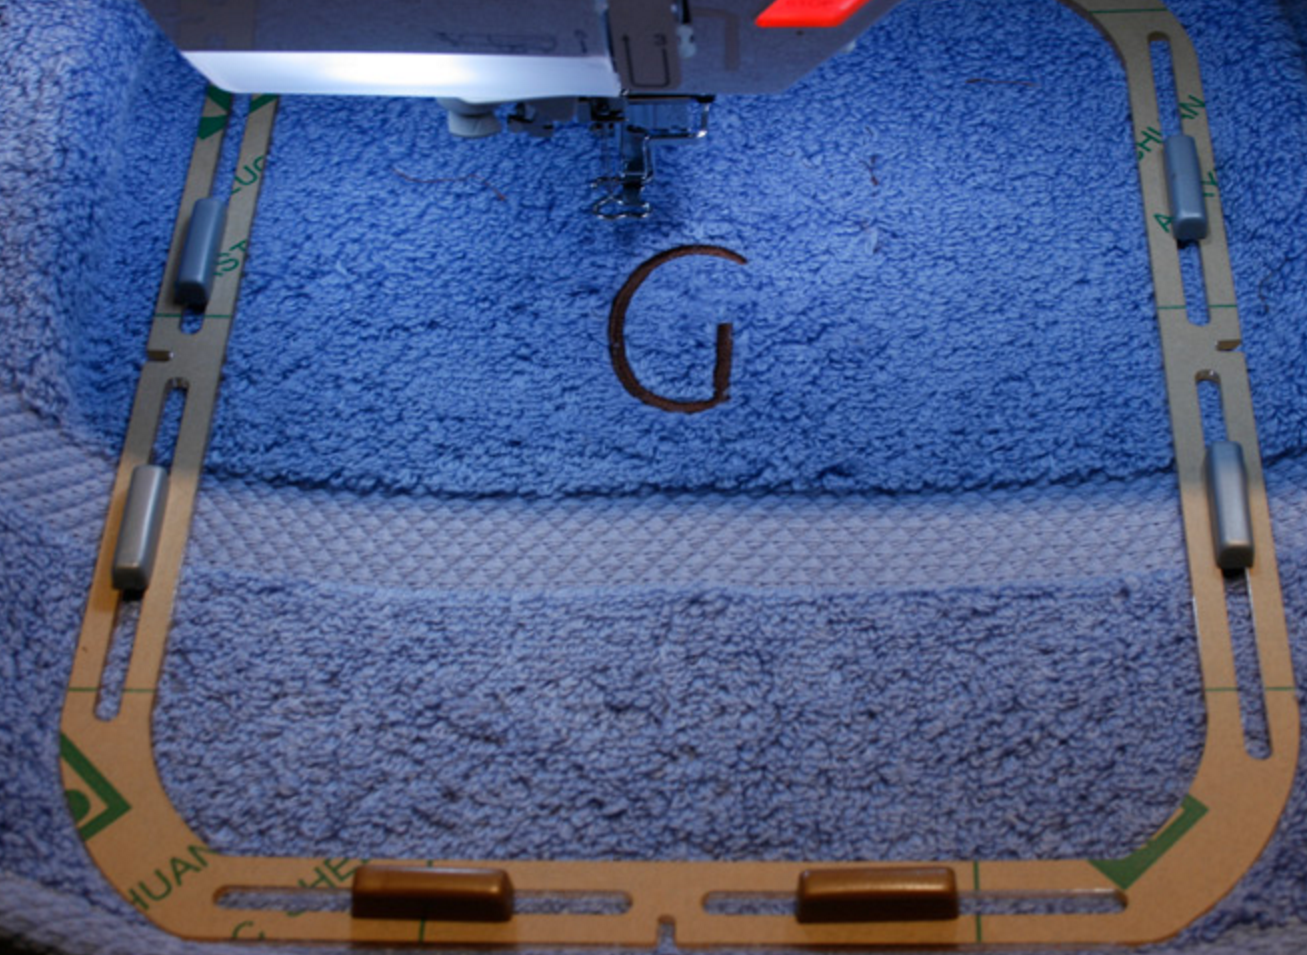
However, just using common sense we could see why it is a bad idea. Stretching it too tight will have long term repercussions. If material is stretched too tightly it can distort and result in puckering.

In short, make the material a little tight when hooping, but don’t overdo it or it may ruin the embroidery job and item you are trying to embroider.

3. Size 90 Embroidery Needle Is the Only One To Use

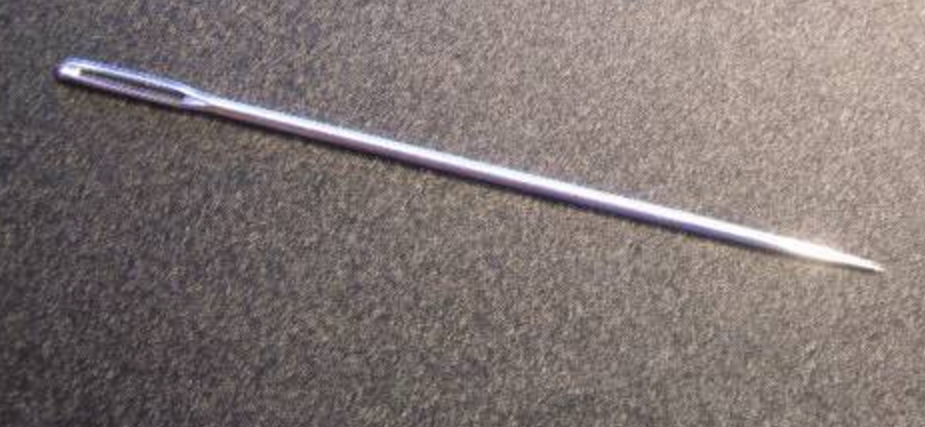
Is there anything in life where there is ONE answer? Size 90 is a good general size, but the size of your needle will depend on the thread you are using.

Although size 90 is very flexible, you’ll want to use finer needles for smaller/lighter thread and heavier needs for heavier thread. It’s pretty common sense.

Don’t just believe there is 1 answer to embroidery. Using the right equipment can have a huge impact on the end result. Getting different needles is a small investment that can have a positive impact on your embroidering.

4. Coffee Filters and Dryer Sheets are Great for Stabilizing
This statement isn’t completely wrong, but isn’t applicable to everyone. Coffee filters and dryer sheets ARE great for stabilizing if you are a beginner / hobbyist. Using inferior equipment (like I mentioned previously) will result in a lower quality outcome.

However, if you don’t care much about the quality or are just learning then it isn’t as important to have the best equipment possible. Truth be told, using these items will save some money and if you’re new to the game you may not even notice how it is affecting your embroidery.

Unfortunately, using these products will dull the needle faster than if you used a proper backing and doesn’t provide a lot of stability.  They are paper / thin material so this shouldn’t come as a surprise.

Stabilizers are definitely worth it considering how cheap they are.

Conclusion

Although there are many other embroidery myths out there, these are the most common I tend to read and hear about. You may want to try breaking some of these for yourself to truly notice and that’s probably a good idea to see for yourself. However, I’m confident in the end you’ll agree with me.

The last 2 myths I mentioned are part of a bigger, overall theme - trying to save a few bucks by using creative/alternative solutions. It’s fine if quality isn’t your biggest concern, but it is a good idea to just use medium-tier quality items. They are inexpensive and will allow you to have much better results!

If you have any questions please let me know in the comments below!


Susan Doyle is a stay at home mother who has over 20 years of embroidery experience. Although she has no professional experience, her designs, patterns, and presents have led her friends to create a blog about embroidery.

Wednesday, October 26, 2016

Letterfolk Letter boards

I recently ordered a letter board from Letterfolk and I am having SO much fun with it! I have started changing it out every evening for the next day. I have been taking a daily pic and thought i'd share some of them here! 


Wednesday, October 12, 2016

Loftin's Adventure Nursery

Loftin went without a nursery for the first month of his life, because we were moving and he was sleeping in our room anyways. I really felt like we hadn't prepared a place for him, and it made my momma heart hurt. Once we got settled in to our new house, when he was a month old, I was so excited to get his nursery together!

For the theme, we went with all things adventure....teepee, woodland creatures, and travel. It was a really fun theme to shop for and create. I've compiled some pictures to show you his cozy nursery!
I cut some navy vinyl for his name and a little teepee for his door.

This is the back wall that you see when you walk in the room.

His dresser doubles as a changing table. The art above are gifts from my mom and my sister!

The cute little caddy is a gift from my brother! It holds some essentials while other supplies are in the dresser drawers.
A close up-- The L was a gift from my cousin, Rachel!

This rocker is the same rocker from Noah's bursery with some woodland pillows I bought from another mom on FB.

The art above the chair: Hoops stitched by me, and an arrow painted by my friend, Erin!

This adorable teepee has already been a great option for big brother while I feed Loftin. The teepee was a Costco find, and a birthday gift to Noah from my parents.
Here he is tonight, reading away while I nurse!

Loftin's Crib


Map over crib is from Urban Outfitters

Cozy quilt in teepee was a gift from my mom. Globe pillow from HomeGoods.
Animals were gifts from my mom and cousin Rachel!

Little side table with some custom pieces by my cousin Rachel, from her Potumus and Peepers creations!
The moose was my nanny's and the monkey is his piggy bank from my Memaw.


He already likes sitting and "reading" in his teepee!

He's so big! Almost 7 months old!

As you can see, so much of this room came together because of lovely gifts from friends and family! We have had so much fun putting it altogether. Special thanks to my bestie, Taylor, who came into town and helped me get things up on the walls finally!

Sunday, October 2, 2016

Our Playroom

This house has an amazing finished basement that offers us a large space for a playroom. It's also where we like to watch movies and football games.

As with any space in our home, things are always changing and evolving. Due to some recent additions to this space, I feel it's time to show it off a bit!

Welcome to our playroom!

This area has amazing built in shelves that we are using to store all of the boys' toys! I ordered the baskets in bulk on Amazon. I made the mistake of only measuring one of the shelves, assuming they were all identical. once all of the baskets arrived I learned that the top two and the second from the bottom are shorter! Oops!


To the left of the built ins we have the boys books and our new chalkboard easel that I recently found on Craigslist. In front of the shelves we have the boys' little table for coloring or snacking.


Across from the built in shelves, is the mantle!


Moving back into the room, you can see the play area from our couch.


We just started working on our canvas gallery wall. I left some intentional holes so we have room to grow!


Across from the couch, we have a built in bar. It has some awesome storage in it. We have a mini fridge and a microwave behind it also. 


We decided to represent our favorite teams in this area and we will change things out seasonally.


To the right of the bar, a little seating area.


And then the TV, where we are currently watching FOOTBALL!


A look back at the couch!

A look back at the bar... notice that precious baby playing hard on the floor.


We spend a TON of time down here! It's one of my favorite spaces in the house!

Thursday, September 22, 2016

Frugal Fall Fun!

Life with children is expensive….so much more so than I ever imagined! It definitely explains the old adage “if you want til you are ready for kids, you will never have them!” With the costs of simply raising them, comes the cost of all the fun things you hope to do with them! This time of year brings so many festive and exciting things that I am so thrilled to help my children enjoy. If you aren’t careful, you can spend a lot just trying to spend time together as a family.


This fall, we are aiming to do fun things as a family without blowing our budget! Since we are new to our area, I decided to do some digging to see what events are around here that are frugal and fun. My in laws came to visit last weekend and we wanted to take them somewhere fun. I found a local apple festival online and knew it would be perfect!


Since my in laws spoil us, we got off pretty cheap with this outing anyways, BUT it was still extremely affordable if we had paid our own way. Admission was FREE, and we packed some snacks to keep Noah full and happy.


It was the perfect atmosphere to stroll around, enjoy the beautiful scenery, take in the early autumn smells, and listen to the bands play. While there was plenty to spend our money on, we limited ourselves to a bag of apples that would last longer than just the few hours we were there.


There was also a small petting zoo! Admission was free but you had to purchase food to feed them, which was $2.


We were also lucky to stumble upon a booth with cheap face painting and balloon animals. This gave our little guy something to tote around and we were good to go!


I hope you never let your budget dictate how you enjoy your time with your family! Not every outing has to be pricey! To help us manage our budget, I just started using Personal Capital’s free financing software. With their app, I can check our budget before we make any purchases while we are out and about.


Happy Fall!

Sunday, September 11, 2016

Wide Open Spaces


When we first moved into this house we found ourselves loving every inch of it and we had a blast decorating each individual room. As I mentioned in my office post, the front living space in the house was being used as our dining room.

We found in the first months of being here that we never went in that space. It's actually the largest room in the house and it felt totally wasted. 

We decided to have a local renovation group come give us a quote to open up the walls to make one large room instead of a front dining space and smaller living space in the back. We were really surprised by the affordable quote, so we also had them open up the wall between the kitchen and the back living space.

Today's post is going to highlight the new living room that you see as soon as you enter our home!  The other rooms will have future posts dedicated to them but we've got some painting to do first!

Here is this space before we moved in and before the carpet was replaced...
View from foyer

Walking into room from foyer

View from my office


And this is what it looked like after we were using it as a dining room, but before the french doors to the office were complete...
View from foyer


And this is what it looks like now!

View from foyer

View from where the wall used to be


From foyer

View from back of the room

Looking toward my office 


View from my office doors

View from my office door

View from the front of the room


You can see over the back of the couch that our dining space was relocated to the back of the house. With the wall down, you can easily see from the front to the back of the house! I can't wait to share more soon!