Pages

Monday, May 20, 2013

Painted Canvas Tote Bags

This weekend we celebrated the upcoming marriage of one of my best friends, Lauren. We decided to make a few crafts as part of the Bachelorette weekend!

I brought supplies for everyone to paint their own canvas bag!

Supplies:
  • Canvas bags-- I bought them in packs of 3 at Michaels
  • Acrylic paints
  • painters tape
  • paint brushes

 photo null_zps389e452a.jpg


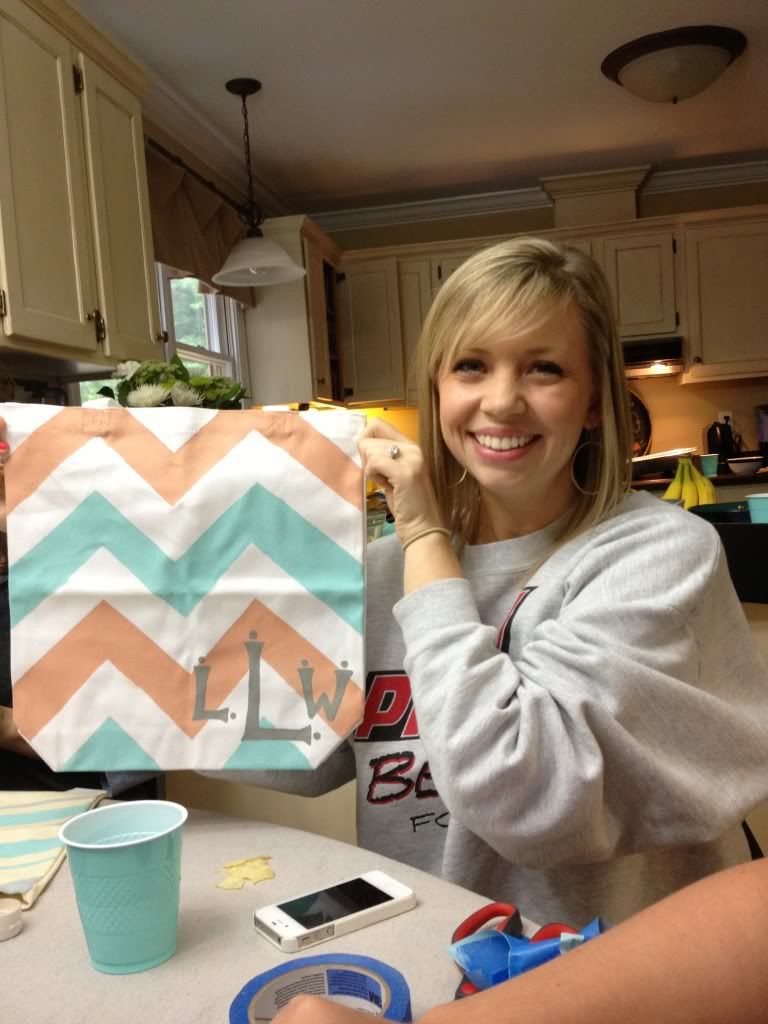
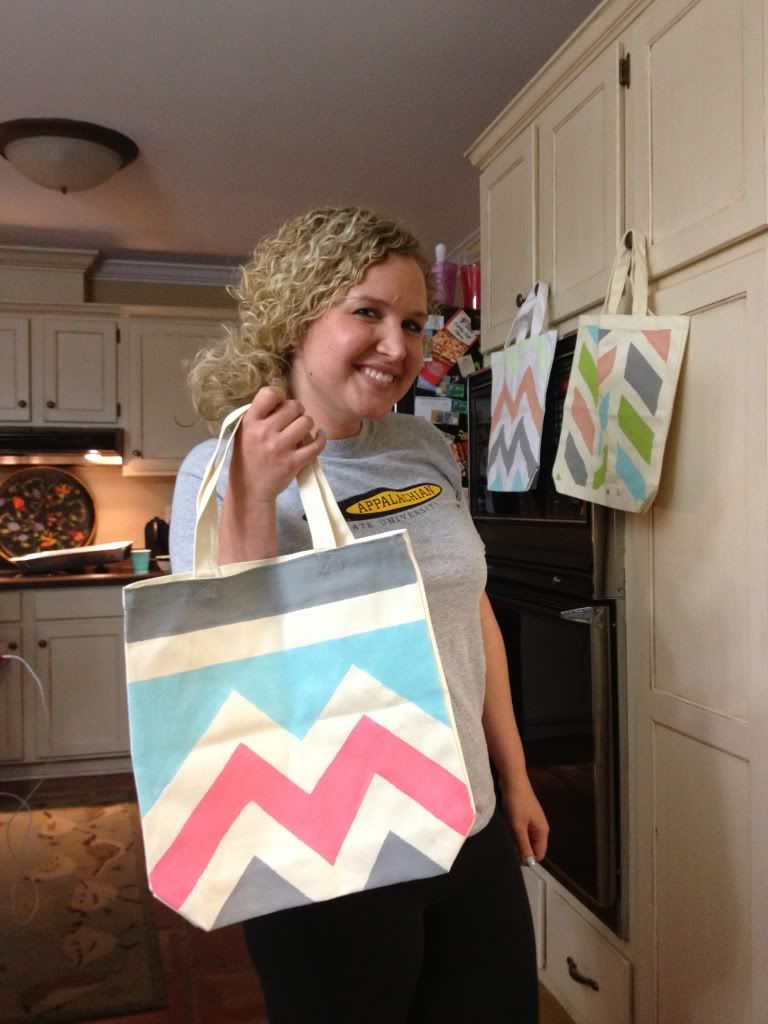
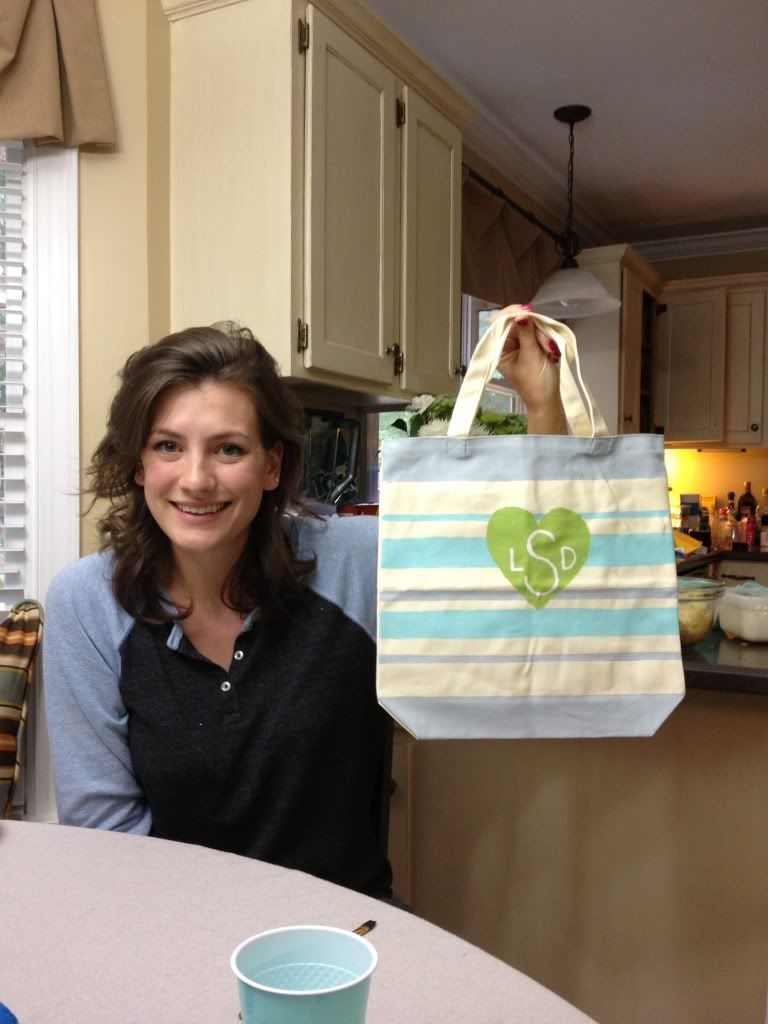
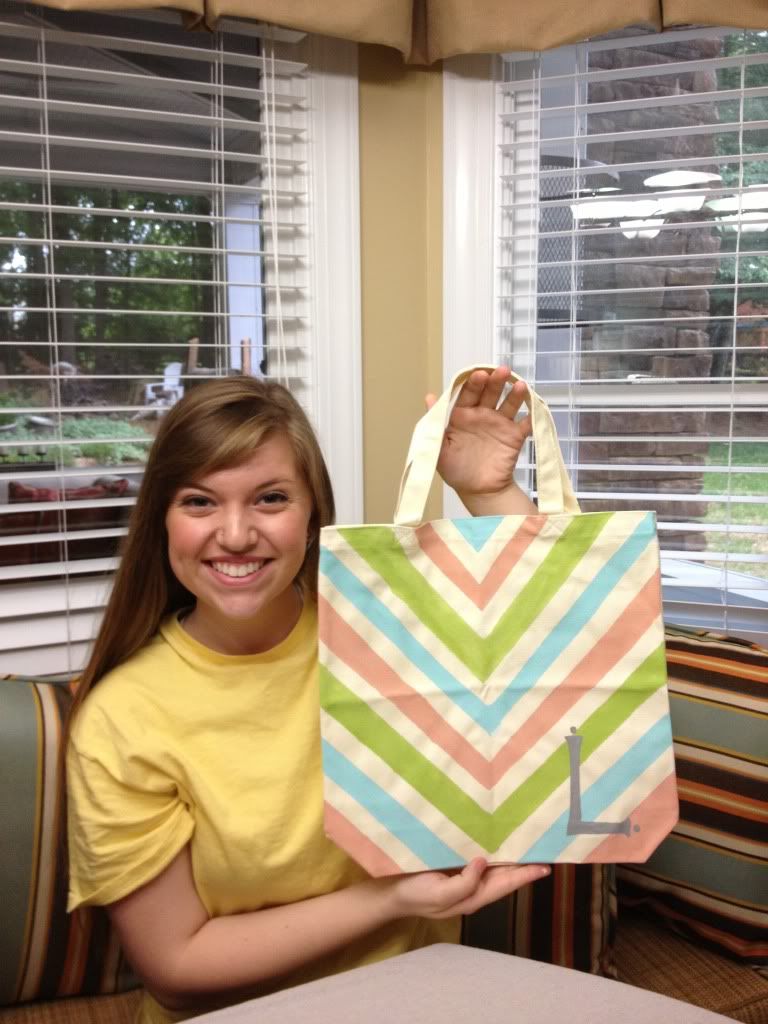
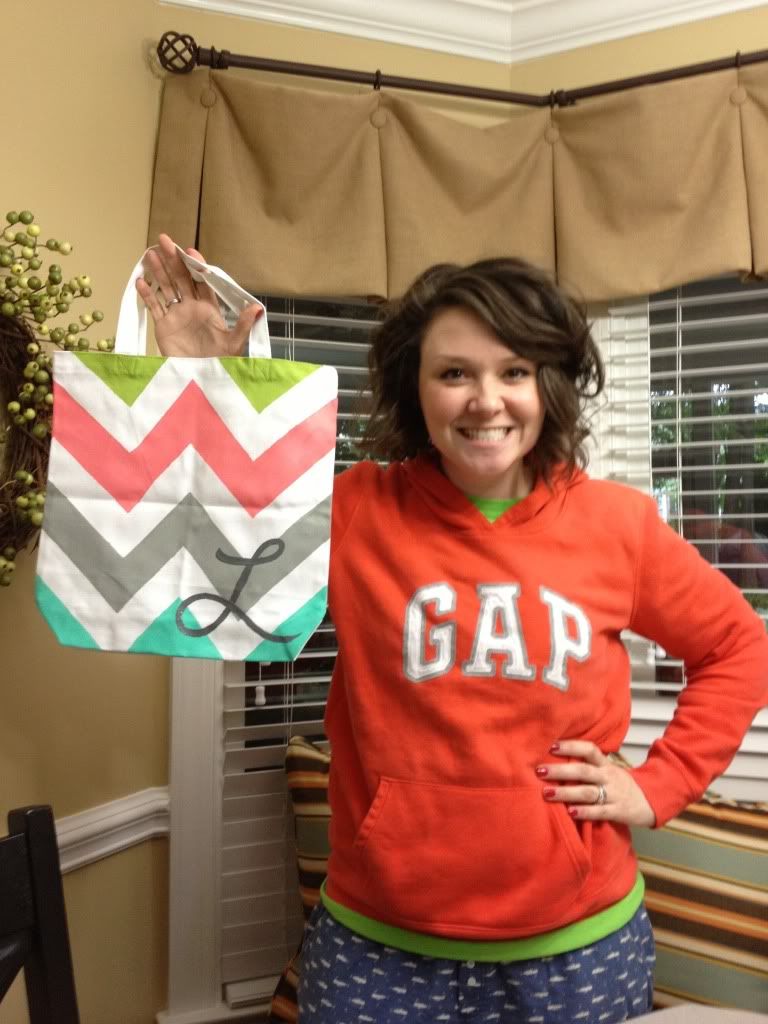
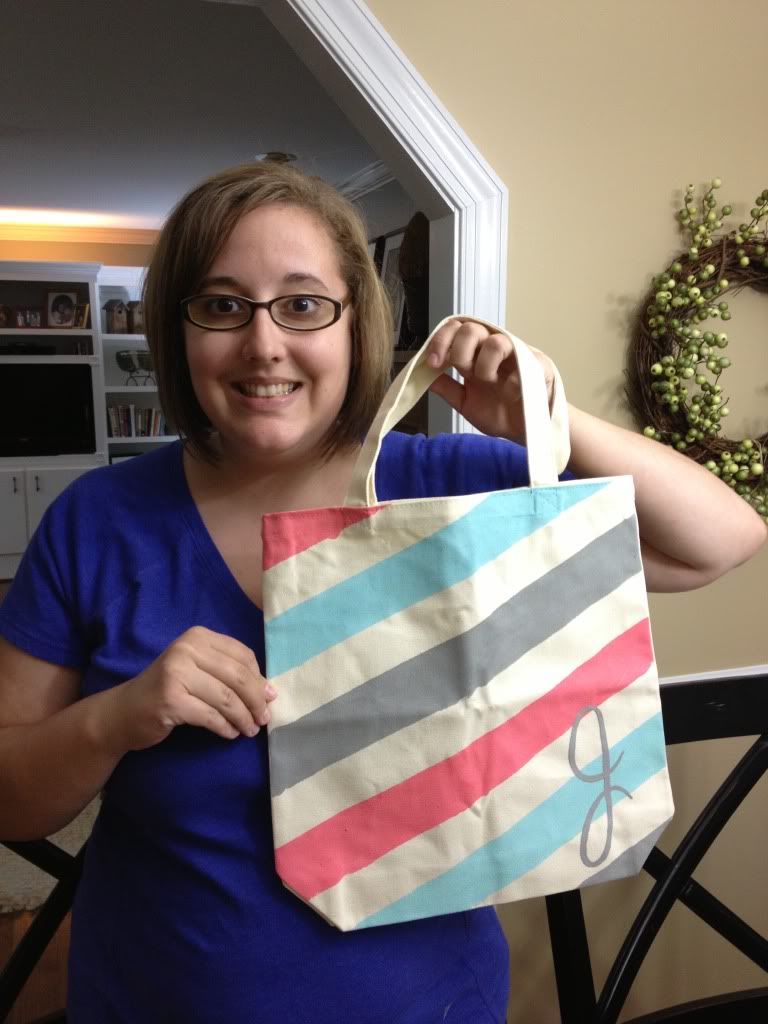
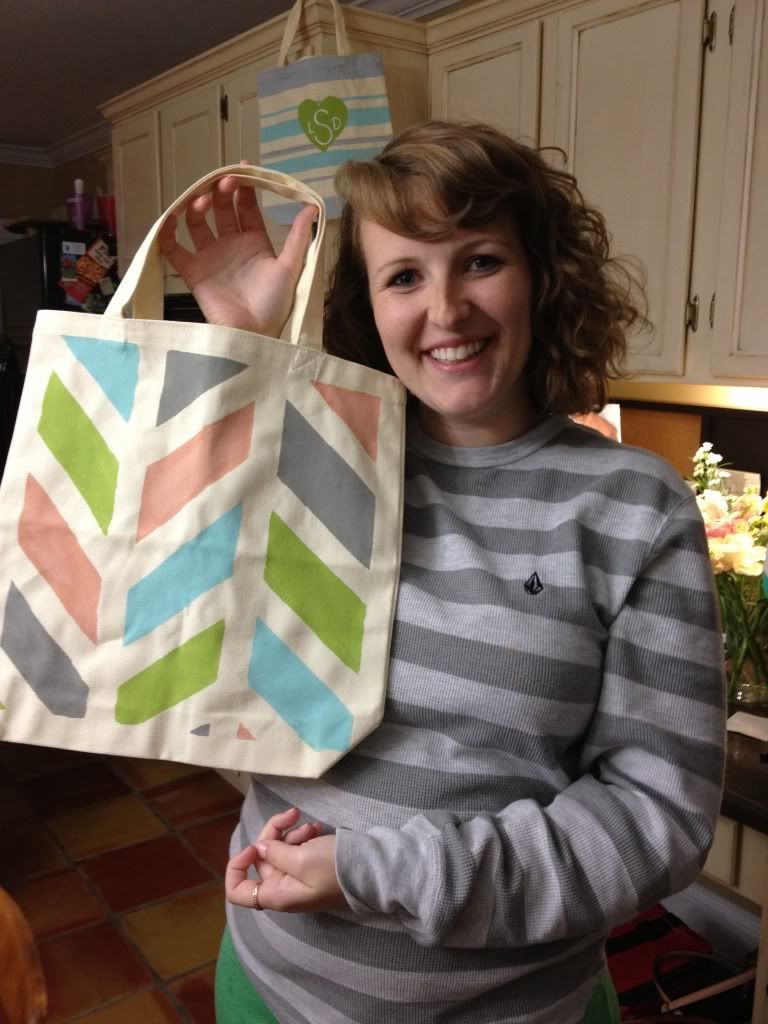
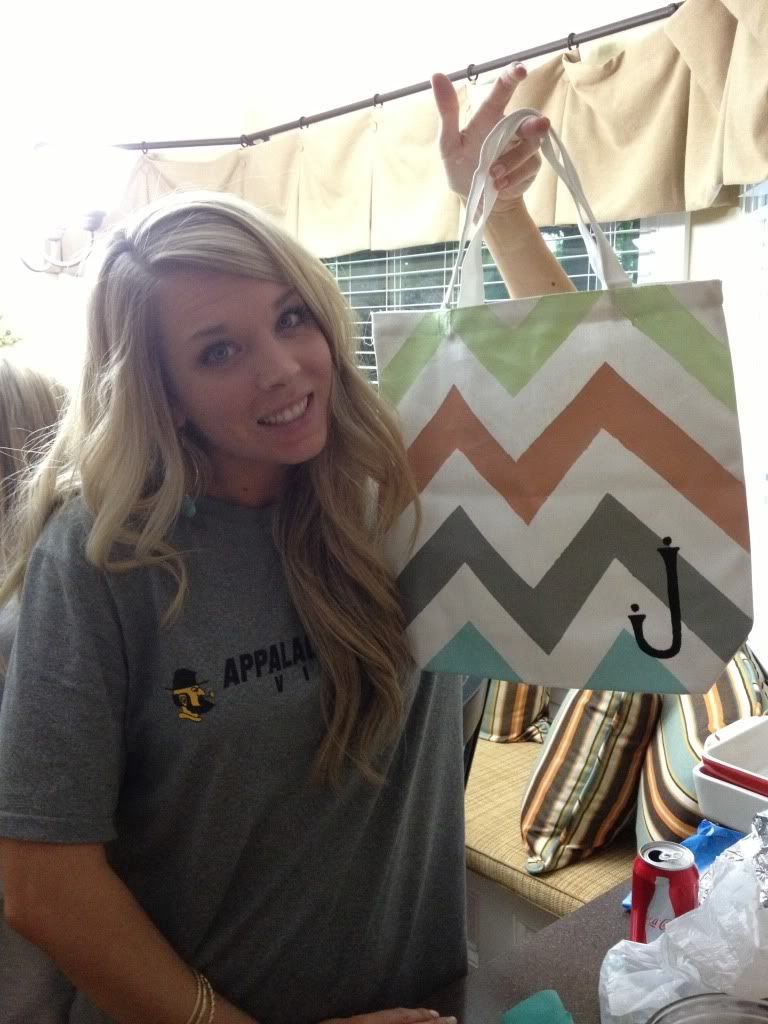
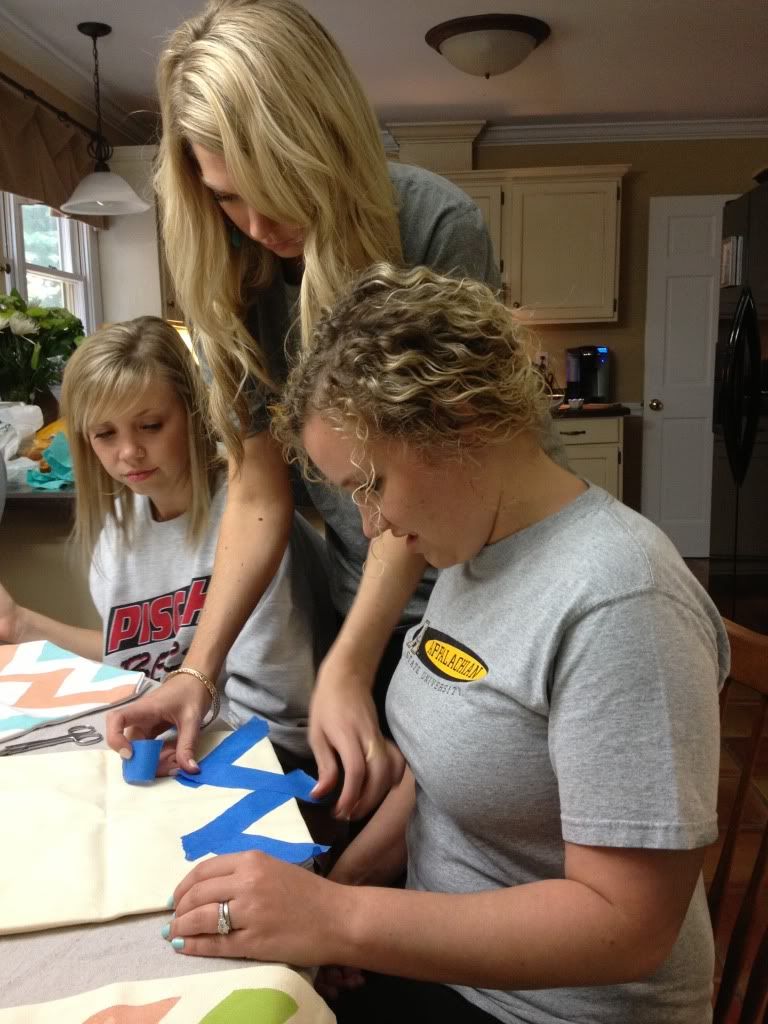
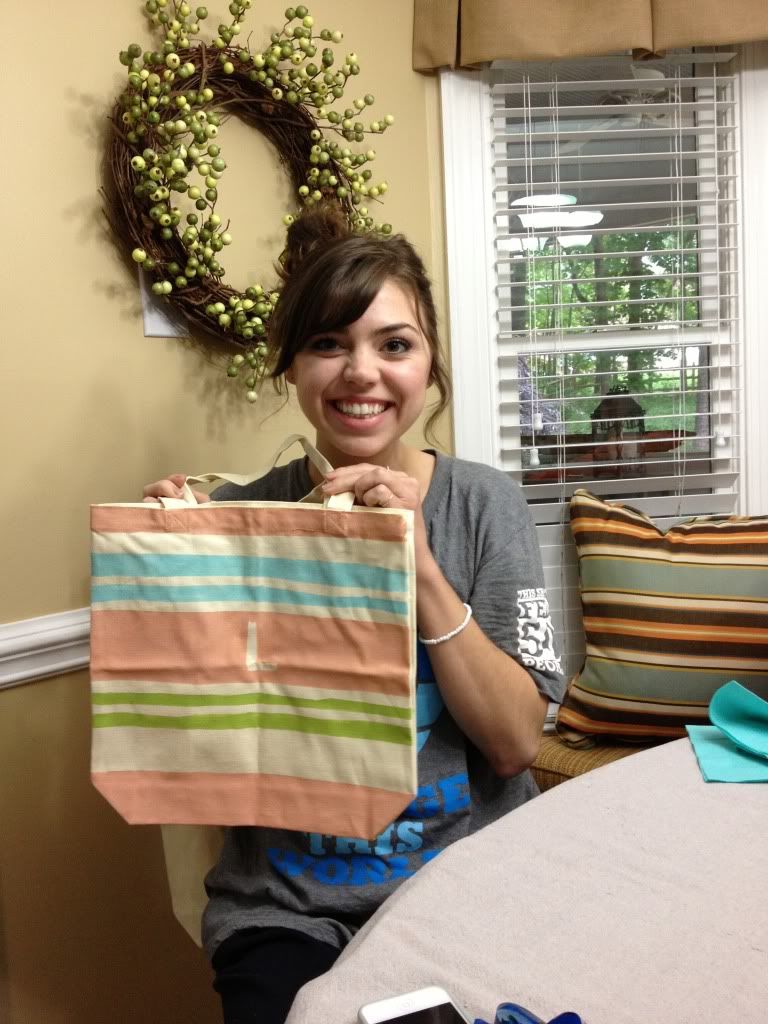
We used painters tape to tape off designs on our bags....stripes and chevron were both really popular! We painted the bags and then removed the tape. Once the paint was dry, some of the girls decided to freehand their initials on the bag as well. I think they turned out great!

 photo null_zps111ce2a6.jpg


Here is a look at all the designs they came up with!

 photo null_zps374415c4.jpg  photo null_zps85fdec13.jpg  photo null_zpsf7c9e475.jpg  photo null_zpsb6914dcb.jpg  photo null_zps899686bd.jpg  photo null_zpsadca7eb5.jpg  photo null_zps7b0e4588.jpg  photo null_zps3ecf5ed3.jpg  photo null_zps1add5697.jpg 

We had such a  great time and the bags turned out great!

Tuesday, April 23, 2013

Awesome Table Makeover!


A few months ago, we sold our yellow dining table on Craigslist. We sold it to Terry, who lives close by and had big plans for giving the table a makeover! I was so excited to hear from Terry after she finished the table! I am so impressed!!

 Check out the before and after pictures!


Isn't that an amazing transformation?! I love it!! I can't even imagine how much hard work went into this beauty! If you live in the area, you should check out Terry's booth, Rita's Decor and More in Downtown Lillington!


Tuesday, April 2, 2013

Some exciting news...

So, I have been really MIA lately but it's been for good reason!

Shortly after my last post, we found out that we are having a baby!!! It has really been all I can think about and plan for....and since we have been keeping it under wraps til now, it's been hard to post at all!

I will still be blogging but you will have to forgive me if most of my projects are centered around gearing up for baby!

We made a few announcements to spread the news! Here they are:

Our sweet pup had to have his own announcement...


I made a little burlap banner for Baby Nail....

Can't wait to start working on the nursery in a couple months!! Be back soon!

Sunday, February 10, 2013

Entryway Mud Closet: Part 2

Yesterday we finished the mud closet! If you missed the Part 1 post, it will you give you a little background to this project. Like I mentioned in Part 1, my parents came in town for my birthday yesterday and we finished the mud closet with them!

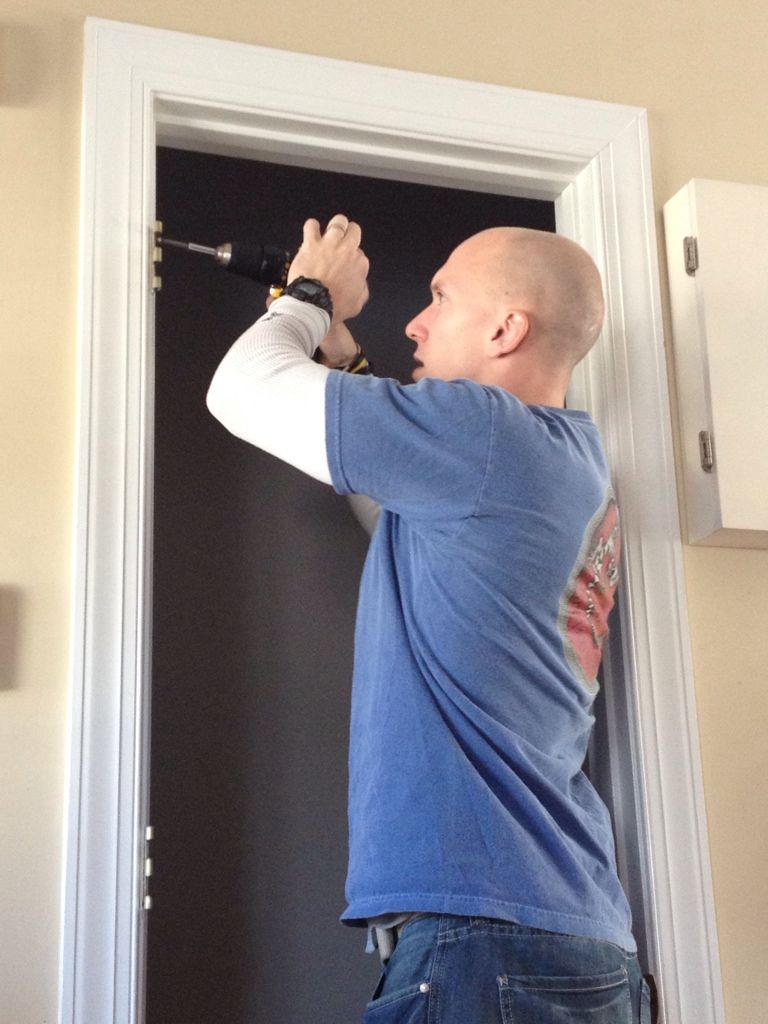
Before they got here, Gabe did a few final preparations.... he removed the door and hardware and patched it all up...
 photo 50B5E018-BD0A-4497-946B-8309BA4BB033-449-000000C515BFA29B_zps1c8a2ff4.jpg

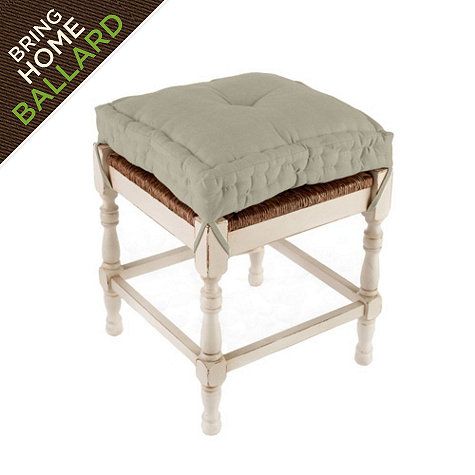
Once my parents got here, we unloaded some things that Mom and I had ordered from Ballard Designs... that is where we got the benches for the closet...
 photo T_WithoutZoom_zpsa6af82eb.jpg
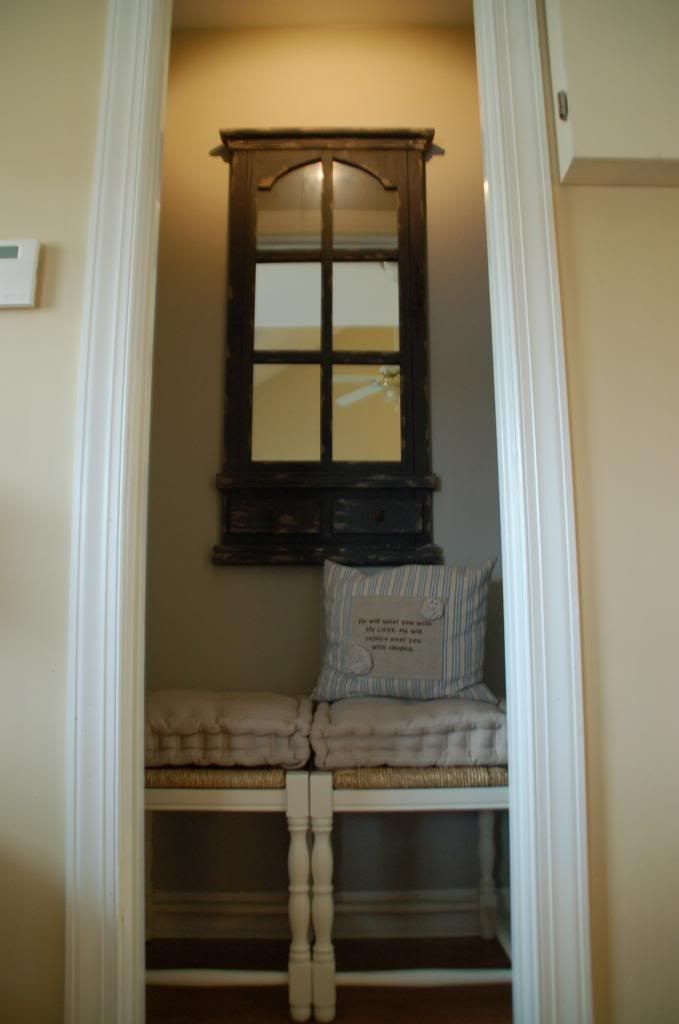
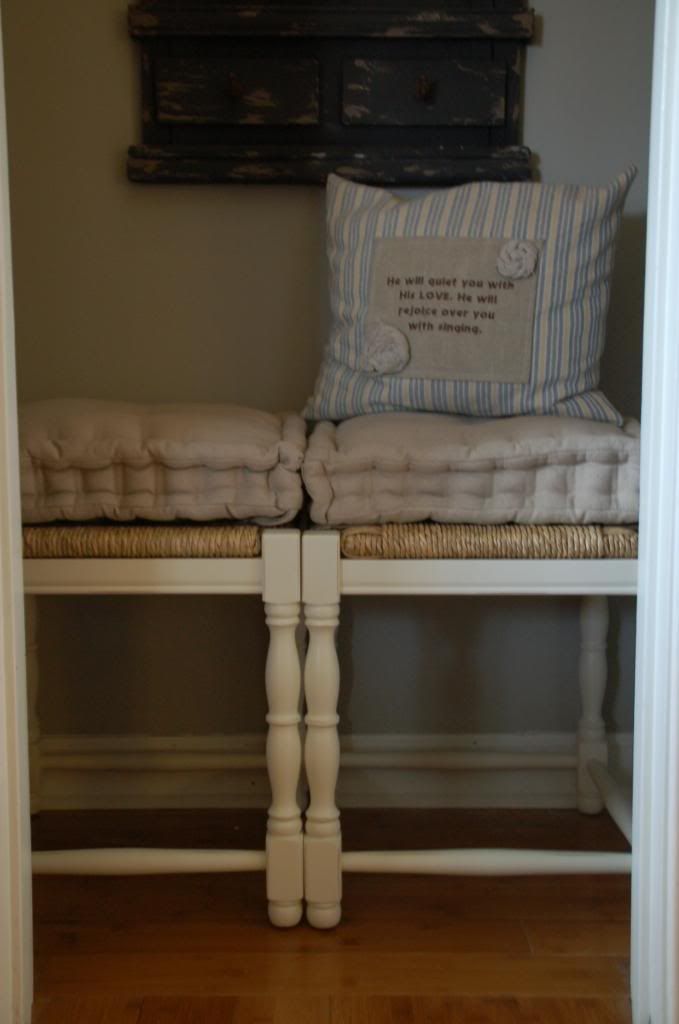
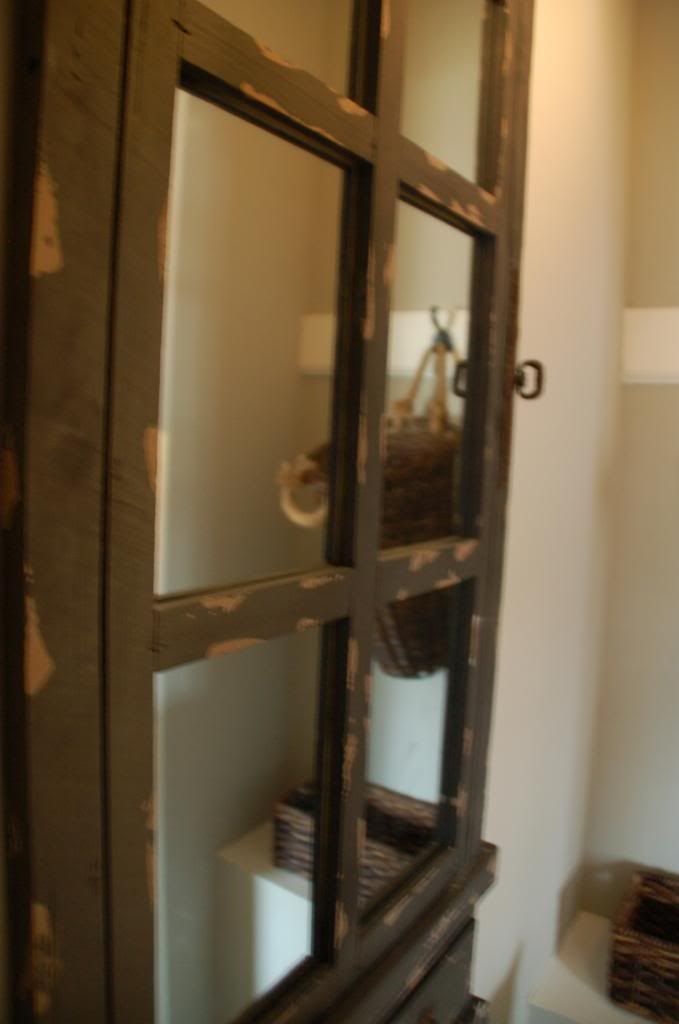
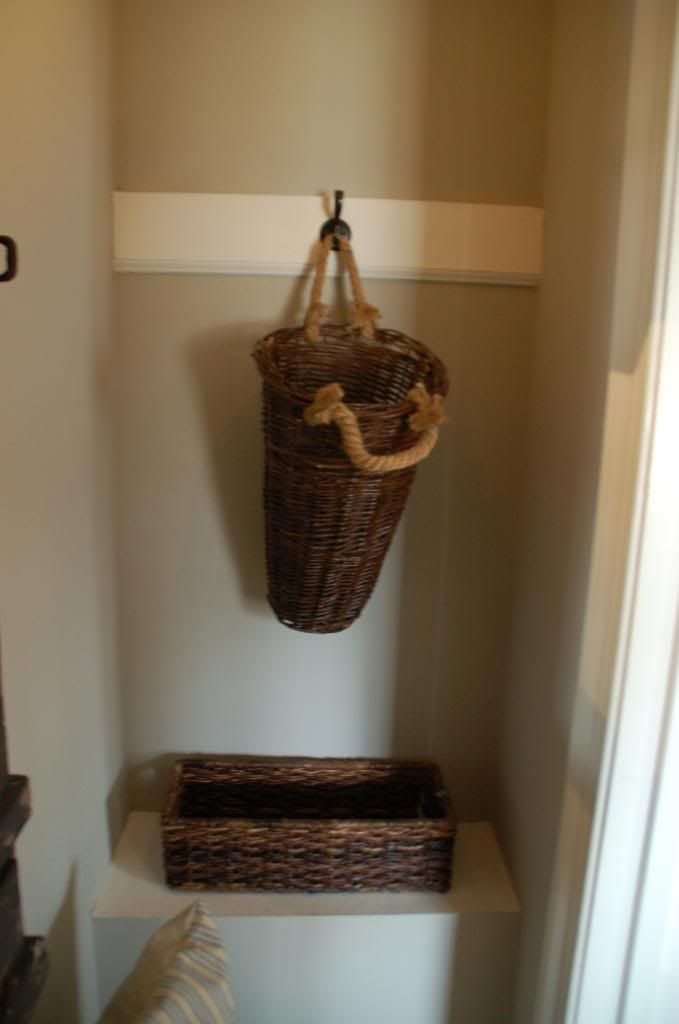
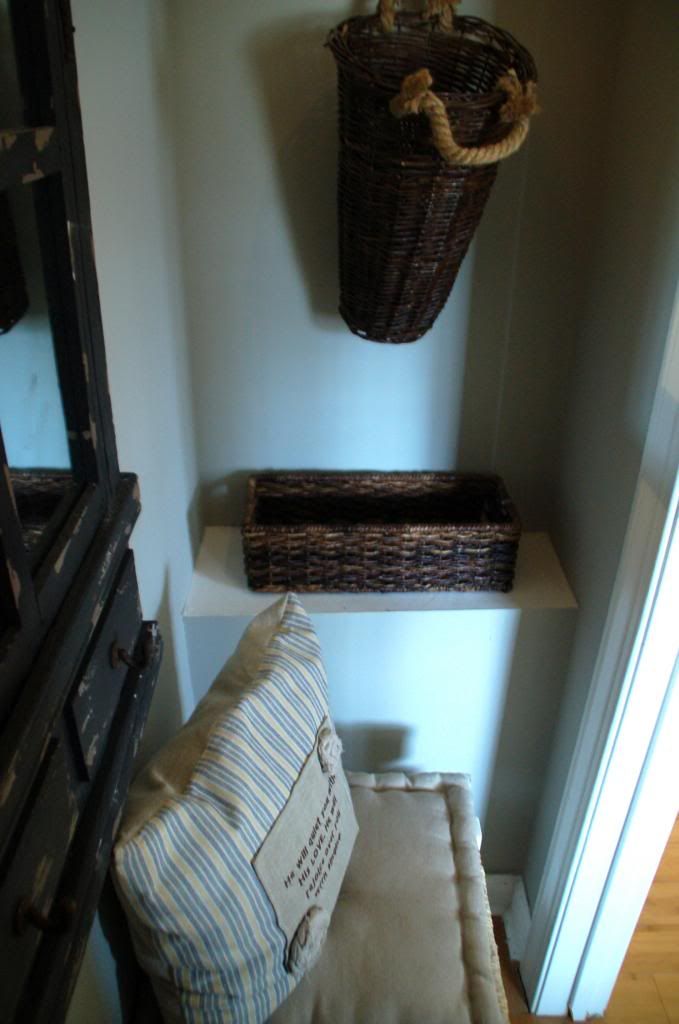
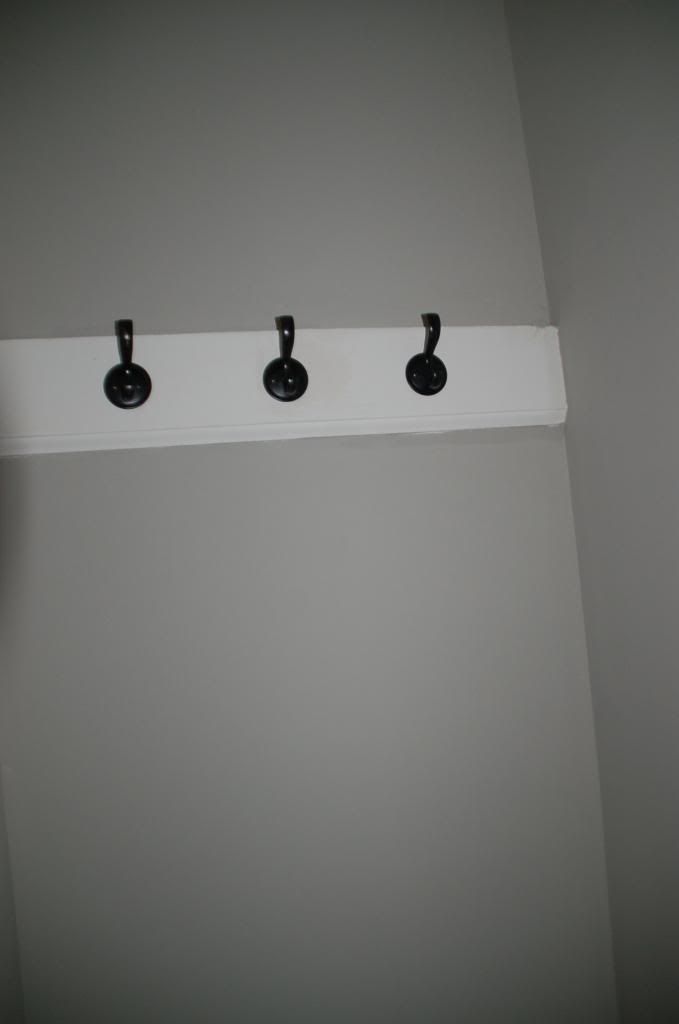
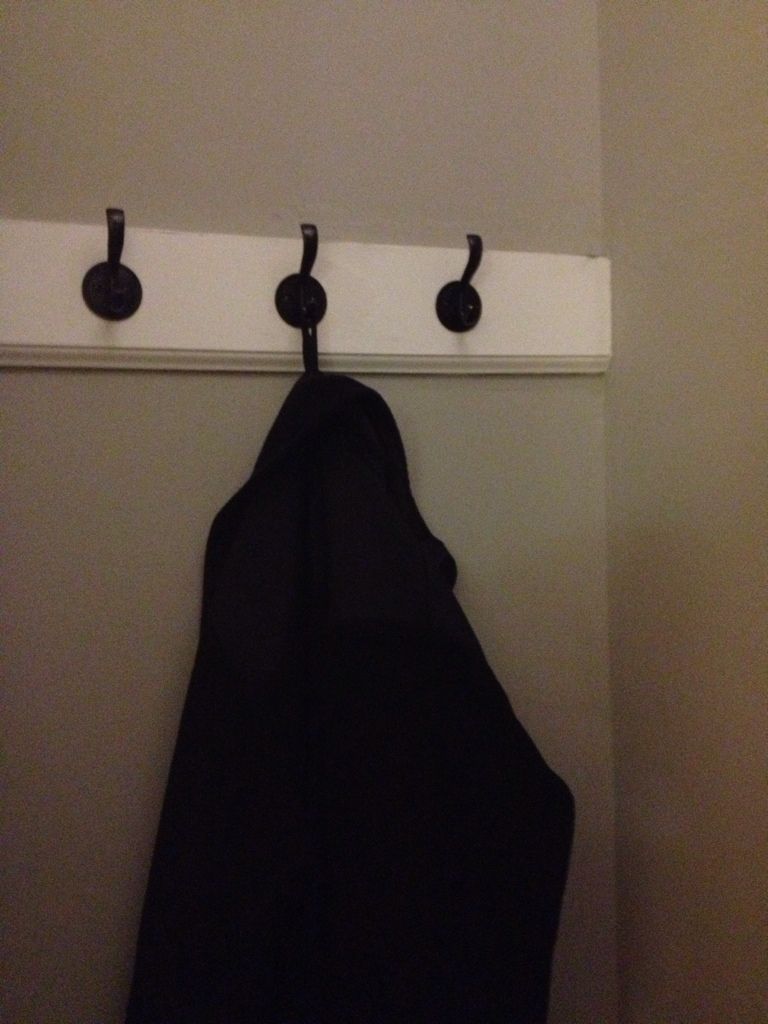
Then we went shopping for everything else we needed....we shopped at some local shops and found a large mirror....it kind of looked like an old window or door....we knew it was perfect for the space we had. We also made a trip to Target and Lowes....picked up some hooks, a basket, and a battery powered light.

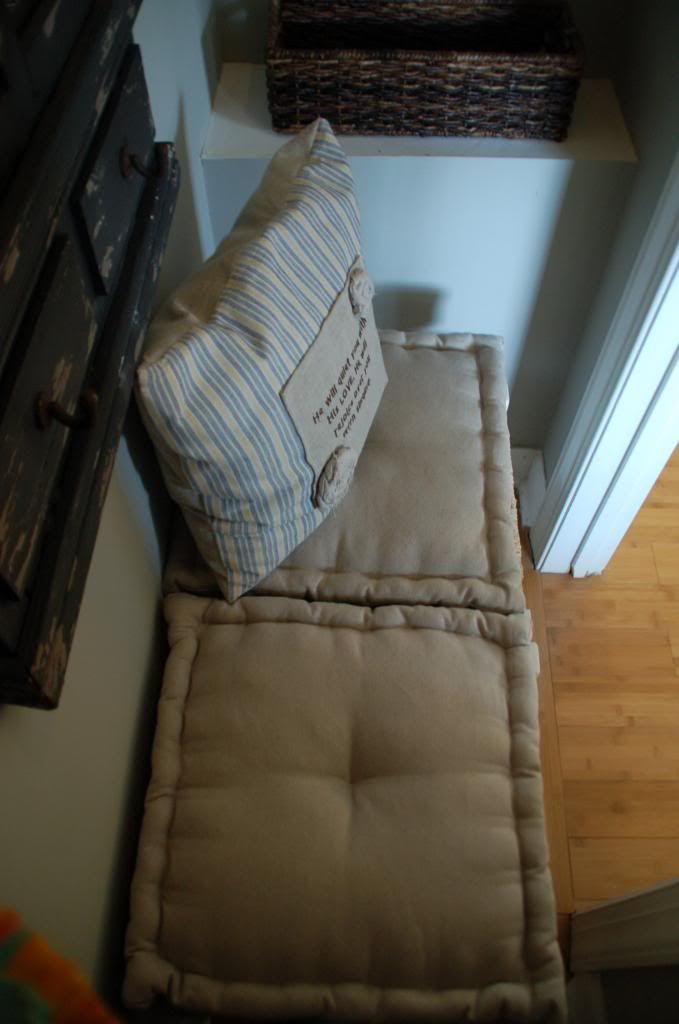
Here it is!!! I really love it! It is very minimalist by design, I wanted something visually appealing and functional without drawing too much attention to it.
 photo DSC_2681_zps49fc2571.jpg
 photo DSC_2682_zpseeb32c3a.jpg
 photo DSC_2676_zpse9cb8496.jpg
 photo DSC_2674_zps9fa054dd.jpg

This is the right hand side of the closet...
 photo DSC_2673_zps31d9079e.jpg
 photo 1ec92929-9bfb-4d37-83b9-69b08e537120_zpseb9aaa22.jpg

This is the left hand side....
 photo DSC_2692_zps65217b44.jpg
 photo 23EA5AF9-D926-4D4F-8FF4-49D06F4A7C4B-449-000000C4DE993C11_zpse7e42924.jpg

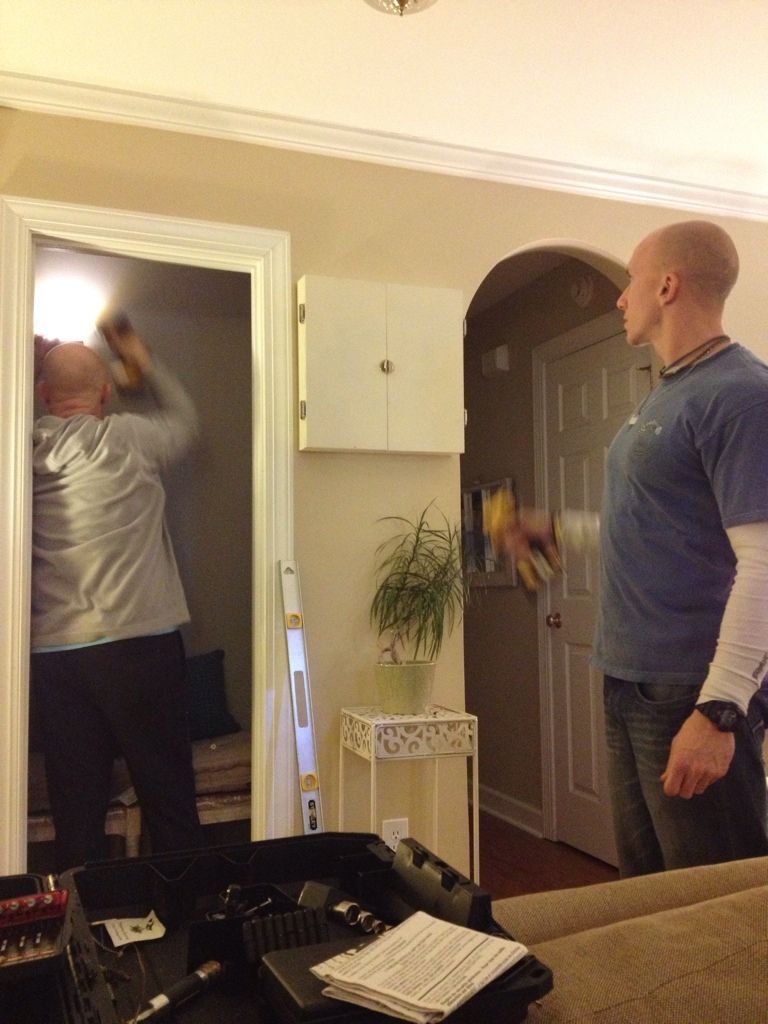
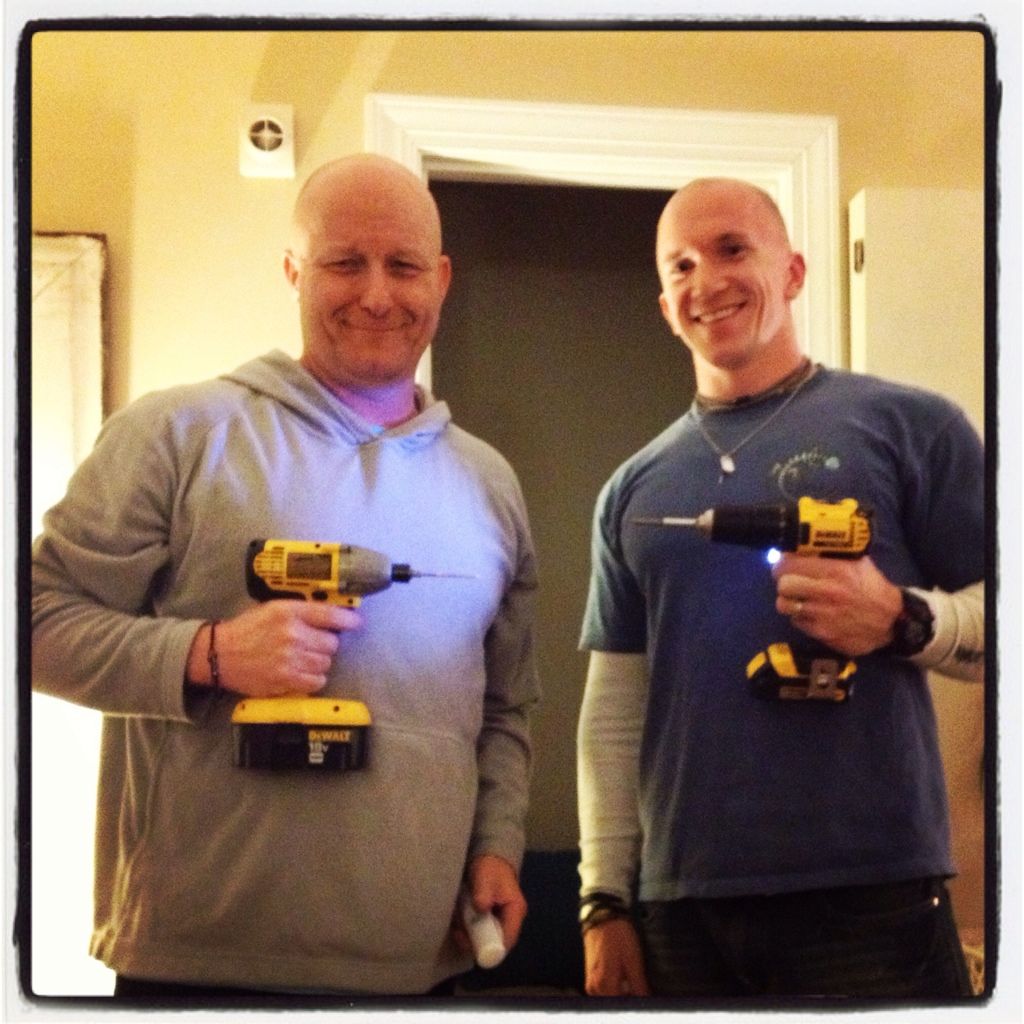
My dad and hubby were so great at tag teaming all of the hanging and drilling...
 photo 93B1DB54-2999-452C-A659-59282CA020A2-449-000000C4F51F6CFD_zps8dd4a351.jpg
 photo D91D7FCD-E721-4247-8601-798ACAD24926-449-000000C4D11FAFE7_zps70ac7fc0.jpg


We are so happy with the entryway mud closet!! Thanks mom and dad for a great birthday project! :)

Wednesday, February 6, 2013

Simple Valentine Decorations

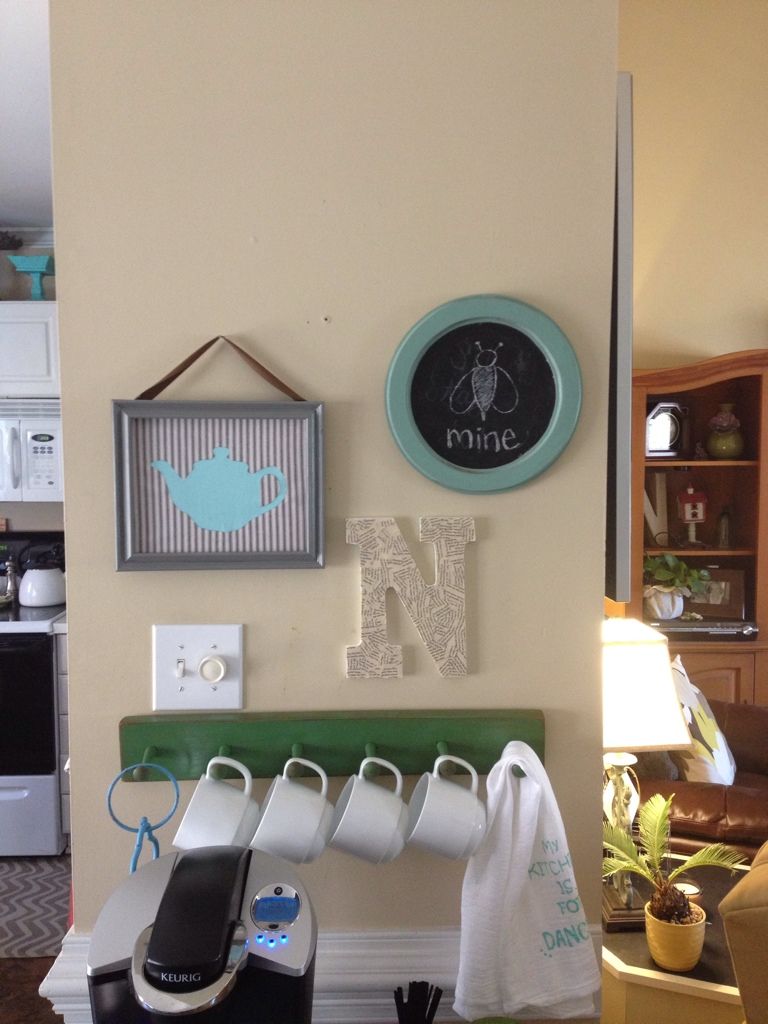
I decided to add just a few small touches of Valentine's Day around the house. Two of the three things I did just involved changing out what my chalkboards have on them...

I did a simple play on "Be Mine" with a drawing of bee...
 photo DECC30EA-5599-42FD-8BCF-D8F6CFEF5BFD-3804-000003656363C6EB_zps7e42da3f.jpg

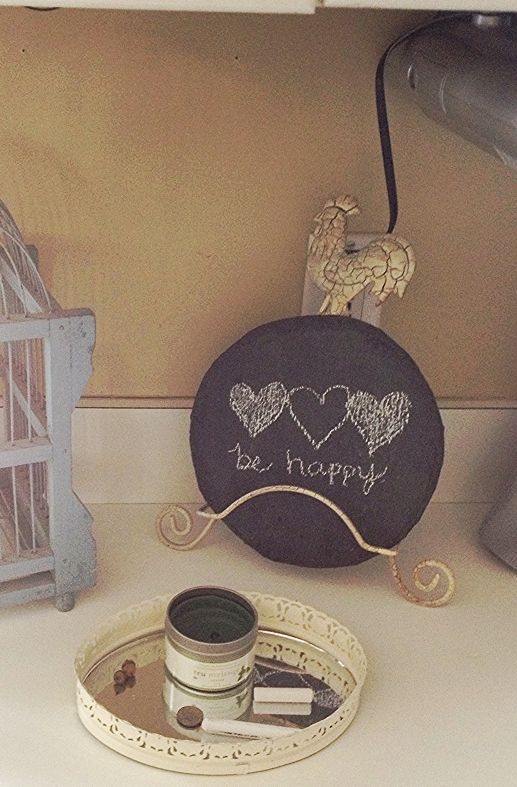
I did a quick heart design on the other...
 photo 6739be73-3836-4661-b7ec-eed3ed58dc53_zps4407334a.jpg

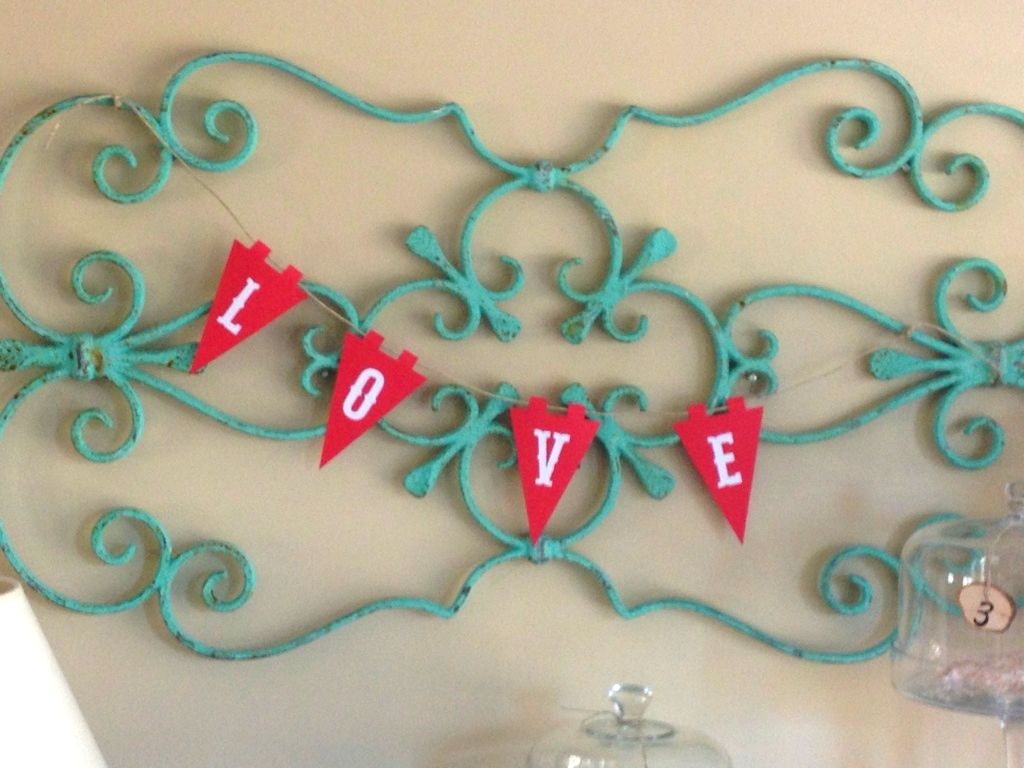
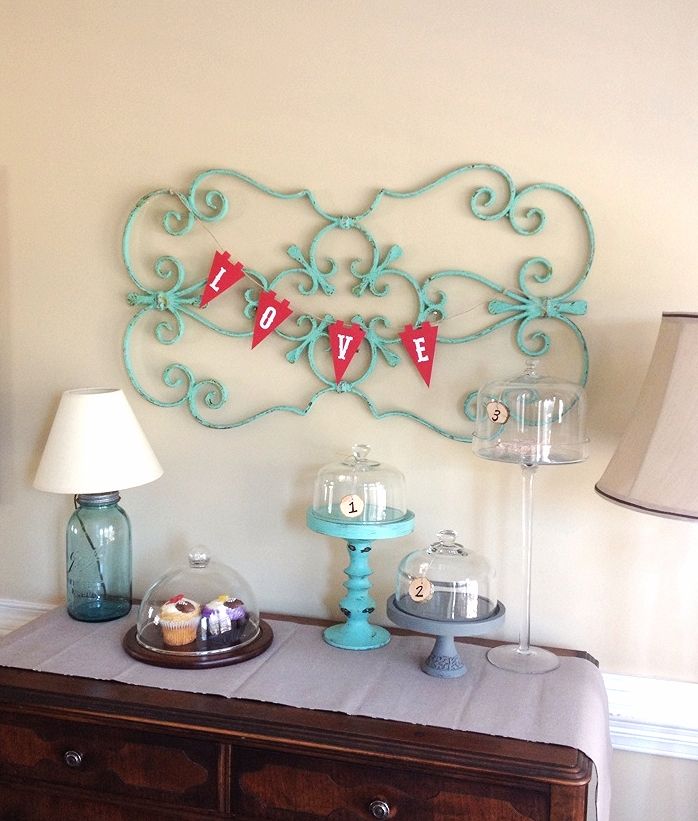
The last thing I did involved a little more work but it was still really simple. I used my Silhouette to cut out a Love banner! I used a pennant design that is one of the freebies that comes with the Silhouette and I cut 4 of them onto red cardstock. I then cut out the letters to spell LOVE onto white cardstock. I glued the letters onto the pennants and I strung the letters together to hung them above the buffet!

 photo d61fa59e-be7d-4c27-b951-27b549a246f0_zpscb993814.jpg
 photo 842a69ab-23c7-4650-88bd-66450e074094_zpse622abbc.jpg
 
That's about all I will do to decorate for Valentine's Day this year!

Monday, February 4, 2013

Entryway Mud Closet: Part 1

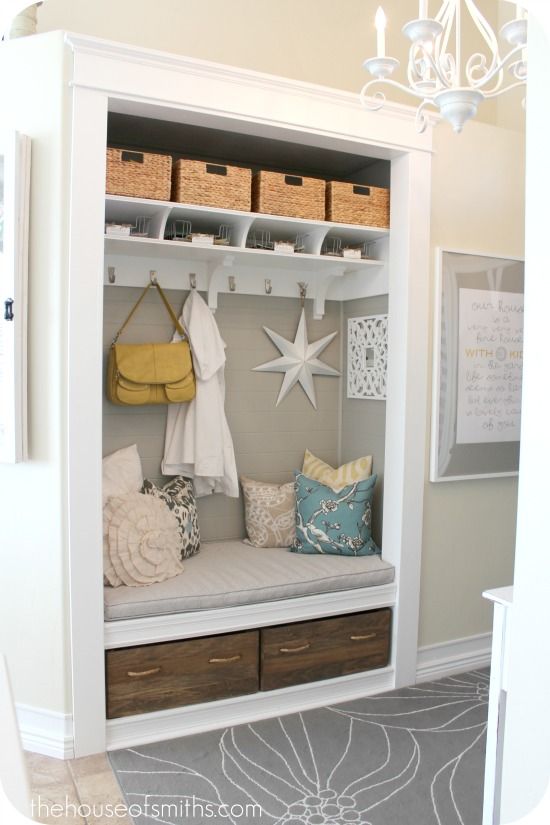
Last year at this time I fell in love with The House of Smith's entryway closet makeover. They transformed a closet in the entrance of their home into a nook to organize and store typical "mud room" or "command central" items.

 photo EntrywayClosetMudroommakeover-thehouseofsmithscom_zpse38eec1e.jpg

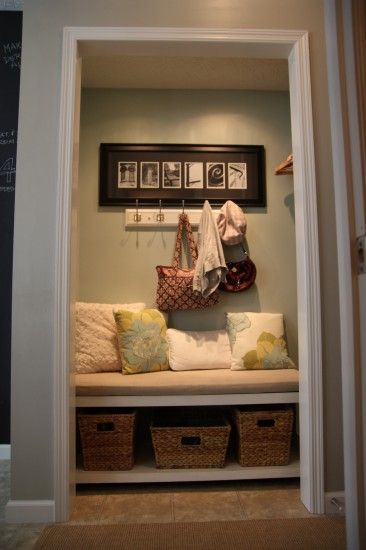
I was immediatey inspired by their makeover and started thinking about how we could do something similar. We have a closet right by our front door that would be perfect for this type of transformation. We aren't going to be able to widen the space any, so I started looking for some smaller closet transformations and I found another awesome one by House Tweaking!

 photo july-11-pic-e1280520105489_zps6358bd71.jpg

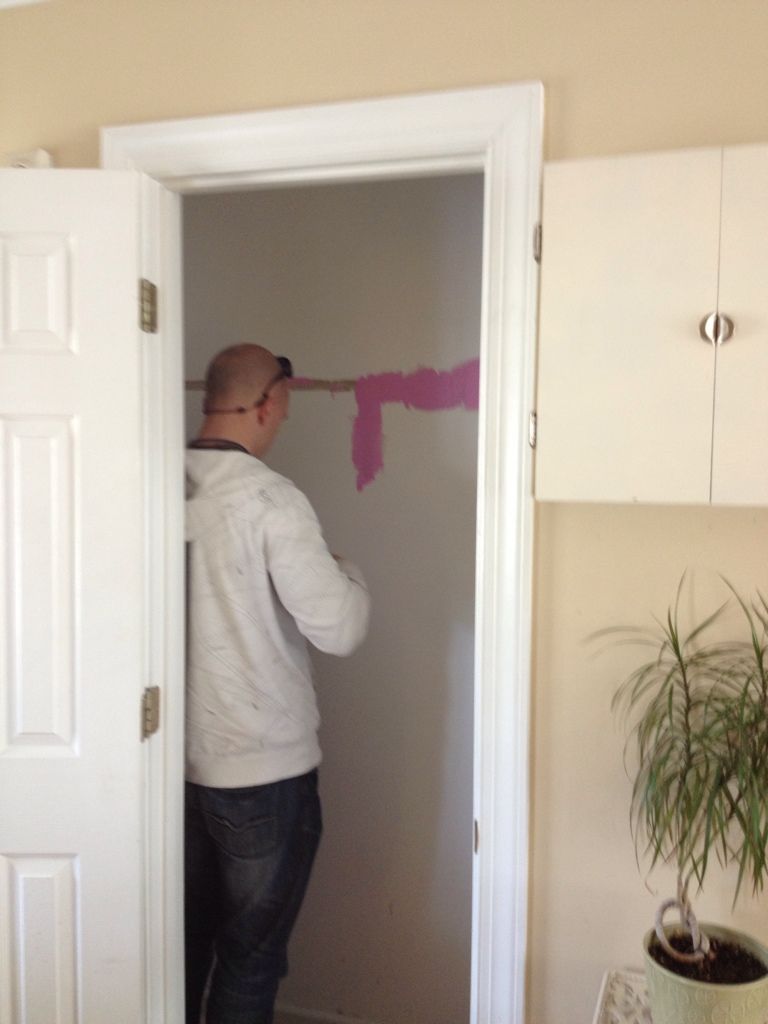
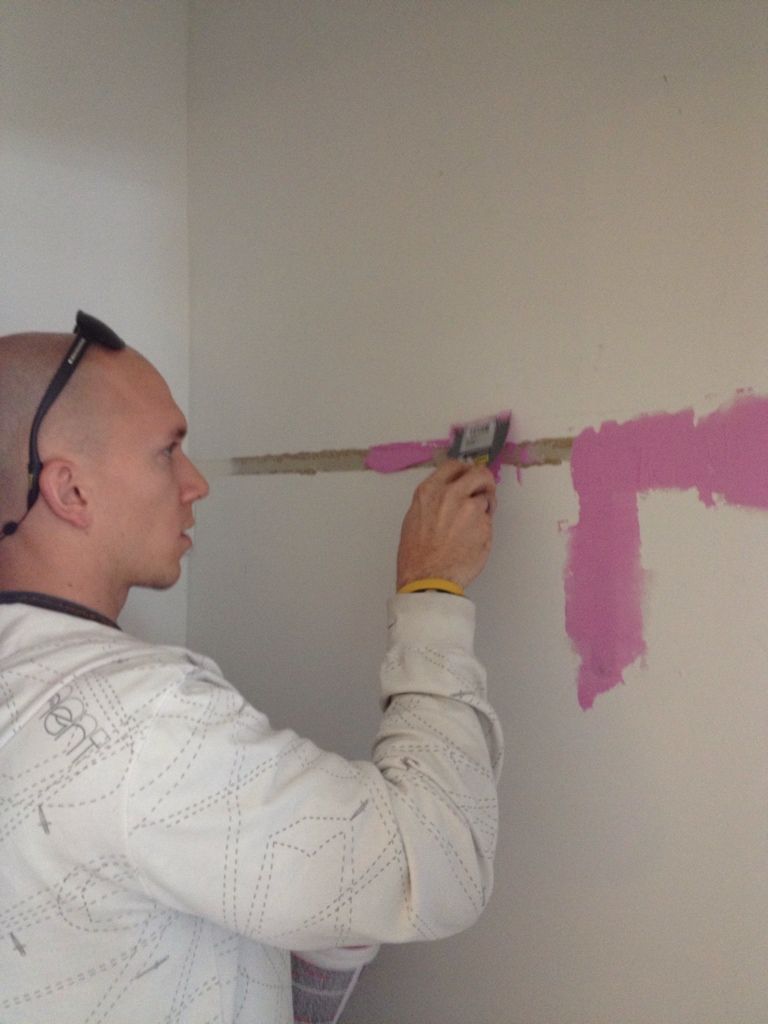
This past weekend we began the process of transforming our closet by cleaning out and painting the closet. We took down all of the previous shelving and hanging bars to completely start from scratch.

Here is my hubby hard at work prepping the closet:
 photo A5861116-955E-4835-B0EA-2DFC411E5DD3-6064-000005D5A2708333_zps0d33a0ae.jpg
 photo 6E245D43-4BF1-417B-8F3A-82D5286C175A-6064-000005D59EE798C8_zpsf604f4ee.jpg

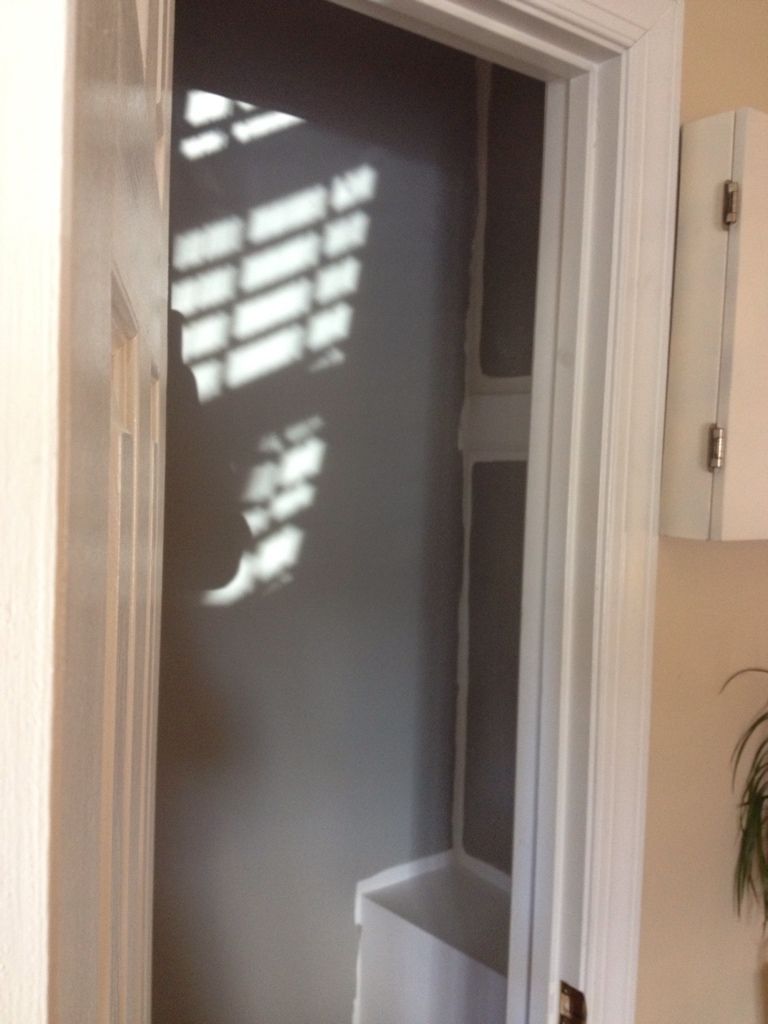
Here is a quick shot of the closet with a coat of paint... photo 096FFED5-116B-4515-B396-9B28C0BFF941-6064-000005D579152769_zpse9f7006c.jpg

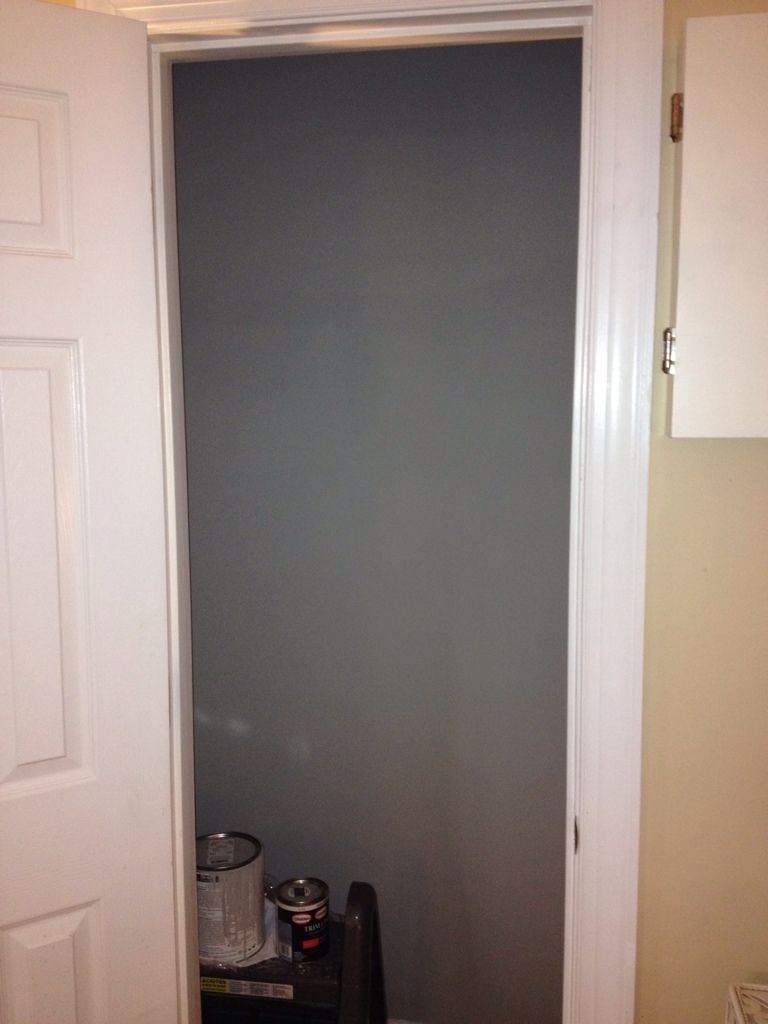
Here it is completely painted! We used the same Sherwin Williams 
Mindful Grey that we used in our bedroom!
 photo 28C805BA-842E-4AC1-8650-05F8615CD1B5-6064-000005D51F01D1B1_zpsc269b4a8.jpg

This weekend, my parents are coming into town to celebrate my birthday and we are going to tackle the rest of the project together! I LOVE working on projects with my mom, she has such a great eye for design and is so creative! She helped me revamp our Master Bedroom last year. You can also her style HERE!

I can't wait to share the finished closet with you next week!!!

Sunday, February 3, 2013

DIY Beachy Pillows

My in laws recently bought a beach house and have been working hard to get it completely furnished and decorated!

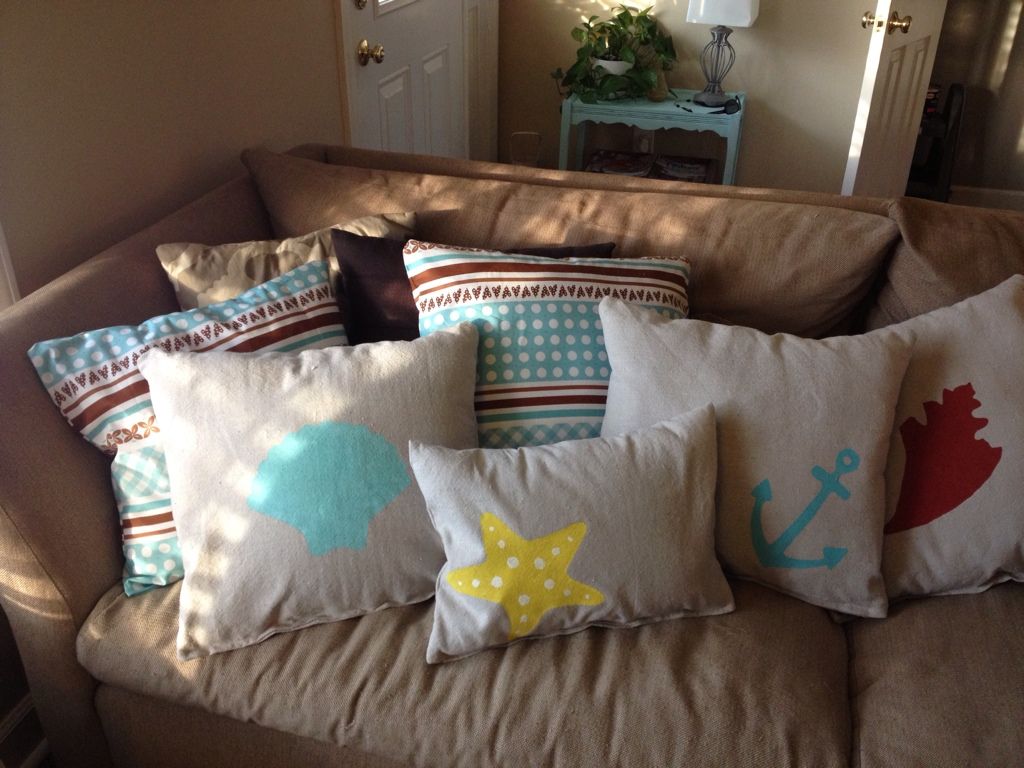
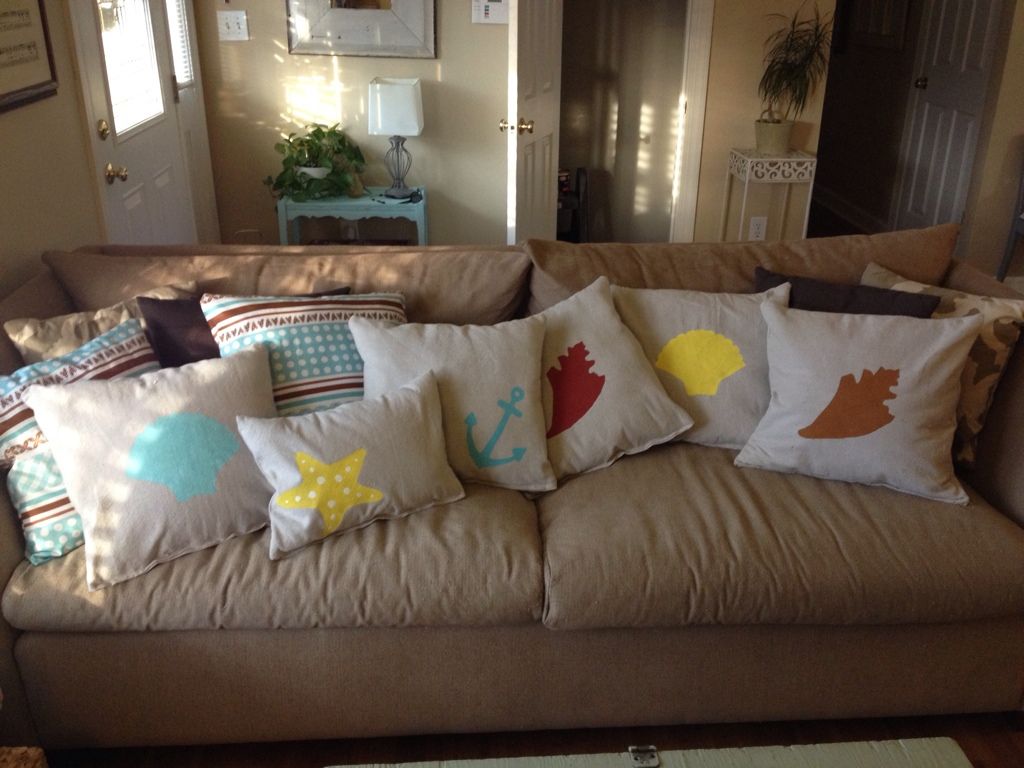
To keep the costs low, my mother in law and I decided to make some decorative pillows without much investment. We did purchase one yard of fabric from the sale section of Fabric.com. Other than that, we used dropcloth and paints that I already had on hand. We also used old decorative pillows from my in laws home as the inserts!
 photo 999E06D2-E612-430C-9AF8-AD2C596F411B-6064-000005D57509488E_zpse39b280c.jpg

Using the items we already had made this a cheap project!

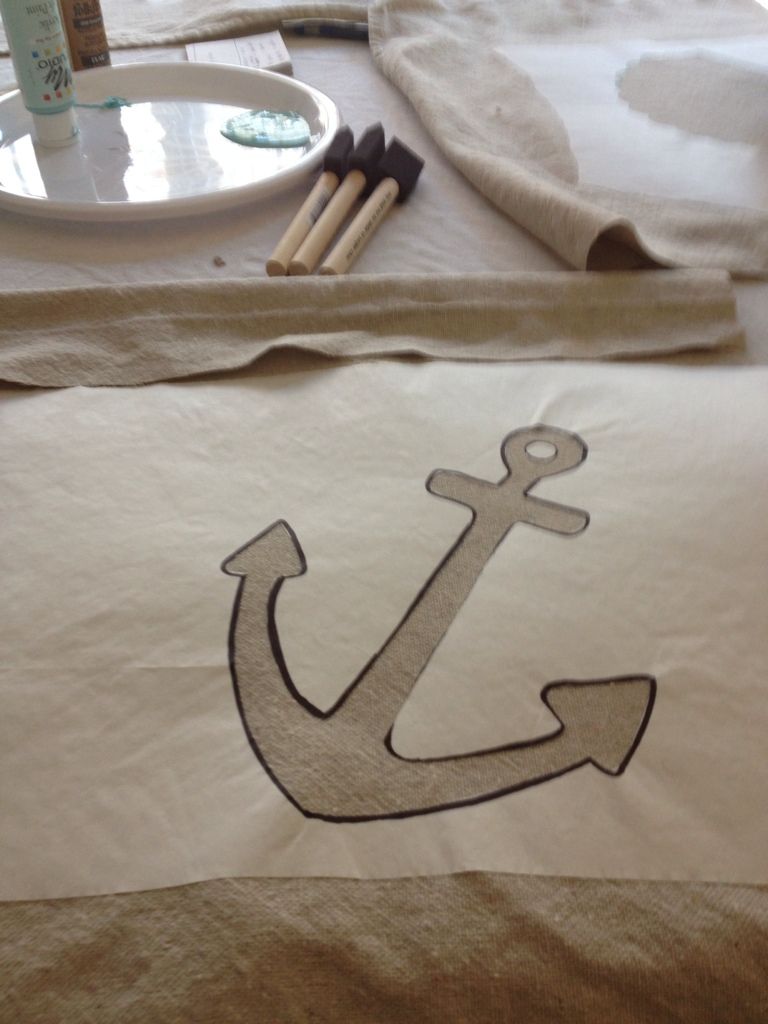
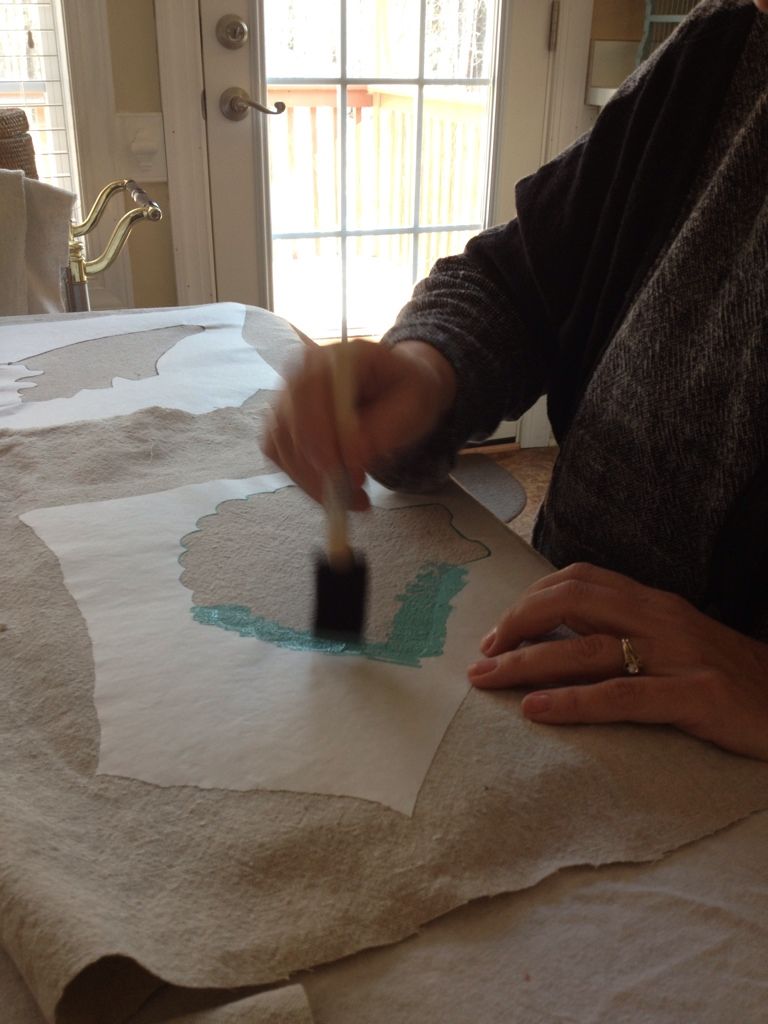
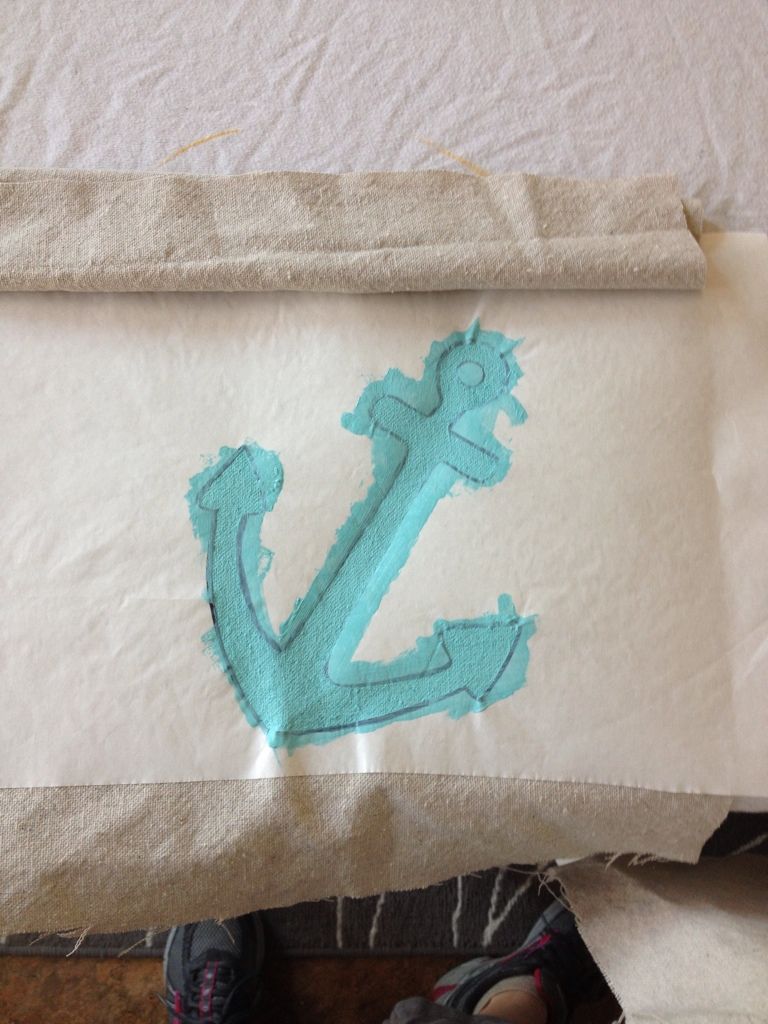
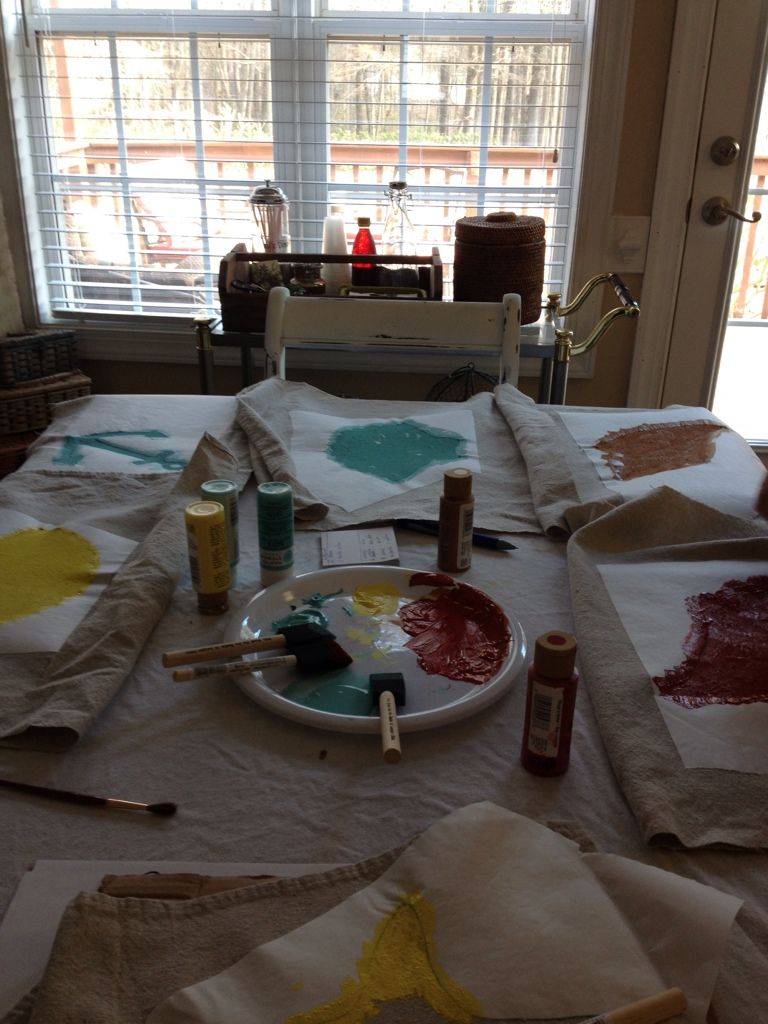
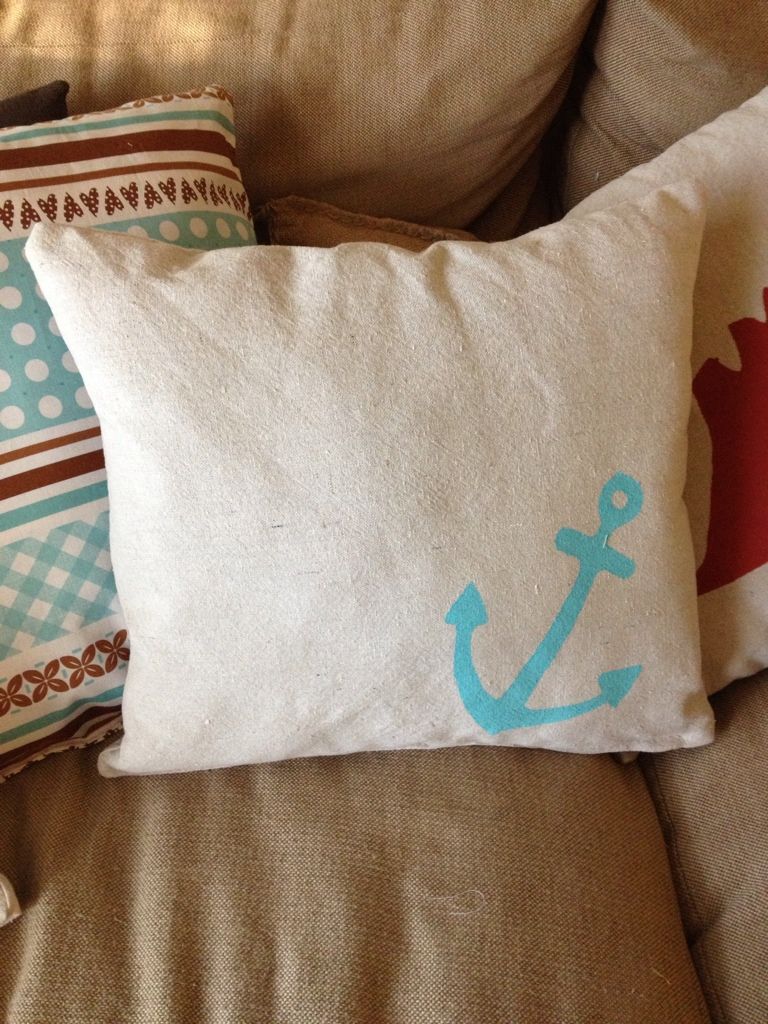
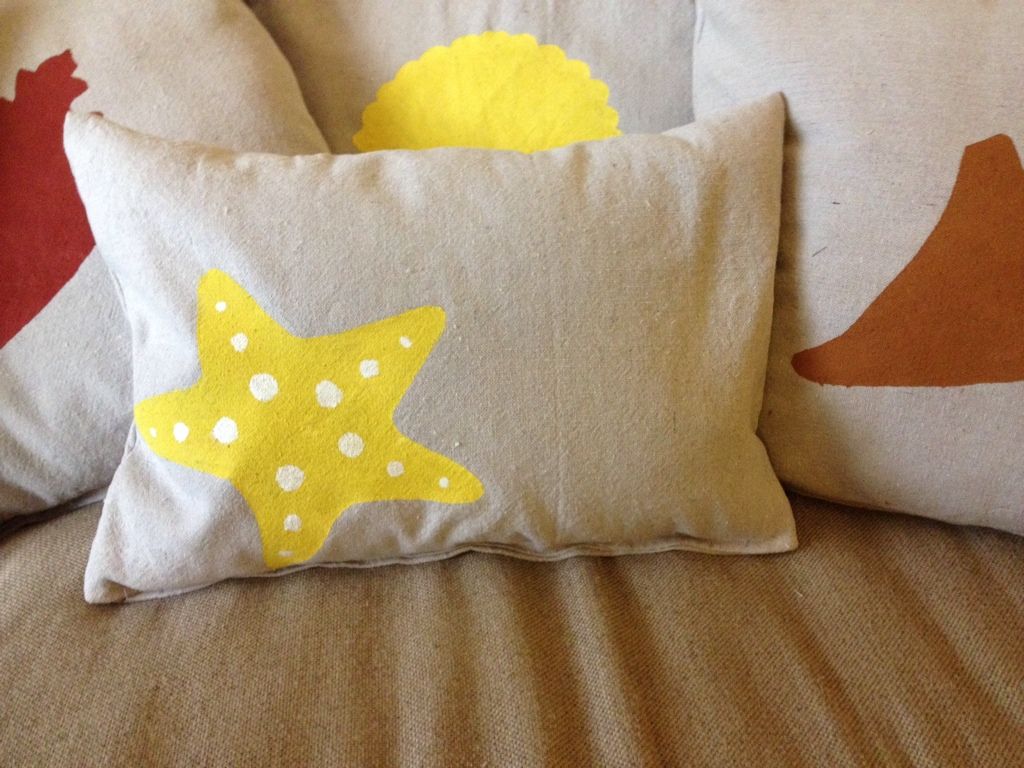
We used lots of freezer paper to create stencils of anchors and shells...then ironed the stencils onto the drop cloth.
 photo 091CB23B-19DA-4F43-AA1D-927C3CEED539-6064-000005D59667DBF8_zps1e99978a.jpg
 photo E541A4C6-1DA6-4B83-9955-C8134AD33025-6064-000005D580DD4364_zpsc74513ae.jpg
 photo 19650B94-2212-48EC-9A17-7F153308EB1B-6064-000005D57C6EDD53_zps6954ee34.jpg
 photo AB483E15-277F-4887-B701-14D204CC10E7-6064-000005D55EBD67BD_zps244a7ce9.jpg

Once the paint dried, we peeled off the stencils and we sewed the pillows! For a full tutorial on using freezer paper stencils, click HERE!


 photo B2FE53B1-B9B2-4845-A962-2917206A3C14-6064-000005D558CF9094_zps53c465f3.jpg
 photo B0BF068E-CD2D-4BC5-B93C-82BBB45C4DE9-6064-000005D54E8DD666_zps8dff1364.jpg
 photo 2AA21E6A-DE11-4339-83B5-25D8524D9218-6064-000005D528DC2A14_zps6deed1ac.jpg
 photo 60E8C86A-1886-4713-AD5F-07171AD8D492-6064-000005D52280CEDD_zps1eda7b3e.jpg

I can't wait to see the pillows once she takes them to the beach house!!