Pages

Monday, August 29, 2011

Finally in LOVE with my Centerpiece

I have always struggled with what to put in the center of our dining table. Take a look at my previous centerpieces.....they aren't terrible but I would still say they are mediocre....and I never loved them...
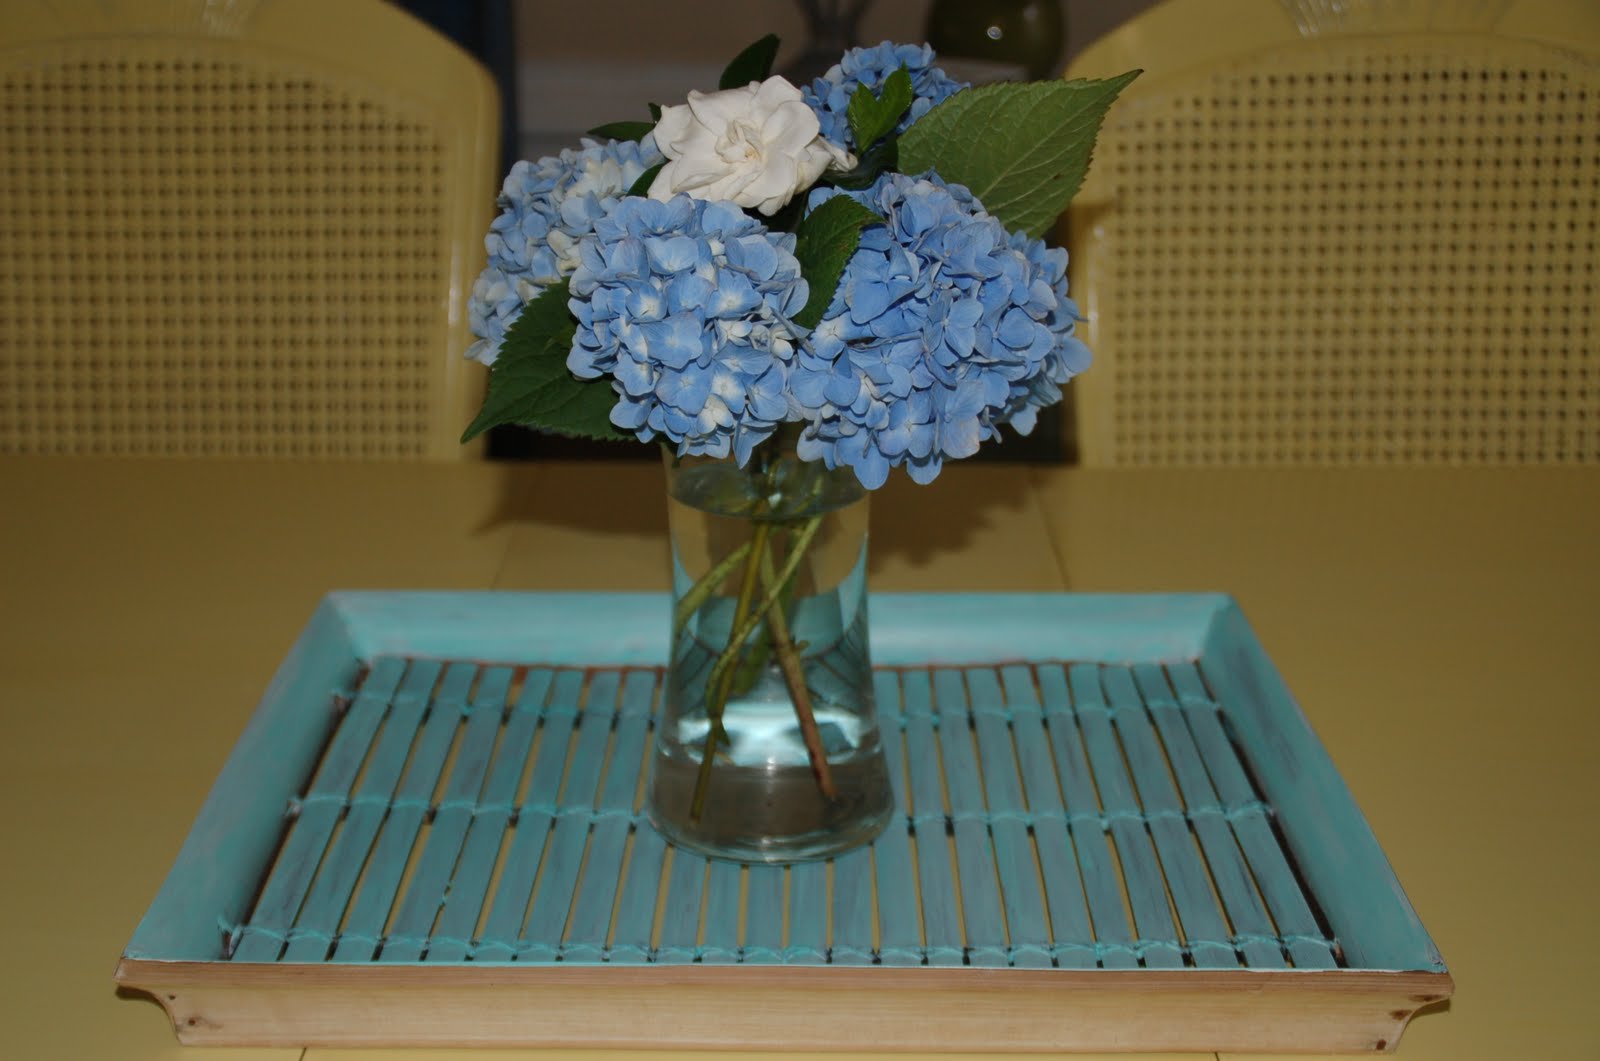
 Simple vase of flowers on a placemat...
 A flea market tray with mini vases...
 My mini topiary...
 Wooden tray with hydrangeas...
 Wooden tray with jute vase...

Like, I said, they aren't terrible but I have never loved them. The point of this post is to show you my new centerpiece that I LOVE! When we were on vacation, I found an awesome blueberry basket at an antique shop in SouthPort, NC. I knew instantly that it would work perfectly on our table. I wanted to fill it with some practical things that would be helpful in the center of the table, but also some fun antiqued and old items to fit with the old blueberry basket motif. So, here it is...
Blueberry basket on my new gray table runner...
 As you can see, some things are functional and practical while other things are just for looks...
 Toothpicks trapped in my mini cloche...
 LOVE my new green milk glass salt and pepper shakers from the flea market...
See those little metal things behind the salt and pepper shakers? Those are vintage ash trays (don't ask me why but I love them even though I'm not a smoker!) and a little galvanized pitcher with my butter knives and spreaders in it...

I put a blue mason jar full of forks in the basket as well. This way I have forks already on the table, which makes setting the table much faster!
I love this blue "pure milk" bottle from Marshalls...
Don't know if I will ever use it but I love this wooden scoop that I found at a local thrift shop...
My napkin holder found a home in the basket as well, with this owl trivet as a little napkin weight. I found it at a thrift shop too...
And there you have it! Do you like?! I love it!!!

Friday, August 26, 2011

Show some love to your state- DIY art

I have seen some cool "state art" out on Pinterest....a silhouette of a state with a sweet little heart on where you live in the state. My inspiration was from this etsy shop.  I decided to try to make one myself. I used my Silhouette to create mine but it could be done just as easily by hand!

What I made:
What you need to make it:
  • Paper/Cardstock- 3 different colors (1 for background, 1 for the state, and 1 for the heart)
  • Glue stick
  • Either a print out of your state to trace and cut OR a cutting machine (Silhouette, Cricut, etc.) with your state's image as a design
  • Frame (mine is an 8x10)
HOW you make it:
My instructions show how I used my Silhouette to make it but if I did not have my Silhouette, I would've printed an image out of my state, traced it onto my white paper, and cut it out. I would've done the same for my heart and then glued the two cutouts onto my paper and framed it. It is really the same thing I am going to show you with my Silhouette but it would take a little longer by hand.

First, I downloaded an image of North Carolina....
I then ungrouped it and erased the star and the text...


Then I started up the Silhouette and it cut it soo quickly for me...


Then I did the same thing for me heart. The Silhouette had a freebie heart that I grabbed...


Ungrouped it and erased the lines and the star and resized it...


Then I sent it to cut...


I then cut my gray background paper to fit my 8X10 frame...


Then I laid out the elements to see how they look together...


In hindsight, I should've made the state a little smaller so that the gray paper framed the ends a little better but I am happy with it... So I glued it all down with my trusty glue stick (gluing the heart over our location)...


I then stuck it in a frame I had lying around...


Wasn't that so quick and easy?! I think these would make great gifts too! I think it would be cute to put the heart where you and your spouse met with little marks over your hometowns. I am pretty happy with it!

One of the things I love about Pinterest is that it exposes you to so many great things out there and inspires me to recreate them myself instead of paying someone else to do it for me! When you see something you like, try thinking about how you can make it, it isn't always that complicated to gather the resources and make it happen!

Note- After making this lovely little art piece, I found another tutorial of a DIY version of this same concept- please check it out at Lolly Jane Boutique- they have a precious example of using two states to show where a husband and wife originated, as well as some links to sites that make this art for you!

Wednesday, August 24, 2011

Surprise Supplies Package

Yesterday the FedEx man surprised me with a big ol' box of exciting treasures!!! My friend, Jordan Streetman, author of Southern Hospitality (if you aren't reading her blog,  you need to be!!! She is so inspiring and fun, WARNING: you will want to do everything she does, she is that awesome!) sent me an awesome package!!! Apparently, Jordan's mom's company had some extra supplies they were going to get rid of and of all people, Jordan thought to send them to me! Aren't I so lucky?!
Check out the goodies:
 I am in heaven!!!
 Really excited about the paint supplies! Will be so helpful when we paint our master bedroom (soon I hope!)
 Excited to use these knobs!
 Excited to use these L brackets!
 There are also tons of wire hangers and hooks to help hang pictures and paintings!
A big box of clothespins and two boxes of sponge brushes!

I can't wait to get to work with all of these goodies!!! Thank you SO MUCH Jordan!!! Go check out Jordan's blog, you won't be sorry!

Tuesday, August 23, 2011

Glass Etching Tutorial- no cutting machine needed!

As promised, I am going to share with you my version of glass etching. The first glass etching tutorial I saw was earlier this summer on Make It and Love It and it is a great tutorial with the cutest etching projects!!! Then I saw Jen's version on Tatertots and Jello, once again, a great tutorial and a cute project. If you have a cutting maching (Silhouette, Cricut, etc.) I recommend following one of those ladies to see how they made vinyl stencils for their glass etching projects. That is what I did when I made my MIL's birthday gift...

I wanted to try glass etching without using my Silhouette so that I can show you how easy it would be to do without using a cutting machine. So this is what I made.....


And this is how I made it...

What you need:
Glass object you would like to PERMANENTLY etch (mine is a fishbowl vase that I rescued from my MIL's goodwill donation box)
Painters tape or masking tape
Armour Etching Cream- I bought my bottle at Michael's but it is for sale on Walmart's site as well. I looked at AC Moore but the line they sell is more expensive and comes in two bottles that you have to mix. So, to save money and time, I recommend Armour Etch. (The price still isn't ideal but you use such a small amount per project that it will go a long way!)
Paintbrush
Scissors (to cut tape)

I used painters tape to form a stencil for the letter "E" on my glass bowl. I used scissors to trim the tape to make the right shape and size of the letter.

Once I was happy with my letter, I brushed on the etching cream. I followed the directions on the bottle for application but left it on for 15 minutes.

Once the time passed, I rinsed off the cream and made sure that it looked even across the letter (at this point, you could apply another coat and leave for another 15 minutes if you aren't happy with the first coat's results). I peeled off the painter's tape and it was complete!

I decided to glue a candle stick to the bottom of my vase to turn it into a pedestal.

And then I filled it with a dollar store vase filler. And it was complete!


Sunday, August 21, 2011

DIY: From Dish Towel to Waist Apron

I don't know about you but I think aprons are so cute and fun to wear while cooking or baking. They are especially helpful when you are cooking while your guests arrive and want to protect your clothing from your baking. I am notorious for having a watermark right across my waist from leaning against the counter while cooking or washing dishes. I decided to try to make my own waist apron and found that it was EXTREMELY easy to do!

What you need:
Dish towel
Ribbon
Sewing Machine or Needle and Thread
Square of Fabric for pocket (Optional!)

To make a simple waist apron all you need to do is take a dish towel...

And sew on some coordinating ribbon to the ends of it. I just measured the ribbon out by wrapping it around my waist. I used a sewing machine to sew it on but you could hand stitch it just as easily. I would just do two rows of stitches to make it really secure. I attached it to the back of the towel....

Here is a look at the front after the ribbon is attached....

Once you do it on both sides, you can tie it around your waist like this...

Wasn't that so simple?! I decided to add a pocket to the front of mine. I just used a square of dropcloth for mine. My waist apron is a gift and I wanted to personalize it....so I embroidered it first...

Once I finished my embroidery, I pinned it to the center of my apron. (NOTE: I cut my dropcloth so that the top of the pocket had a finished edge already, this saved me some time, otherwise you would want to hem the top of the pocket to have a finished edge.) I folded the other three unfinished sides under and pinned the pocket to the apron.

Then I sewed around the two sides and the bottom of the pocket.

Then I tried it on!

It was sooo simple to make and I think it turned out well!

And the pocket works! :) 

It says "Cakes by Kim" on it for my good friend Kim who is a cake master! (I know it won't be much of a surprise if you read this Kim but that's ok!!!)

Hope you are enjoying your Sunday evening!!!