Pages

Wednesday, March 11, 2015

Dining Room Reveal


We moved into our new house in mid-January and we have been getting settled in ever since. The new house has a dining room in addition to the eat in kitchen. That left a new room to decorate and fill with furniture. Instead of buying a full dining set, we ended up buying the table and chairs separately.

We bought the table off of Craigslist....this is the "before" picture...from the ad on Craigslist. I am going to put a protective coat on it soon but I have left it alone other than that!


We bought 6 chairs at a local consignment shop called SUR Furniture. They have great pieces! Here are the chairs before...


We brought in the new furniture, and a china hutch given to us by the hubby's grandparents. This is what we had at this point.


We wanted to brighten the room up a bit...so we decided to paint the chairs and pie safe white and to recover the seats in a neutral gray. I bought gray fabric at the Raleigh Flea Market to recover the seats. I bought white milk paint at SUR Furniture.

Here is the finished dining room from a few different angles!


This room is quickly becoming a favorite! I can't wait to show you the rest of the house!

Sunday, March 8, 2015

DIY Easter Decor- Thrift Store Bunny Makeover


Shopping in our local thrift store this week, I noticed tons of ceramic bunnies begging for a home. Most of them are mismatched, and just not my style. I immediately started thinking of what I could do with these bunnies to make them work in my home.

Two thoughts came to mind....cover them in moss....which is popular right now when shopping for Easter decor. Second thought was to cover them in paper....which is what I decided to go for!

I bought two bunnies and a book of vintage children's music at the thrift store....Total: $4


Supplies Needed:
- Ceramic Bunny
- Paper or material to cover bunny
- ModgePodge
- Foam paint brush
- Ribbon (optional)

All I did was tear 6-8 pages up into small pieces, imperfection is preferred....just shred them by hand!

Put a layer of modgepodge between the paper and bunny, lay the paper down, and immediately paint more modgepodge on top of the paper. I ended up using my fingers to smooth the paper onto the bunny. It gets messy but it makes the paper form much easier to the shape of the bunny.

You repeat this process until the bunny is covered in paper!

Once the bunnies we dry (about 30 minutes depending on how heavy you paint the modgepodge)....I tied some burlap ribbon around their necks. This helped to cover the flower collar one of my bunnies was wearing.

Now they are on my mantle!


We have also moved! Yet another reason I have been MIA. I am going to post pics of the new house soon....but these pics give you a peek at our new living room.
Let me know if you recover any bunnies! I'd love to see pics!

Thursday, July 31, 2014

Deputy Graduation Party

First of all, I have been extremely MIA from the blogging world. I miss it so so much. I have been so far removed from creating and crafting, it's sad. I have a perfectly good reason though....our little boy keeps me very busy when I am not working!

We have also been busy with my husband's new work endeavors. After a long application and interview process, he was accepted into our local Sheriff Department's Academy. After 6 months, he graduated last Friday.

Here's a pic of my man at graduation with the Sheriff...


The next day we had a lunch to celebrate!  I wanted to share some pics of the party decor. It was fun to come up with relevant but simple decor. I didn't want to go too childish with the Sheriff theme but I still wanted some relevant decor to recognize his huge achievement!
The front door simply served as a welcome to our guests and showed off a pic of the Deputy as well!

The living room and dining area served as an escape from the hot outdoor seating!

Our deck showed off the hubby's "Most Physically Fit" award! My mom found some sheriff hats in the Target Dollar Spot section, they were used repeatedly throughout the party with gray bandannas.

We had a self serve sno-cone station set up as a dessert option to help you cool down.

The patio was set up as usual with the addition of a fan to get a breeze going.

Behind the patio we had a tent with a table for seating under it.

We also had a buffet under the tent where we served BBQ and Fried chicken with yummy sides!

Past the tent we had drink stations.


We had a really good time! I had a lot of help hosting from my parents! I was so thankful they were there, I would not have pulled it off without them.

Monday, October 21, 2013

Love Letters by Jen

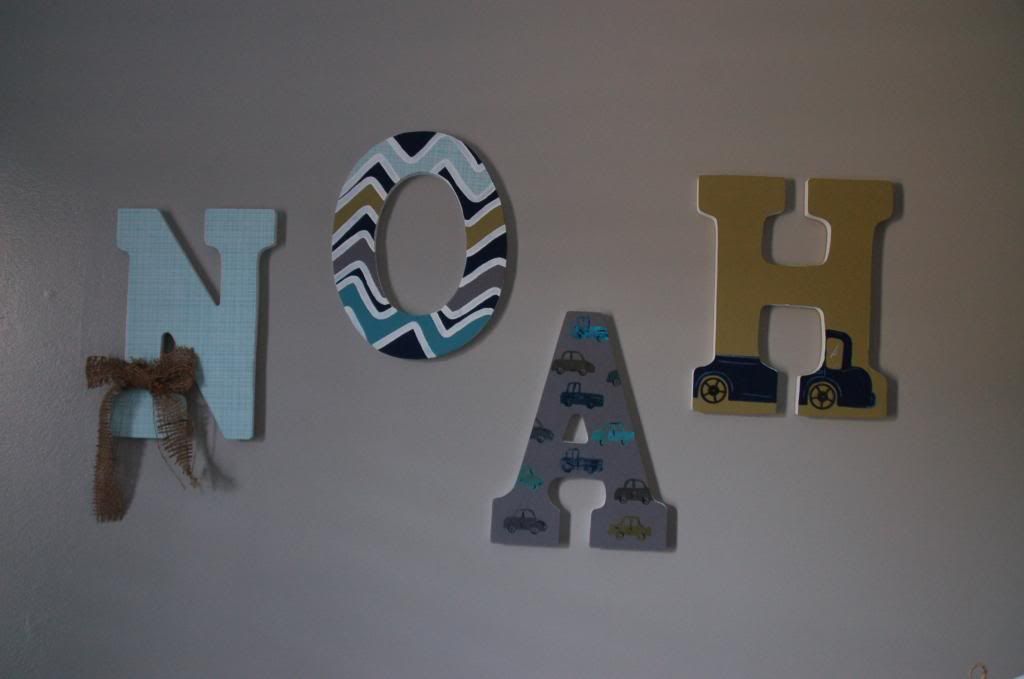
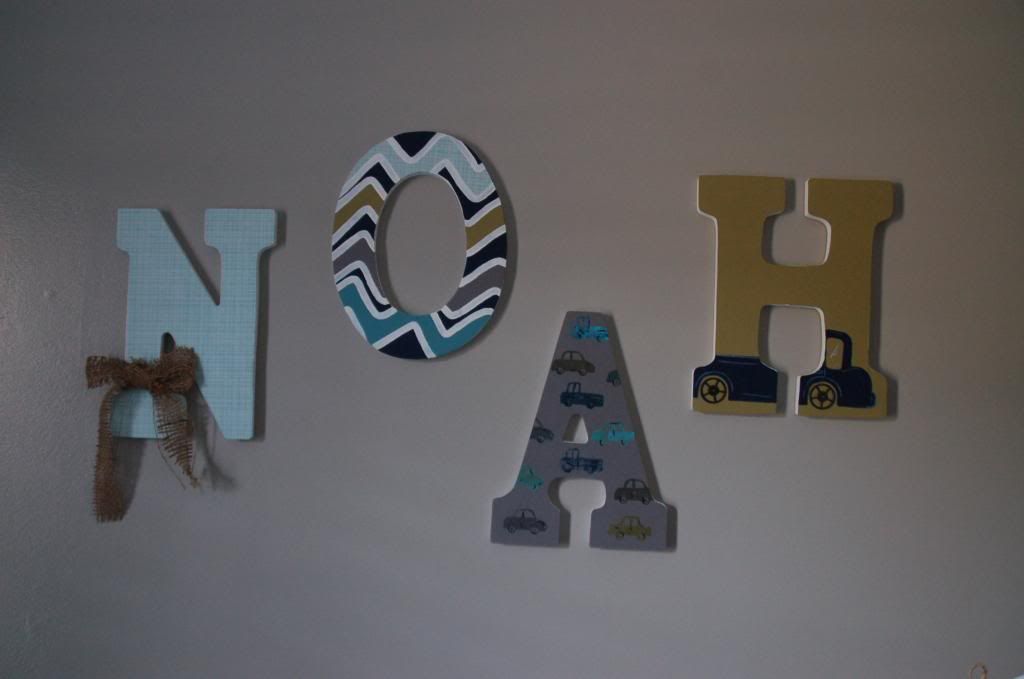
Now that we have revealed our nursery, I want to "zoom in" on one of my favorite details in the room. I am IN LOVE with the letters over Noah's crib that spell out his name. They could not be more perfect!!! My friend Jen, owns an Etsy shop, Love Letters By Jen, where she makes these letters completely custom! I sent her pictures of the fabrics we were using in the nursery and she made a set of letters to compliment them perfectly. The "O" is handpainted to look identical to my funky chevron fabric! The little cars on the "A" match my car fabric perfectly in style and color.

 photo DSC_3095_zpsacf292f6.jpg

I could not get over how perfectly the letters fit in the nursery!

Here's a little more info about Jen's shop! She sells customizable letters to display on the wall or on a shelf. She can create anything you'd like to display: names, initials, or even special dates. Completely customizable, completely unique!

All the letters you see below and listed in her shop are completed orders and are examples of what can be purchased. Each order is made to order, so you can get creative or share your ideas and Jen will do the work for you! Letters are $10 per letter for up to 5 letters and $5 per letter for each additional letter.


You've got to check out her shop: Love Letters by Jen!

Tuesday, October 1, 2013

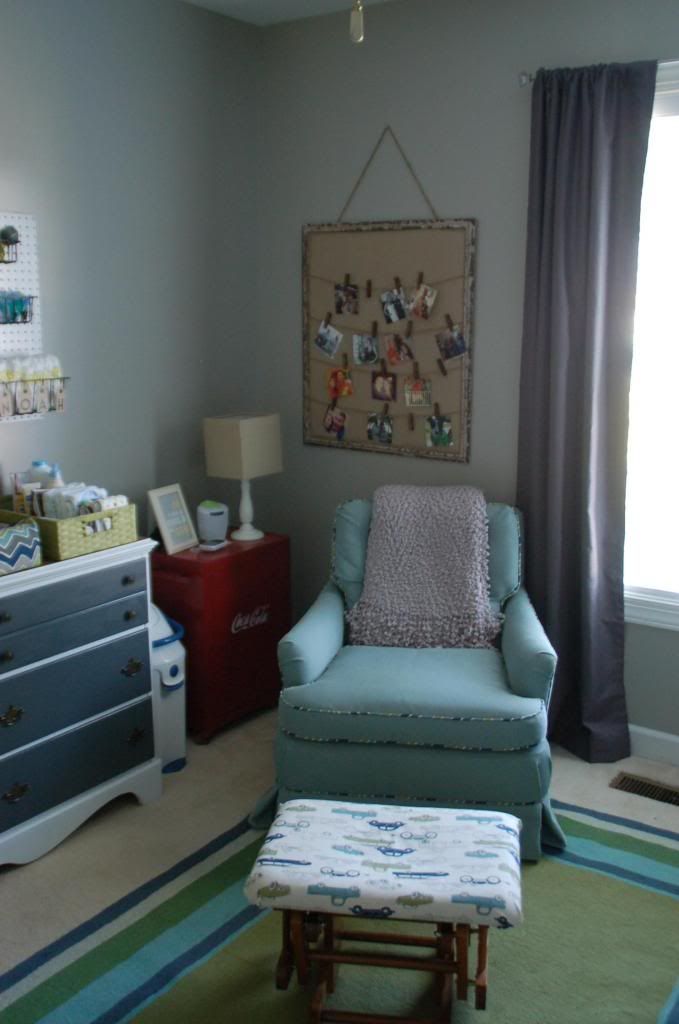
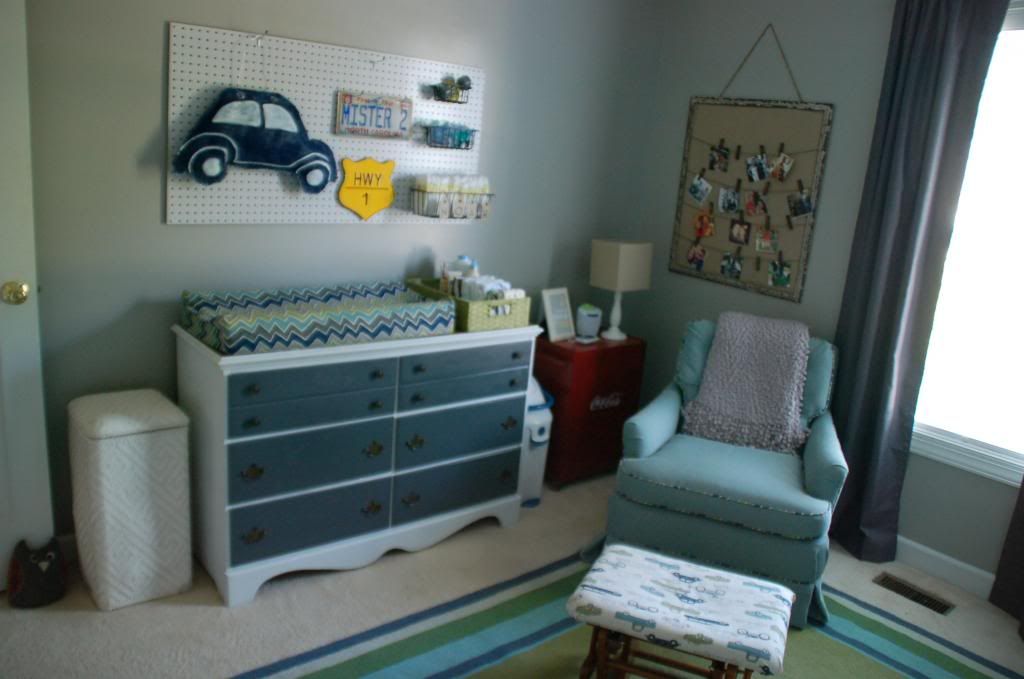
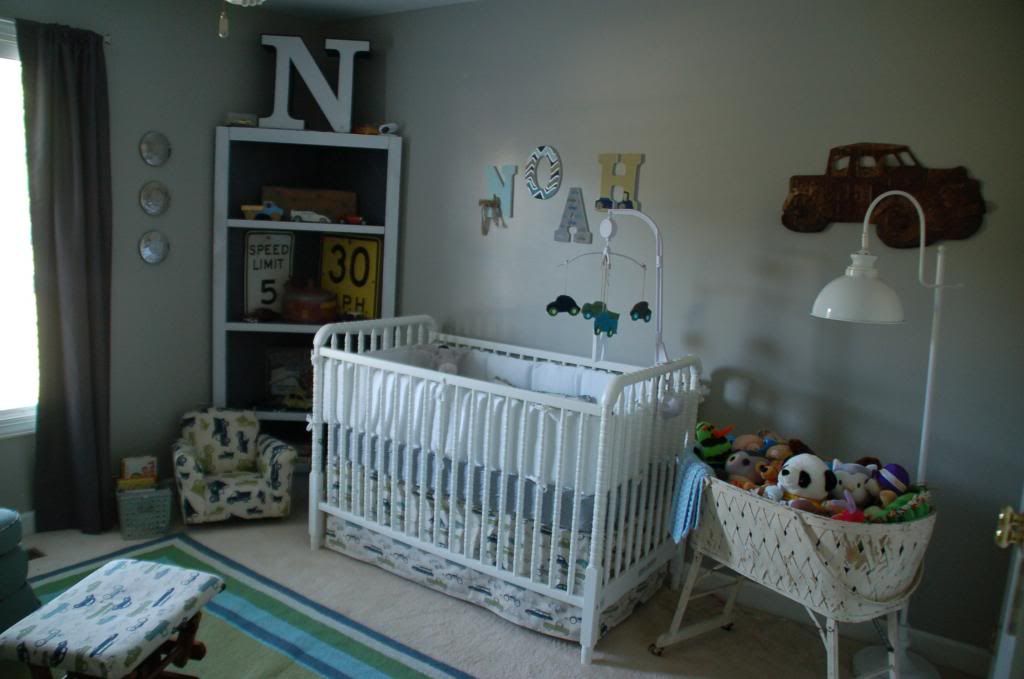
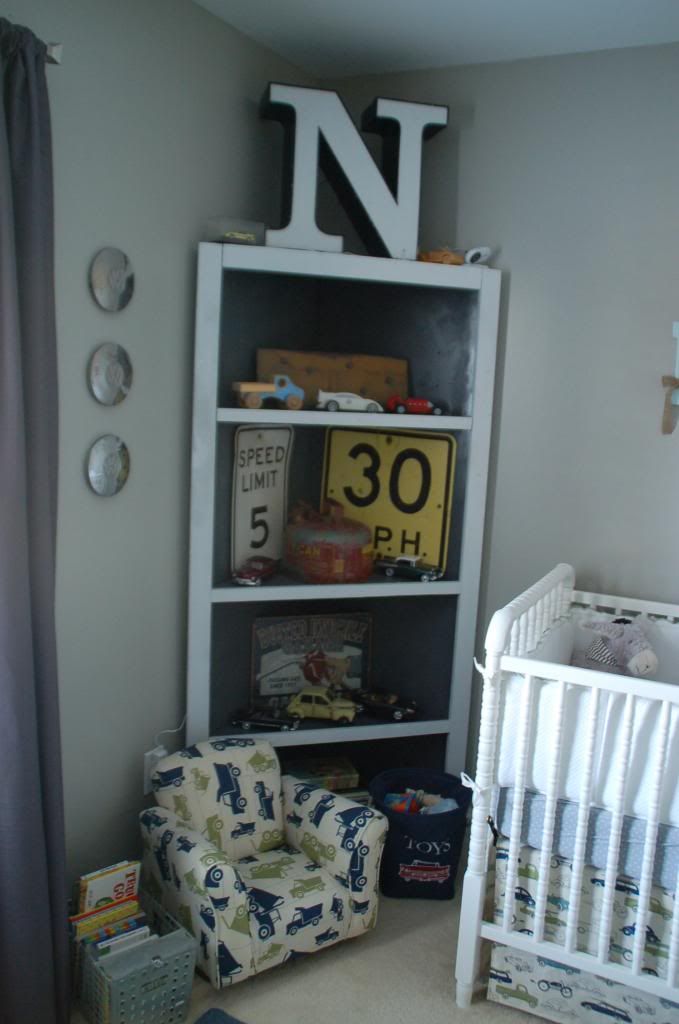
Our Little Man's "Garage" Nursery

We have been working on our little man's nursery ever since we found out we were having a boy!

Back in June, my wonderful sister in law got us off to a great start by painting the nursery for us! It was such an amazing surprise gift!


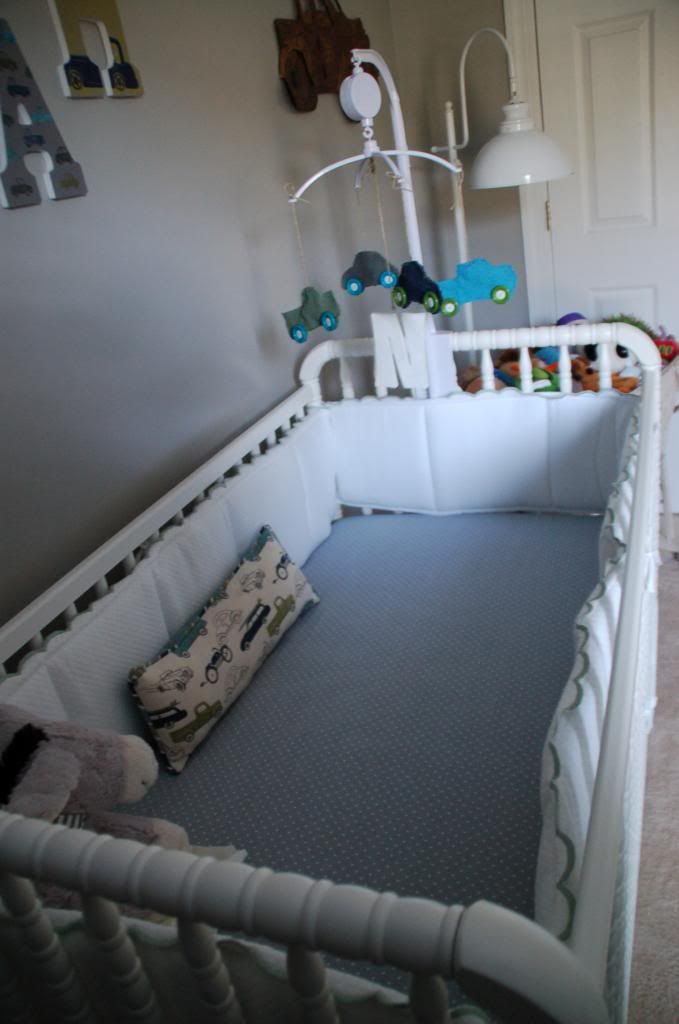
We started thinking of ideas for the nursery and came up with a Vintage Car/Garage theme! We have had so much putting things together and we are finally finished!!!

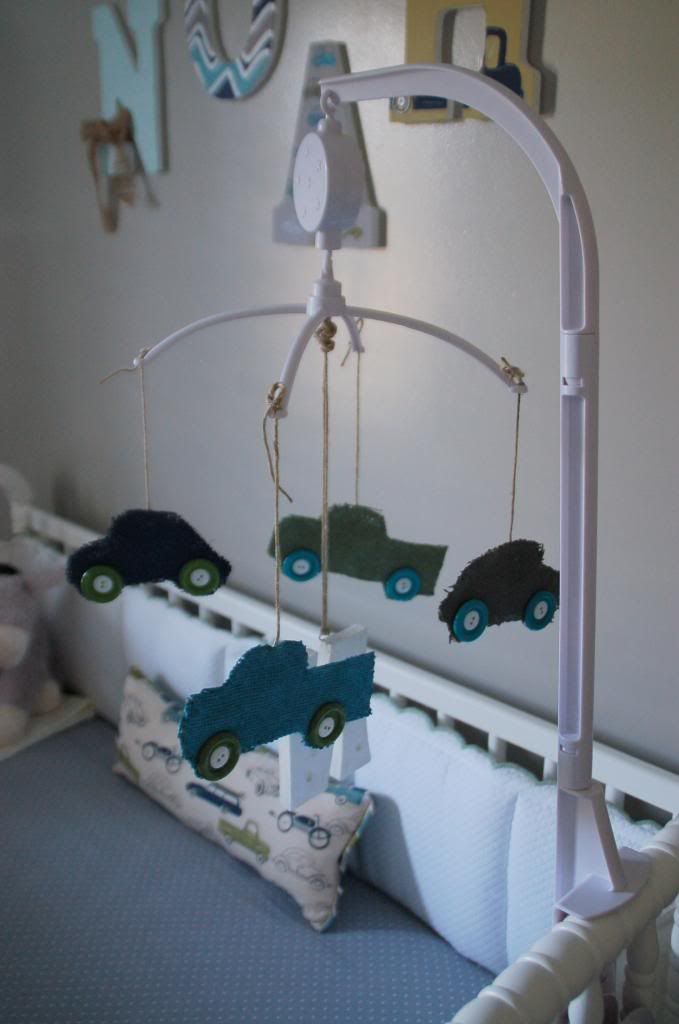
Check out the pictures of the finished nursery...
 photo DSC_3088_zpsb6c90520.jpg
 photo DSC_3089_zps034173ec.jpg
 photo DSC_3090_zps3dfaf297.jpg
 photo DSC_3095_zps12ab934f.jpg
 photo DSC_3097_zpsbf738e52.jpg
 photo DSC_3082_zps41e61de3.jpg
 photo DSC_3080_zps1feded18.jpg
 photo DSC_3077_zps8648818a.jpg
 photo DSC_3076_zps9dfd3cf1.jpg
 photo DSC_3075_zps62a8e2a1.jpg
 photo DSC_3074_zps090724a0.jpg
 photo DSC_3072_zpsd1669e20.jpg
 photo DSC_3071_zps10b432fc.jpg
 photo DSC_3066_zps00185e4f.jpg

 photo DSC_3078_zps36d6466f.jpg

Here's a list of where we found and purchased things:

FURNITURE:
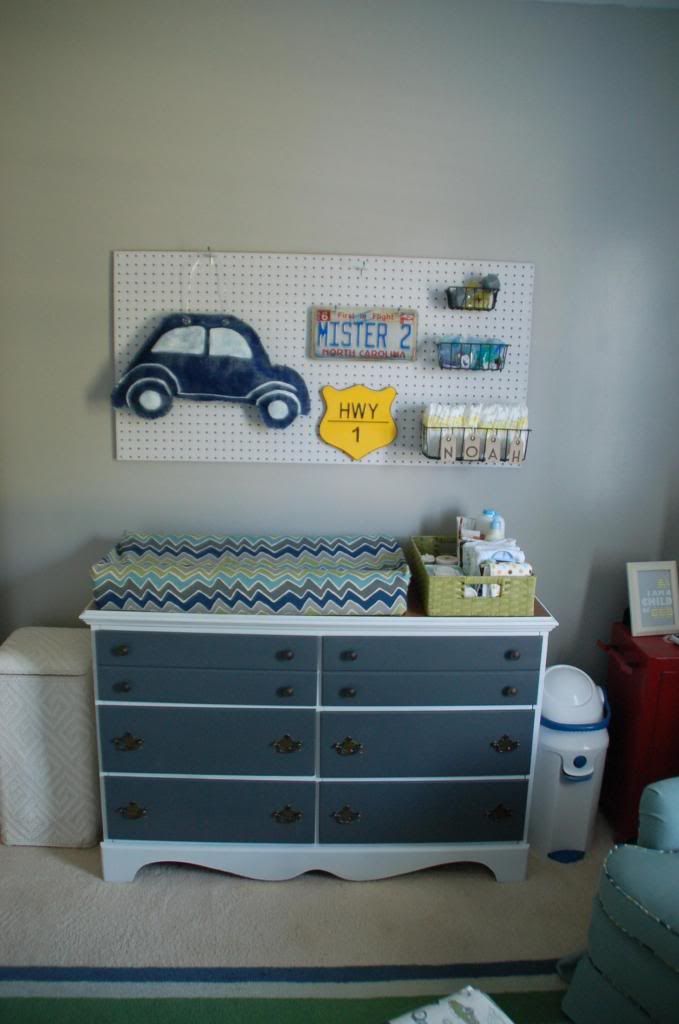
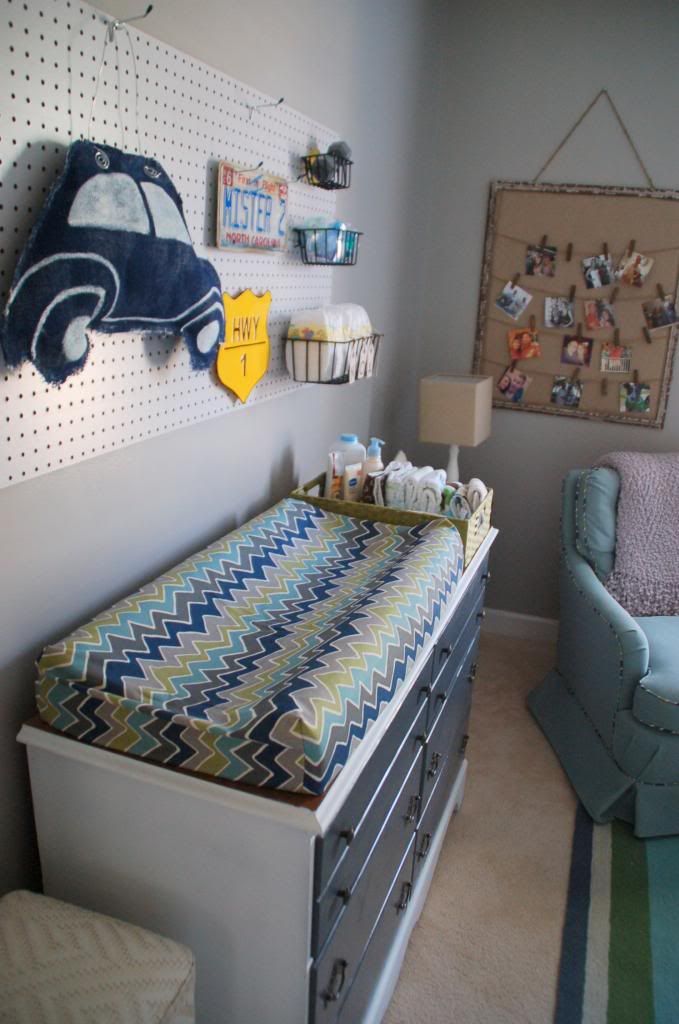
Dresser: Flea Market Find that the hubs repainted
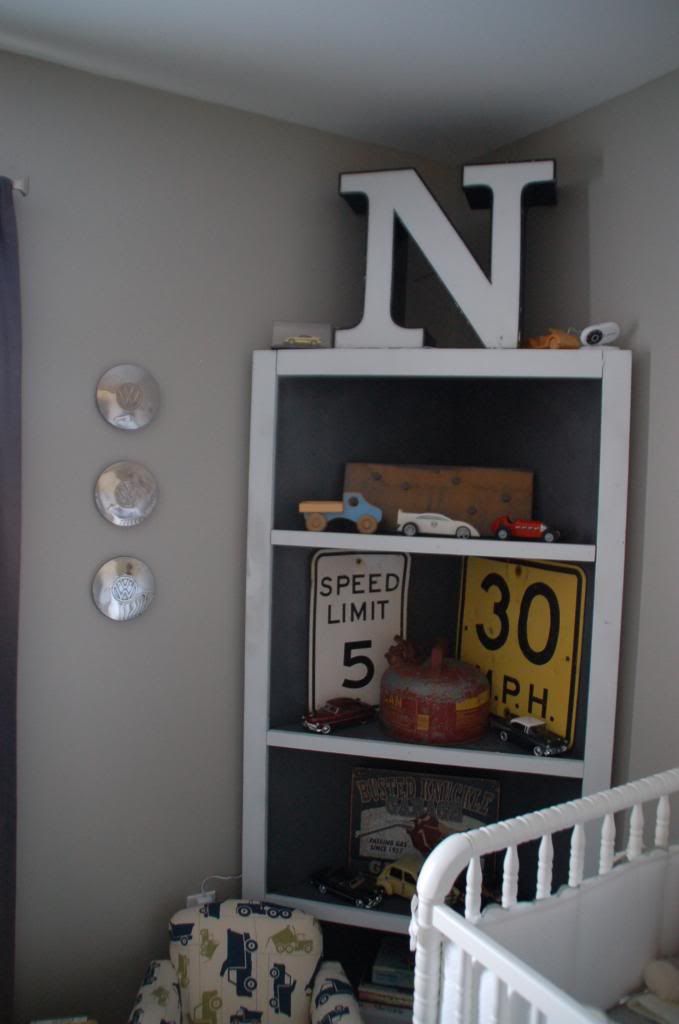
Corner Shelf: Flea Market Find that the hubs repainted
Crib: Target
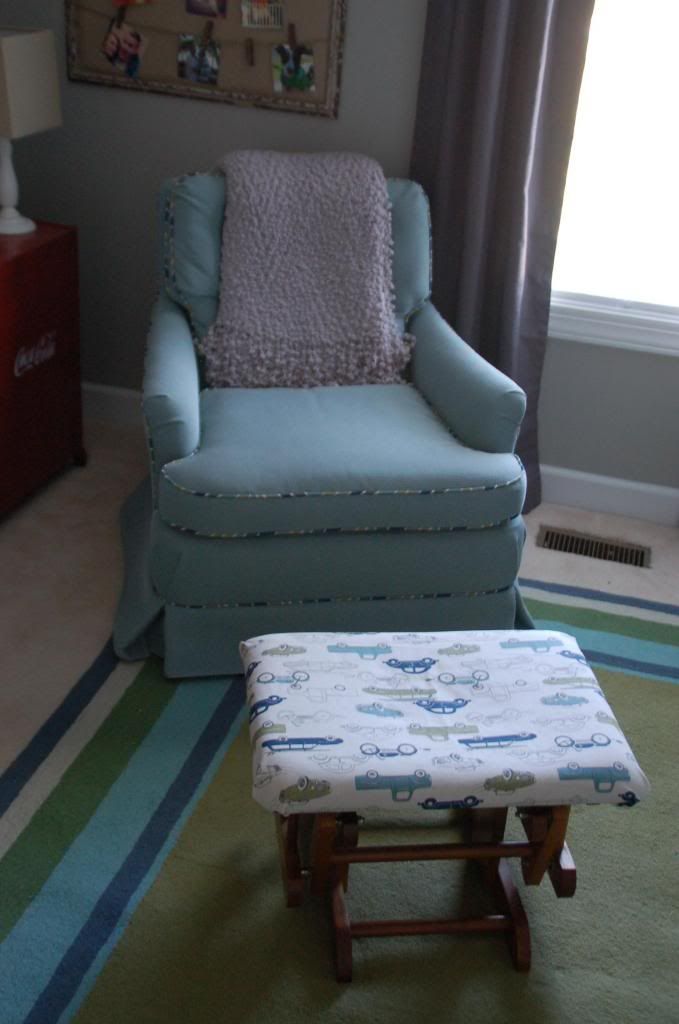
Chair: Thrift Store find that we had reupholstered
Ottoman: Thrift Store find that I recovered
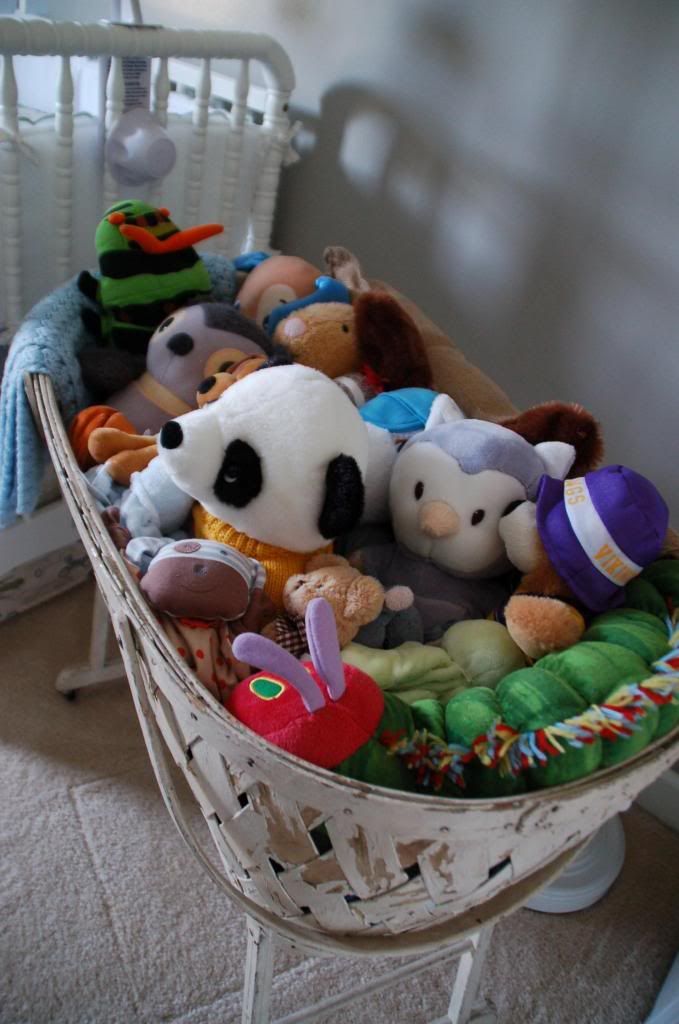
Bassinet: Antique Find
Coca-Cola Locker: Flea Market Find
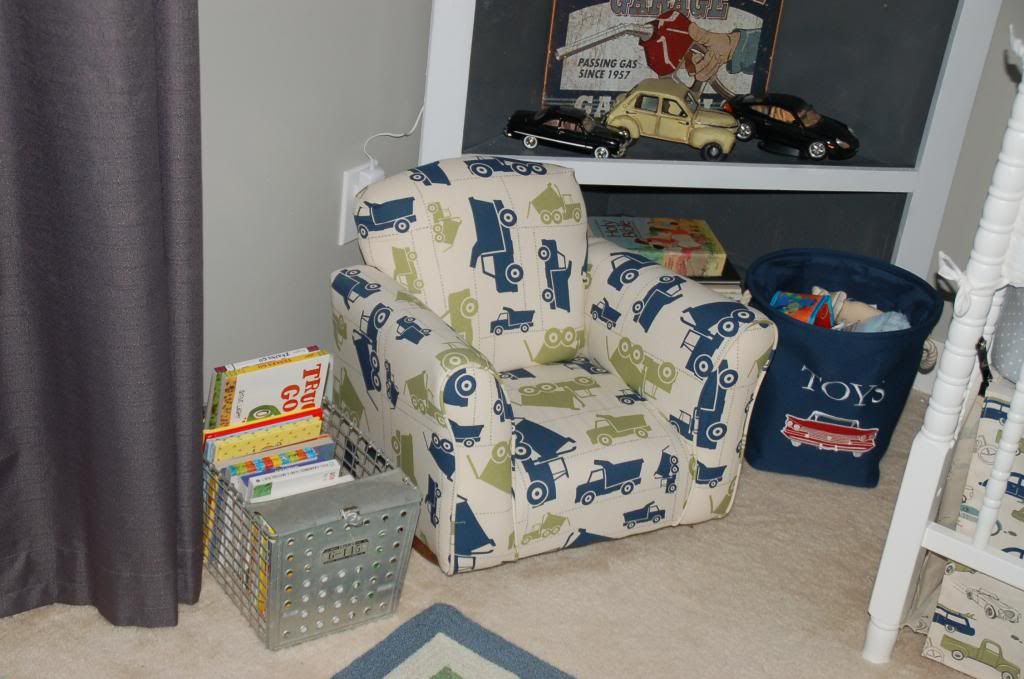
Little Rocking Chair: HomeGoods
Rug: HomeGoods
Standing Lamp: HomeGoods

DECOR:
Pegboard and Baskets: Home Depot
Burlap Car: Made by Aunt Blair!
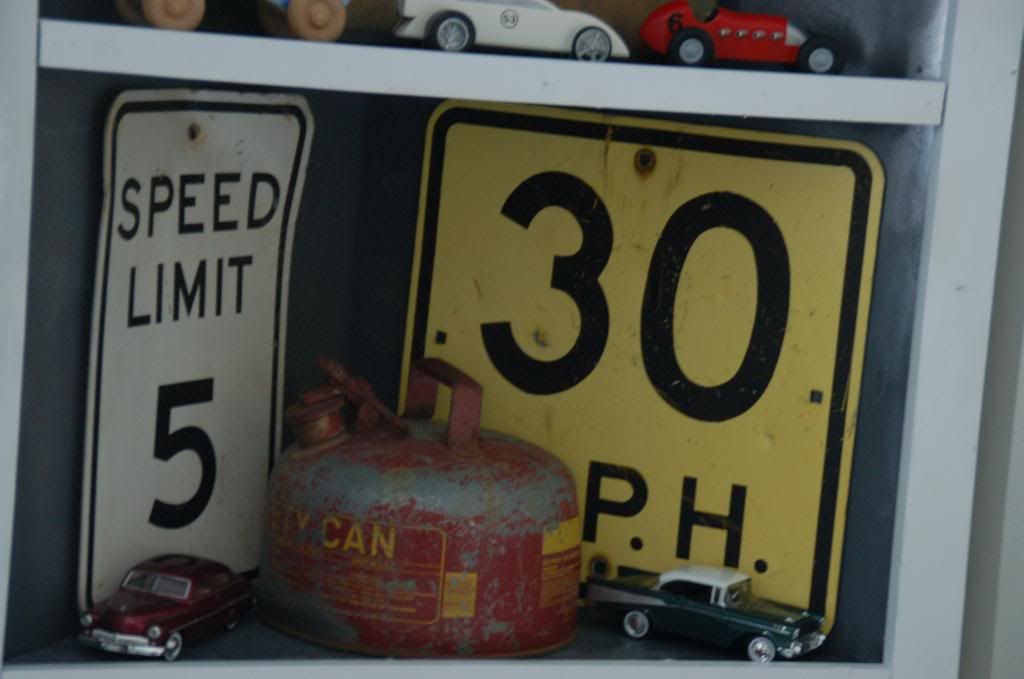
Speed Limit Signs: Flea Market and Antique store finds
Model Cars: Family hand me downs, antique finds
Mobile: Made by Nana Moss (Aunt Blair's mom)!
Letters over crib: Made by a good friend, Jen B!
Giant "N": Flea Market Find
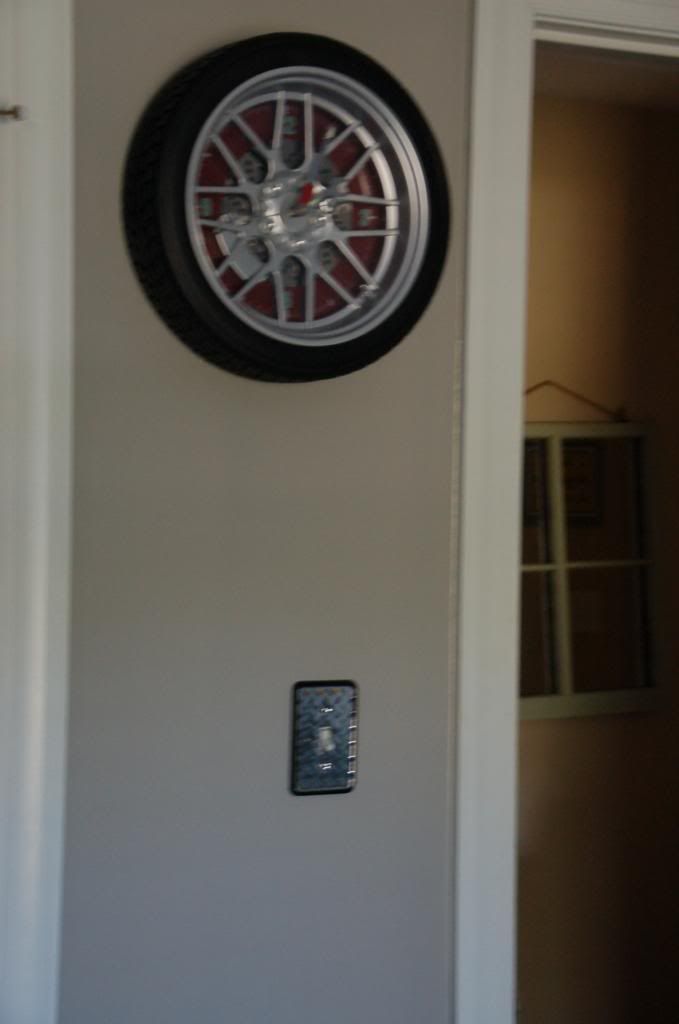
Tire Clock: eBay
Car and Chevron fabrics: Fabric.com (The ottoman and crib skirt were made with car fabric, changing pad was recovered in the chevron)
Curtains: WalMart black out curtains

I think I mentioned just about everything! We are so excited to meet our little man in just a few more weeks!!!